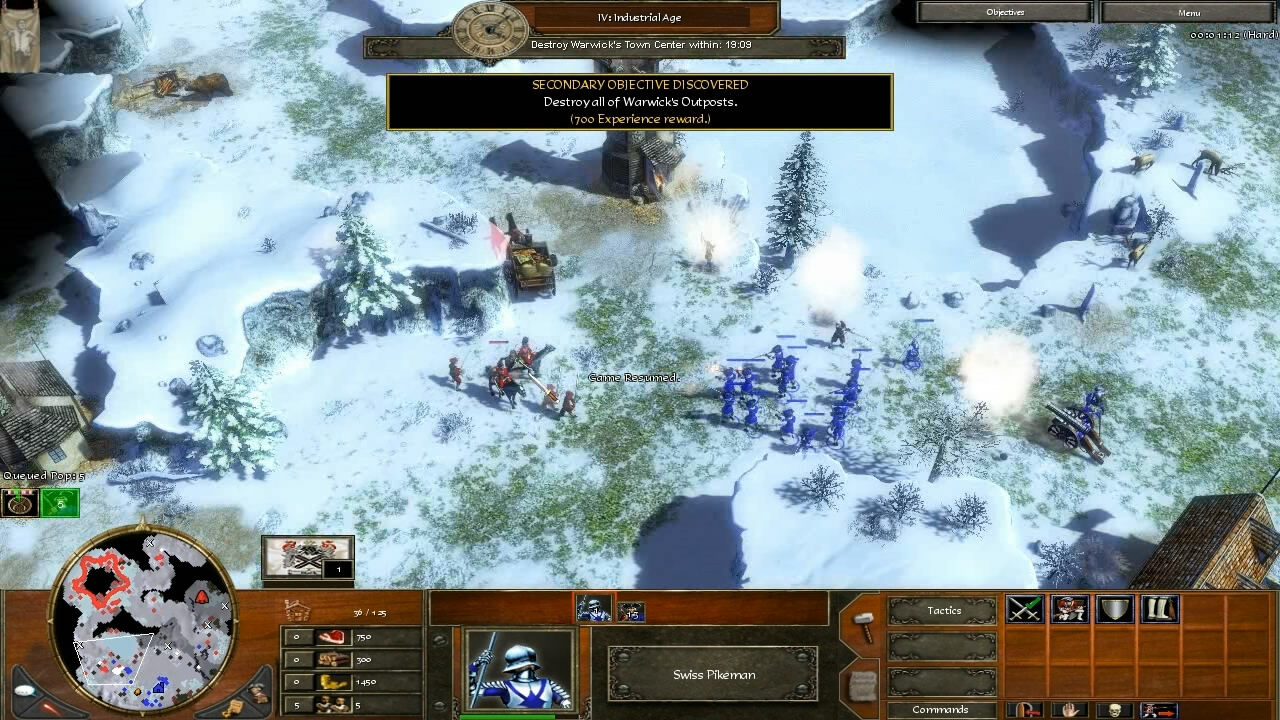
Mission 7: “Warwick’s Fort”
Primary Objective: Destroy Warwick’s Town Center inside his Stronghold.

This level has to be performed quickly on Hard and we will have to ignore the secondary objectives in order to have any chance at all of surviving. Think of your time limit as closer to 8 minutes instead of 20 because you literally do not have the resources to both capture all the trade carts heading to Warwick’s base while still overcoming the massive amounts of forces he seems to be able to pull out of his ass somewhere around 10 minutes into the level. If you play defensive, you fail. If you delay you will fail. If you don’t make liberal use of the pause button to give commands out at a moments notice and with precision, you will fail. Keep all of that in mind, no other mission have I managed to accrue as many replays as this one.
Note: When capturing carts, remember to keep your other units next to it if hostiles are nearby to prevent it from being recaptured by the enemy.
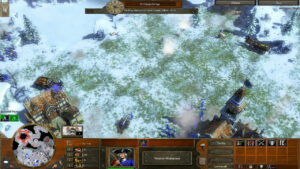
The second the game starts, hit the pause button and perform these commands exactly as stated:
- Select all horsemen and find the first treasure cart approaching through the right path. Right click one of the Hussars to give them the attack order.
- Select 7 of your 8 Musketeers and command them to attack the second Hussar.
- Select Kanyenke and tell him to perform his special attack on Hussar #3
- Select John and command him to special attack the Landsknecht.
- Take your eight Musketeer and move him to the northwest of your Barracks where there is the opening to the left cart path.
- Queue the training of 5 Musketeers then Veteran Musketeers upgrade and another 5 of the soldiers.
- Build an Artillery Foundry with one of your Settlers.
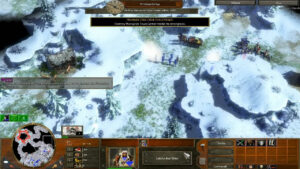
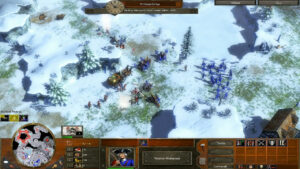
Now pay close attention and keep your finger near the pause button since you have to carefully micro two situations at once while preparing for a third. The horsemen and your heroes should do some serious damage to the cart guards, ignoring the Outpost while the Musketeers should move up behind just in time to capture the Cart which leaves its defenders behind to fight the horsemen. Moving your units separately was important for speed purposes as proven here. The second the cart is yours, move all the units back to your base, even if there are defenders chasing you to get away from the Outpost.
At the same time, pay attention to the Musketeer you sent west, pulling him back as soon as you have visual of the Outpost to prevent him from needlessly dying. Immediately follow up by instructing your Falconet to attack the Outpost but make sure your mercenary Pikemen do not move from their original position. The Boneguard defending the Outpost will attack your artillery with a rifle but he cant do anything really to your Falconet on his own.
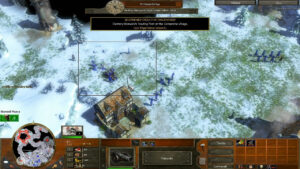
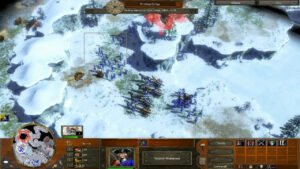
When your east bound soldiers make it back with their cart, send the cart to your town center to be turned into resource piles for your Settlers to collect while moving the troops to the western pass as soon as they fight off whatever attackers are still chasing them. There will be another cart that spawns on this pass you will have to rush to collect, ignoring the Outpost as it probably will still be alive and firing on your units. Once the cart is yours, retreat once more except for the Falconet which should still be firing on the tower, with the cart in tow and the Outpost should drop soon after.
Time to take a quick breather.
This initial fighting ends the craziness and sets you up well enough for the remainder of how this level will play out. Now you will need to train 2 Culverin and an additional Falconet at your Artillery Foundry while calling for a pair of Mortar using a reinforcement card. Use your remaining resources to train up a bunch of Musketters and maybe one more Artillery piece.
Once the Mortar are built, use them to take out the second Outpost against the map’s edge on the left cart path to keep it from causing us trouble while having your forces gather around where you took out the first Outpost with the Falconet. You will want a few troops near your Town Center to ward off marauding enemy attacks and keep an eye out for them to call your Settlers into the Town Center if needed as losing them can be catastrophic.
You should capture your third cart soon which should be some wood from the left path, then move your forces with it to your town center where a fourth cart of mixed goods will appear just next to it, along a path much closer than the first cart’s Outpost guarded path that runs right against your base. Make sure you capture this cart which should be easy as its defenders like to hang back pretty far. After that the fifth cart we will want to capture will come up the left path again. Ignore all other carts down the other paths.
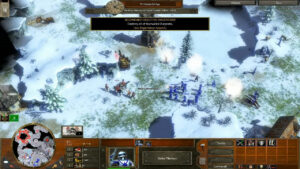
Taking down the Town Center.
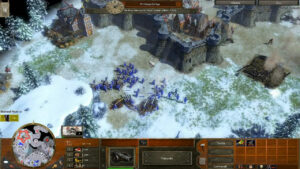
With these five carts plus home city reinforcements of military units only, spending the vast majority of your resources on Musketeers and a few artillery pieces, two of each being preferable, you will have enough to take out the enemy base. Move your forces up the left cart path with your artillery on a separate control group from the soldiers to make sure the artillery are always behind a wall of units.
Stop to take out units that move against your advancing forces with the Mortar focusing on nearby buildings and ignore your Town Center if attacked at this point. When you approach the base, make sure to keep your soldiers out of range from the pair of Falconets that guard that side of the fortress and destroy them quickly with your Culverin. When the enemy cannons are down, move your soldiers up to start distracting other defending units while your Mortar and Falconets move up to directly fire upon the Town Center which you can do while the walls are still up. Ignore the second Town Center built outside the walls if it is up already, it is moot. The Culverins should hang back to intercept enemy Artillery if the Circle manage to bring more to defend. You should have enough time with your Soldiers fighting the enemy to bring down the Town Center which falls quickly to combined artillery fire, marking mission 7 complete and victorious.
Last Updated on October 5, 2020 by Standard of Entertainment