This guide covers the locations of all of the collectible Servo Skulls which are located in Chapter 8 “Whispers of the Dead” in Warhammer 40,000: Space Marine.
All of the 48 servo skulls in the game are located throughout the various levels, typically in out of the way locations, with each providing some form of back story and lore to the events taking place. This comes in the form of short recordings left by other people on the forge world. Collecting all of these, besides providing interesting information, contributes towards unlocking special achievements.
Chapter 8 “Whispers of the Dead” Servo Skulls
Contents:
- Audio Log: Medicae Station Ventris [4/5]
- Encrypted Report: Inquisitor Drogan [3/5]
- Audio Log: Workshift 465 [3/5]
- Personal Message: Worker Nathaniel [1/5]
- Encrypted Report: Inquisitor Drogan [4/5]
- Personal Message: Worker Nathaniel [2/5]
- Encrypted Report: Inquisitor Drogan [5/5]
- Audio Log: Workshift 465 [4/5]
- Journal: Inquisitor Drogan [1/10]
- Audio Log: Workshift 465 [5/5]
1. Audio Log: Medicae Station Ventris [4/5]
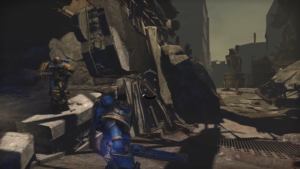
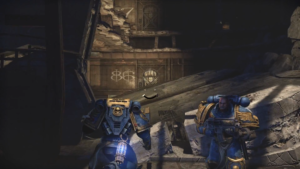
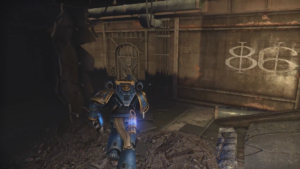
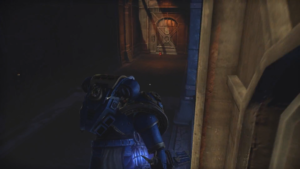
At the very beginning of the mission you’ll find yourself looking down a destroyed alley with a statue in a courtyard to the distance. Look at the building to your left when facing this statue to find a large hole smashed into it, through which you can enter the building. Walk in and go to the lower left to find a small hallway with the servo skull at the end.
Cassia: “– there’s no room for them in the south ward. Put them on the second level –“
Dominus: “It’s completely full. That’s been where I’ve been moving the dying.”
Cassia: “That’s it then. Bar the doors.”
Dominus: “You’re closing the infirmary?”
Cassia: “We are being overrun. We must focus on the wounded already under our care. This is the only way. Take the servitors to keep the crowds back –“
2. Encrypted Report: Inquisitor Drogan [3/5]
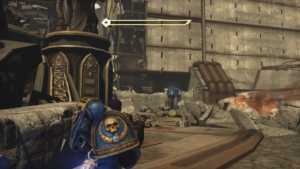
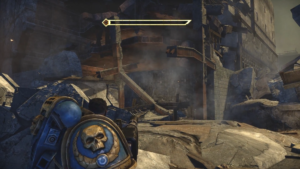
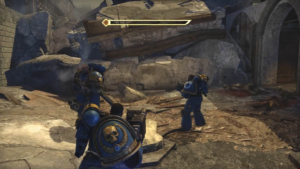
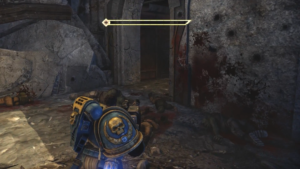
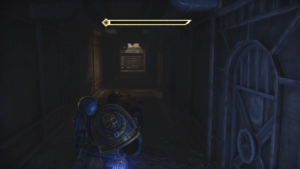
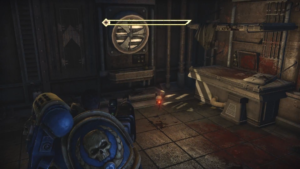
Still on your way to meet up with the Inquisitor, you’ll eventually reach the courtyard where you’ll fight a bunch of Orks as normal, then be tasked with entering the guard’s quarters to continue making your way through the level. The entrance to this building will be apparent by the trio of dead guardsman by the door, along with a series of bullet holes and blood splatters. Once you enter the quarters, look in the first room to the right, just down the hallway a bit and before the stairs. Inside this room will be the skull.
“Report to Lord Sharpe– The Fabricator-General of Graia shares my vision for the Power Source. Today, he offered up the Titan Manufactorum to test the device’s capabilities. There is a risk that the Power Source may overload and destroy the entire facility. But it is an acceptable risk. And the techpriest does not need to know.”
3. Audio Log: Workshift 465 [3/5]
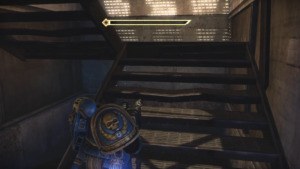
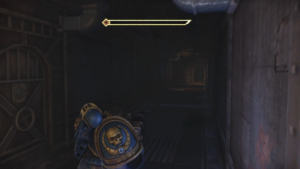
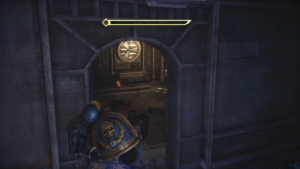
Quite easy to find and just a short way from the previous skull, just go back out into the hall of the guard’s quarters and up the stairs, as you would to proceed in the chapter anyway. On the second floor, walk down the hall and look for the first room with an open door to your left and the skull will be right inside.
Caleb: “– I’m surprised you showed up. There’s no one here.”
Lilith: “I didn’t know where else to go.”
Graia: “Workers, assemble.”
Lilith: “People are saying the Skitarii are dead.”
Caleb: “I think people are right.”
Graia: “The increase in worker absences has been noted. Delinquent workers will be disciplined.”
Lilith: “Caleb, what are we going to do?”
4. Personal Message: Worker Nathaniel [1/5]
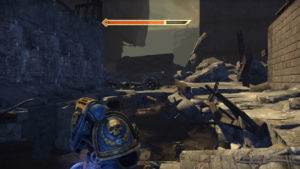
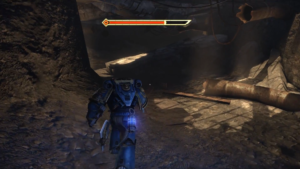
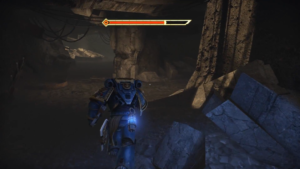
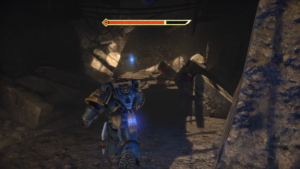
As you continue onwards in chapter 8, you’ll reach a point where you are forced to head underground for a bit, through a massive hole in the street, rubble blocking the path above ground. Head down and run through the underground corridors for a bit, you’ll hit a quick bend then go straight some more. After this first bend, look for a room that branches off from the main path to the right which contains the servo skull within.
“Benjamin, plans have changed. Hannah hasn’t returned — I think they’re going to close off that whole stratum. I have to get to her. You’ll be back from the food depot before we are. Tell your mother where I am when she arrives — and both of you, stay there. Pack up the food as best you can. Reports are that the Orks have already reached the Manufactorum. We’ll need to leave as soon as we’re together. I’ll be home soon.”
5. Encrypted Report: Inquisitor Drogan [4/5]
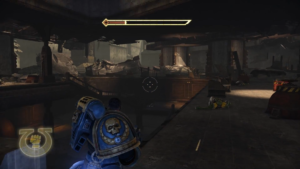
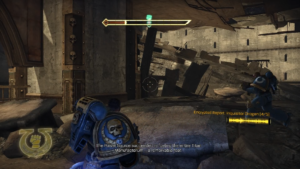
Still on the way to meet up with the Inquisitor, you’ll make your way to a large Ork battle in a 2 story building, right after the underground section mentioned for the previous skull. Clear out the building without leaving via the debris bridge, marked with an objective icon, on the second floor. Facing the bridge or ramp rather, that leads out of the building and to the roof of one across the street, look to the left corner of the floor and you’ll find the skull sitting by the railing.
“To Lord Sharpe — The Power Source succeeded in fueling the entire Titan Manufactorum — a remarkable feat. But I have not forgotten my true purpose on Graia, my lord. I have dedicated my life to defeating the alien horde. Now, I will use the Power Source in a weapon that exploits the very weaknesses of our alien foe….”
6. Personal Message: Worker Nathaniel [2/5]
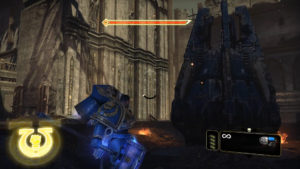
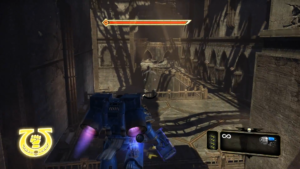
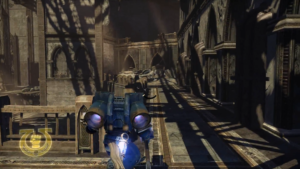
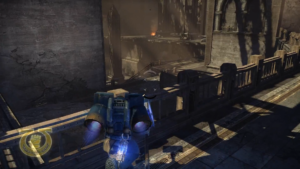
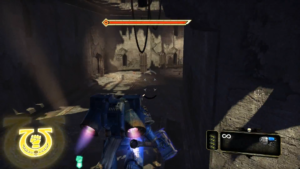
The next skull in Chapter 8 isn’t found until you acquire the jump pack, allowing you to leap/fly through the air for short periods. As soon as you receive the pack and head onwards, the path will split, to the left a very large room and to the right a small alcove much higher up and a little easy top miss if you’re moving fast. Just leap your way to the right and up into this alcove and you will find the skull sitting in plain view.
“Benjamin, we’ve waited as long as we can. Where are you? The Orks are crossing the mainline bridge. I have to get Hannah and your mother out of here. When you get this message, leave immediately — go to hab block seventy four. We’re going to gather with others from our shift-group. We have your things. Come find us — stay safe. And hurry.”
7. Encrypted Report: Inquisitor Drogan [5/5]
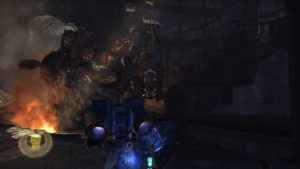
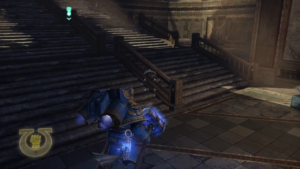
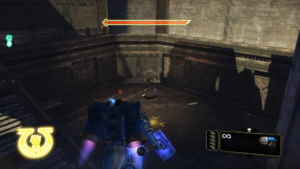
Right after you got the last skull, you’ll have to go back and through the room that was to the left. At the far end of that room is a small exit where you’ll find a crashed Rok and a handful of Orks accompanied by a Nob you’ll have to fight. Finish them off and jump over the Rok, looking to your right to find the next skull sitting in a pocket of the floor, directly to the right of the first staircase on the lower level.
“To Lord Sharpe — The weapon is working. Integrating the power source makes this weapon far more devastating to the alien biology than I’d envisioned. My lord: I believe that this weapon — this psychic scourge — could end the alien threat against the Imperium for all time.”
8. Audio Log: Workshift 465 [4/5]
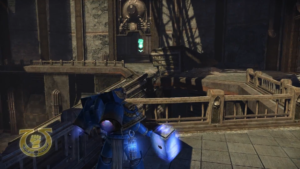
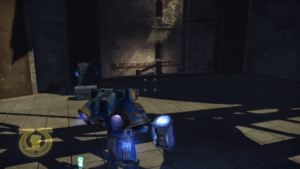
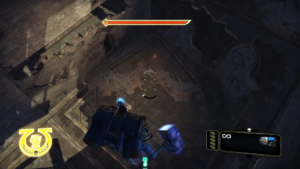
Shortly after the previous skull again, you’ll come to a large room where you are fighting several waves of the Ork horde along with an Ork Psyker who blocks your exit. Fight your way through this extended battle, but before leaving the room position yourself facing the exit, marked by an icon. If the exit is 12 o’clock then you’ll want to look in the 3-4 o’clock position to find a pair of large hallways that are staircases to a small room to the side, one of the staircases which is destroyed. The skull will be at the bottom of these stairs in the small room.
Caleb: “– I say we stay here. This factory is a far better place than the hab blocks to make a last stand.”
Lilith: “A last stand? You’re no Skitarii, Caleb.”
Graia: “Workers, alert. Xenos presence detected. This is not a drill.”
Caleb: “If I’m going to die today, I want to face it straight on.”
Lilith: “You stubborn fool — you are not going to die today! There’s got to be a place where we can hide –“
9. Journal: Inquisitor Drogan [1/10]
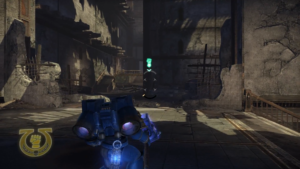
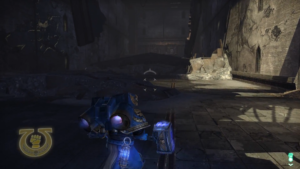
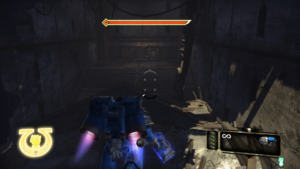
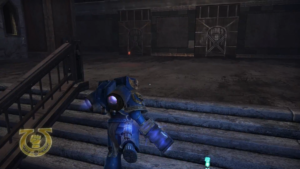
After fighting the Ork Weirdboy (Psyker) you will leave the large room and head down a large demolished hallway for a while before entering the next major combat area through a hole in the right side of the hallway. There will be a momentary pause for loading when you reach this point, so you’ll know you’re at the right spot that way to. Instead of turning to go through this hole and proceed onwards into the mission, keep traveling down the hallway which dead ends after some rubble. At the end, you’ll find the servo skull, which is hard to see before hand due to some rubble obscuring it.
“Encrypt recording. Authorization Drogan, Inquisitor Ordo Xenos. I have arrived on Graia to begin my research. This work could change the course of history. I would be a fool to leave no record…the Imperium must not forget the good I have done. But these journals will remain sealed until my death, for here I will speak the truth that could damn me.”
10. Audio Log: Workshift 465 [5/5]
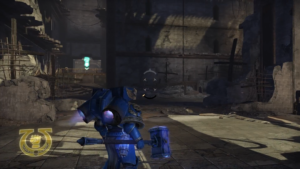
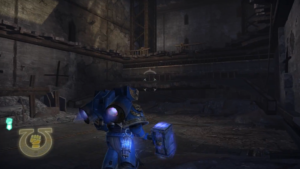
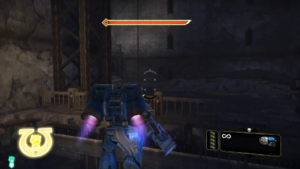
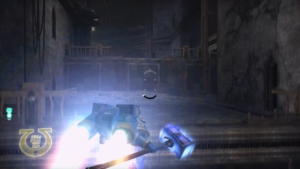
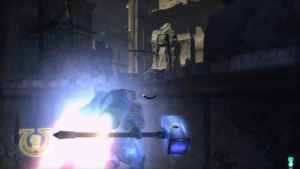
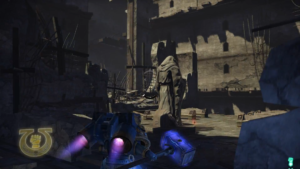
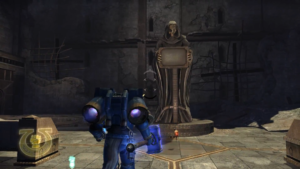
The final skull in Whispers of the Dead is right around the corner from the last. Go back to the hole in the wall you need to go through to continue in the chapter, but take the less obvious path to the right as opposed to straight ahead, jumping up a ledge using the jump pack. Once you’re up the first ledge, turn left to go up to some higher ledges. When you get up the second set and see some stairs further ahead, you can turn to face the wall to your left and jump once more to reach a room that was above you, opened up by the destroyed walls. Right next to the center of this room, in front of the statue, is the final skull in chapter 8.
Lilith: “What took you so long?”
Caleb: “I saw them. The Orks are in the loading bays. Help me drag this over –“
Lilith: “Why are you blocking the door? This room isn’t safe enough — we have to go, Caleb!”
Graia: “Workers, evacuate. Xenos detected. Your safety is not guaranteed.”
Caleb: “It’s too late, Lilith. There’s nowhere to run.”
“Whispers of the Dead” Servo Skulls Video Guide
Last Updated on October 4, 2020 by Standard of Entertainment

![Space Marine - Chapter 8: Whispers of the Dead 10 - Audio Log: Workshift 465 [5/5]](https://standardof.net/wp-content/uploads/2020/09/Space-Marine-Chapter-8-Whispers-of-the-Dead-10-Audio-Log-Workshift-465-5-5-7.png)