Willaim Wallace Campaign
Mission 7: The Battle of Falkirk
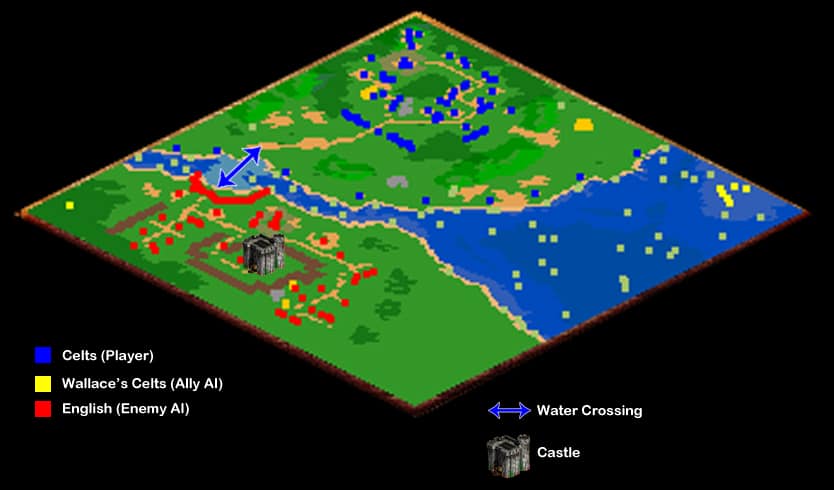
The final mission in the William Wallace campaign of Age of Kings, The Battle of Falkirk has you occupying a large landmass that takes up the upper portion of the map with your enemy on a smaller stretch of land to the bottom left, accessible by a single water crossing to the west of your town. In this mission your tasked with both building your own Castle, while establishing an army strong enough to destroy the English’s.
Objective: Build a Castle

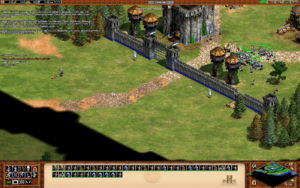
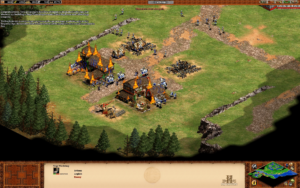
When the mission starts, you’ll notice you have a ring of outposts on the edges of the land mass your town occupies, along with a half built wall with some large gaps around the edge of the town. You should get to harvesting from the farms, stone, gold and trees that lie within the partial walls of your base while working on closing the gaps that exist in the wall. The right side may need a bit more wall than the left, stretching to the edge of the map.
The English will start to attack almost immediately, however they will be kept busy for a while, taking out your expendable Outposts around the edge of your land mass, before they attack your town itself. Avoid trying to defend them, instead using the time they buy you to strengthen the defense at your town itself.
Protip: Always remember when building walls that if you’re going to use trees as part of the wall, make sure you don’t later harvest from that same group of trees for lumber, unless your really careful about doing so. You may unintentionally break holes in your defensive line, allowing the enemy into your town to wreak havoc.
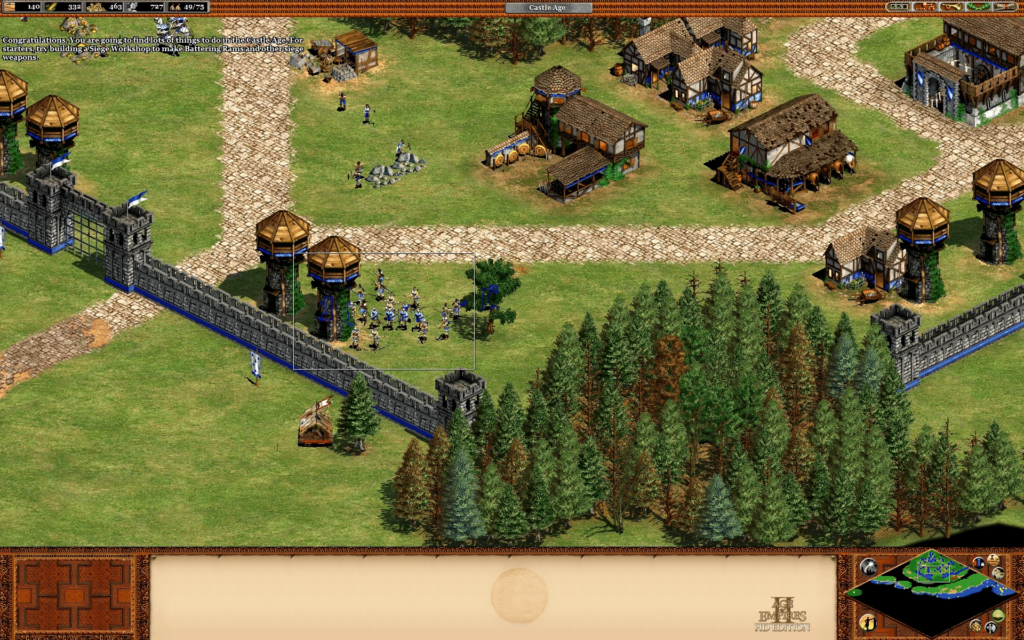
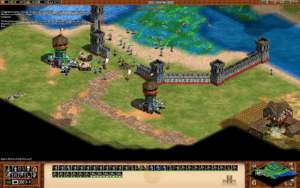
When you have the wall finished, you can add some gates to the wall itself to allow your units to pass through later in addition to Watch Towers just behind the wall to serve as defense. You’ll use up some of your stone reserves you need for the Castle to do this, however there is plenty to harvest from within your walls to make up for this.
Protip #2: Gates will open automatically to allow your units to pass through when they get close. This can have the unintended effect of letting the enemy in, since hostile units can move through the gate if your own units are keeping it open. To prevent this, select the gate and toggle it to it’s locked state to prevent it from opening until you come back to unlock it, when you are ready to move your units out.
Now it’s time to save up resources to hit the Castle Age, unlocking the upgrades you’ll need to destroy the English town and it’s castle, along with unlocking the build option for your own. Try to put some resources into building a few military units here and there, particularly some Archers to defend from behind the walls. Melee units will come in handy when you need to run out to destroy a battering ram, which has a powerful attack VS buildings and is resistant to ranged attacks.
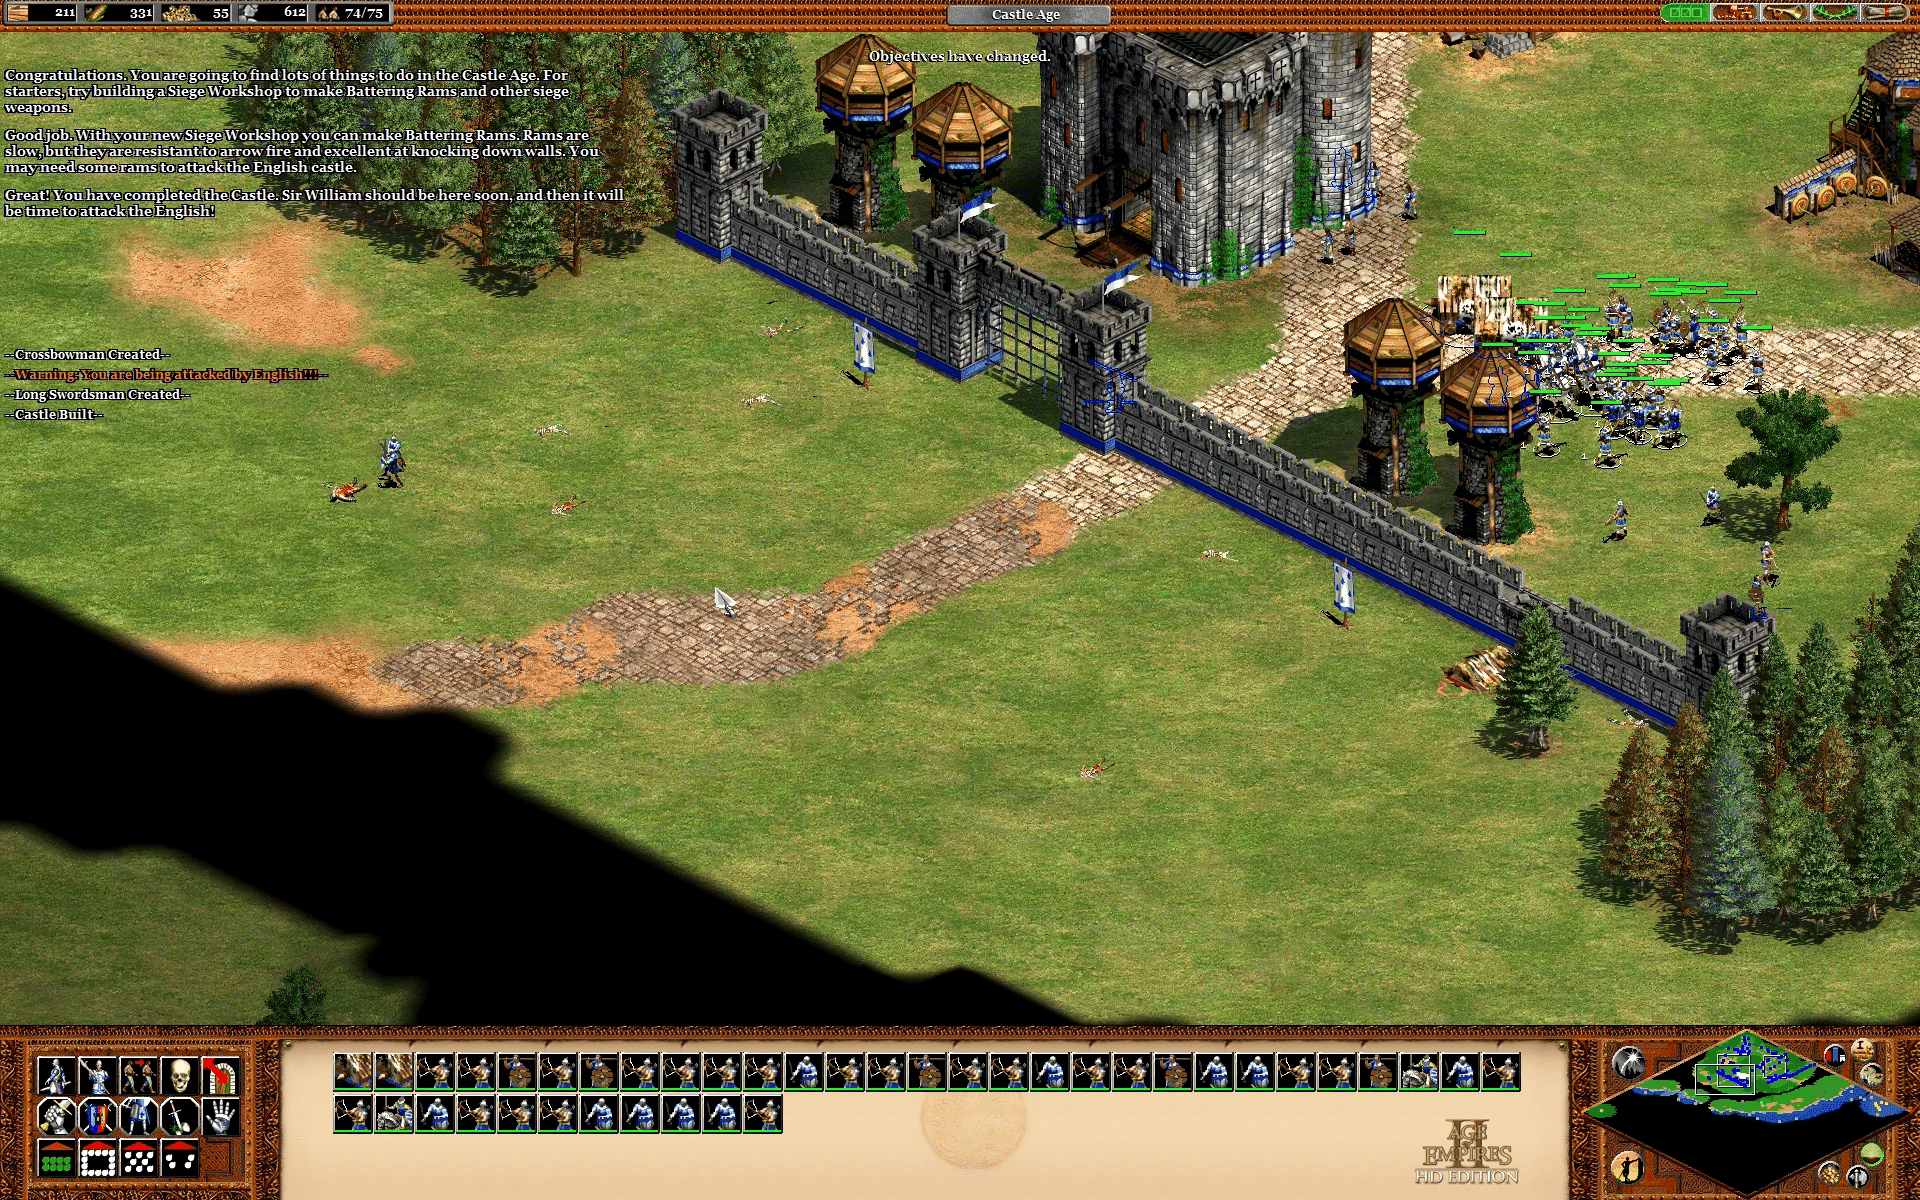
Hitting the Castle Age
Once you’ve aged up, you can start building the Castle you need for the objective, inside the walls of your base. Put the rest of your resources into teching up your military units at their respective production facilities while researching damage and armor upgrades for them at a Blacksmith. In addition, you’ll need a Siege Workshop and a couple Battering Rams to deal with the enemy castle itself. Once your castle is finished, your ally yellow, arrives with a significant amount of reinforcements to supplement your army.
Objective: Destroy the English Castle

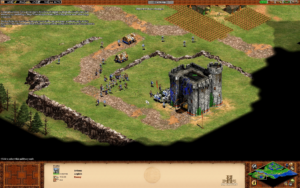
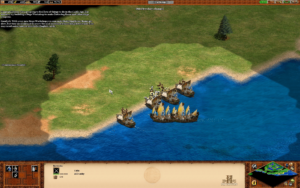
Take the forces you’ve built up to this point and combine them with the ones you get from your ally. You have two options here, you can either use the Transport Ships you receive to make a landing over water, skipping the wall and tower defenses of the English entirely. Your other option is to use your large army to just plow through the wall, handful of defending soldiers and pair of towers that defend the water crossing that connects the two land masses in this map. If your army is on the weaker side and without siege backup, it may be best to go for the water landing.
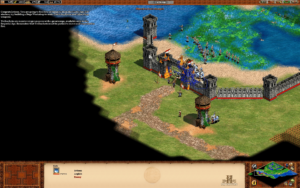
From here on out it’s all about doing enough damage to the English town to prevent them from recovering, while carving a path of destruction to the Castle which sits on a hill in the center of the base. If you have a large force still left over, you can just swarm the Castle itself with little regard, or you can take the more careful route and send in a group of Battering Rams to lead the charge, taking the damage that would do more harm to your other units while being sufficient in a group of just 4, to bring the Castle down by themselves.
If for any reason, you lose too many units, just hold them outside the range of the Castle to keep wrecking the other buildings while you build more reinforcements to join the fight.
Mission 7: The Battle of Falkirk
Video Walkthrough
Last Updated on October 7, 2020 by Standard of Entertainment