Mission 6: “Journey through the Andes”
Primary Objective: Reach Pacamayo Valley.

First off, I feel it is important to point out that this level requires very specific timing in order to complete both objectives that is best shown through the use of the attached video below. When playing on Hard, there are many specifics which can be only explained in full detail in the playthrough. However, this portion will attempt to provide a general idea of how things will play out for you.
Secondary Objective: Don’t allow a single scout to reach the Boneguard Army. (1500 XP)

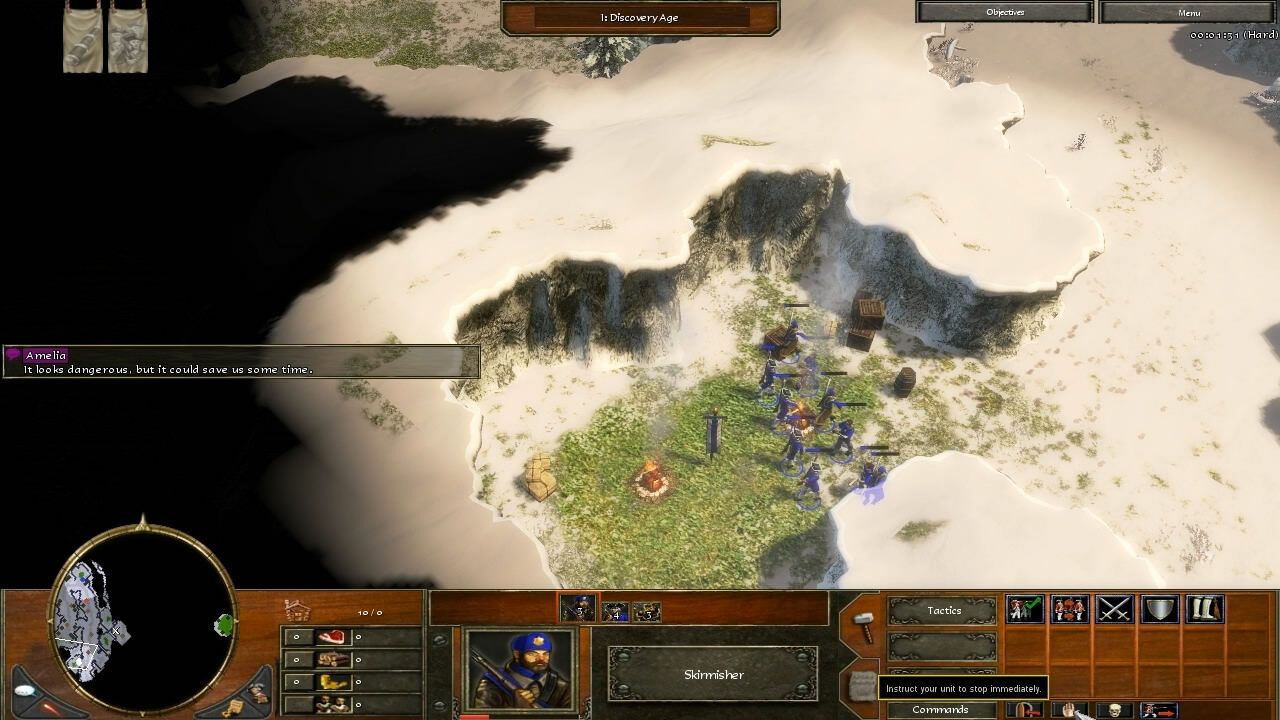
You will start off this level with Kanyenke, Amelia, and a small handful of Infantry. It is critical that you split your units into two control groups, separated into heroes and everything else. Throughout this level you will have to move both groups independently from cave to cave in order to keep them from perishing in the bitter cold that slowly drains the life of all units exposed. Also make sure you recognize that units must come to a full stop in a cave in order to heal.
Note: This mission on hard requires liberal use of the Pause button to give orders quickly. Try to also save your game as often as possible since the secondary objective only requires one cavalry get past you to fail. Finally the caves mentioned are numbered not by their order of appearance necessarily but more so the order in which they are stopped at in, so unnumbered caves are skipped (except for the very last stretch of path, i.e., after cave #8).
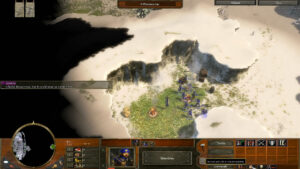
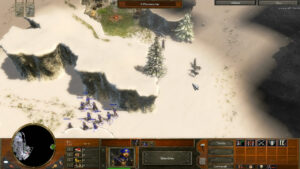
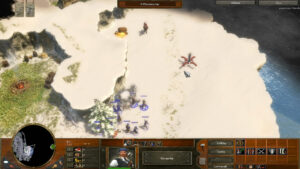
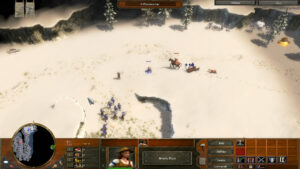
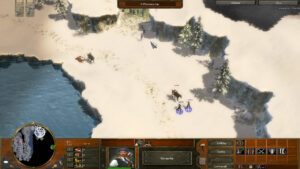
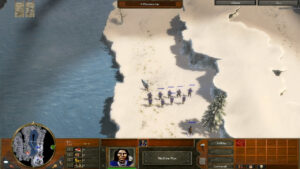
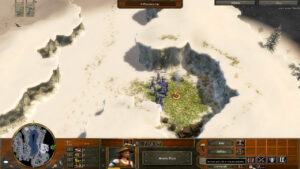
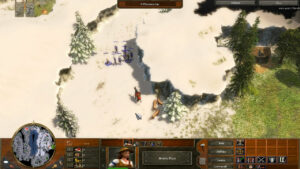
See pictures to the top for exact locations of caves one through eight.
The first cave will be to your north and the second around the corner to the next path heading south. During this portion, it is best to move your Infantry ahead of your heroes, always one cave ahead. When you come across wolves or other creatures, you can kill them quickly and efficiently by having your units fire, then continue moving for a second or two, then stopping to fire again, thus their reload time is expended while still heading towards the next cave instead of standing still. When you see a scout (always a Horse Archer) head past your infantry in the opposite direction you are traveling in, pay close attention to your mini-map and be ready to trigger the special abilities of your heroes to drop them quickly and in one shot. Keep in mind that with the rate at which scouts spawn and head past your units, you will have to rotate special abilities and even occasionally attempt to use regular weapons fire.
When you get your infantry to the second cave, approach the shortcut to the east leading to the third cave, in this case stopping as soon as you see the wolves that guard this path to shoot them from range and retreating back to cave #2 for a second to heal before making it the full way to cave #3. Once your infantry reach #3, send your heroes up to #2 to heal before then taking them to number 3. From this inside of cave 3, your infantry should be able to clear the wolves guarding the nearby Boneguard Muskets treasure item just north outside of the cave.
When your heroes reach your infantry they will likely be tailed by a pair of Hussars that approach from the starting position. These units will start coming in pairs every other scout spawn or so to attack your squad. Try to get the Hussars to focus on your heroes to prevent infantry losses and always try to fight the cavalry inside of caves if possible. Once this pair is gone, have your heroes pick up the treasure to increase your unit’s ranged attack power while moving your infantry to cave #4 just a bit further north of the treasure, following with your heroes after they retrieve the Muskets. For the time being, keep all your units moving from cave to cave at the same time.
Make your way now to cave #5, which is north a stretch past some wolves by a tree. Stop inside near the entrance only momentarily as there should soon be a pair of scouts traveling together that will require at least one special attack and some combined basic attacks on the second Horse Archer to drop both in time. Heal up in the cave and head east to number six, clearing the cougar treasure guardians from the Boneguard armor chest along the way and diverting your heroes while the infantry finish the quick journey to retrieve this item which will boost all your soldier’s hitpoints.
Once you reach cave 6, you will have to leave your infantry behind in the cave while your heroes traverse the next great stretch of land. Await another Hussar attack if it has been a while since the last with your units grouped, while prepared to take out another passing scout before heading out. As your heroes travel south, you will need to move your infantry out in the cold to await any scouts that make it past your heroes since they will not be able to reach the scout in time if waiting until you have vision of it from within cave 6. Try to get a good sense of the speed at which the scouts travel at to estimate the time it will take for them to reach cave 6 to prevent spending too much time with your infantry exposed to the hazardous weather.
You heroes will reach cave number seven right next to a shortcut leading further towards Pacamayo Valley. Park your heroes in here and keep at least one within the caves to keep vision on passing scouts which travel through the shortcut while you try to kill the cougars guarding the Medicine Man treasure visible just south along the long route the shortcut bypasses. The reason it may be necessary to have one hero outside the cave and approaching the cougars in close combat is since they will have their health reset if they try to travel to far from the Medicine Man while trying to approach your units in the cave.
Once they are cougars are gone, rescue the Medicine Man, whom is invulnerable to the bitter cold and its life draining, sending him back the way your heroes came while now moving your infantry out towards cave 7. You will have to have the Medicine Man meet the infantry halfway and use the heal ability to restore some lost hit points for the infantry to survive the rest of the journey. All units must stop moving for a split second to pull off the heal, so use the pause button to minimize wasted time. Some of your units may not be healed, but enough should survive thanks to the Medicine Man to facilitate the last portion of your journey. Try to have your heroes use their special attacks on the passing scouts during this trip to reduce the need for the infantry to stop and fire.
Once your units are all grouped up once more at cave 7, keep them together from here on out, taking the shortcut, clearing the wolves, pulling back for another heal and heading on the final stretch in Journey through the Andes. Skip the cave you see right as you exit the shortcut in favor of heading just a bit north along the main path to cave number 8. The large cave, even though containing treasure worth experience, is essentially a missed scout waiting to happen.
After cave 8, you can speed along the main path while making quick stops at the final two caves since eight through ten are all within easy firing range of the main path, allowing you to stop any approaching scouts or attack cavalry from within. When you turn the final bend and see the land transition to green grass you have made it to safety and successfully completed level six in the act Steel.
Last Updated on October 4, 2020 by Standard of Entertainment