The Escape & Caravan
The Escape – Part 3B-1
The first level of the two that make up part 3 has you protecting a group of worm transports as their docks are under attack. This really isn’t much of a defend the worms mission as it is a defend yourself mission, since the attacking saw machines seem to exclusively go after you.
The people on the transports will fire their rifles to assist you and can be helpful if they can hit the top portions of the bots since they are relatively weak. For this reason, try to keep the bots towards the lower portion of the screen so their shots hit the robot portion.
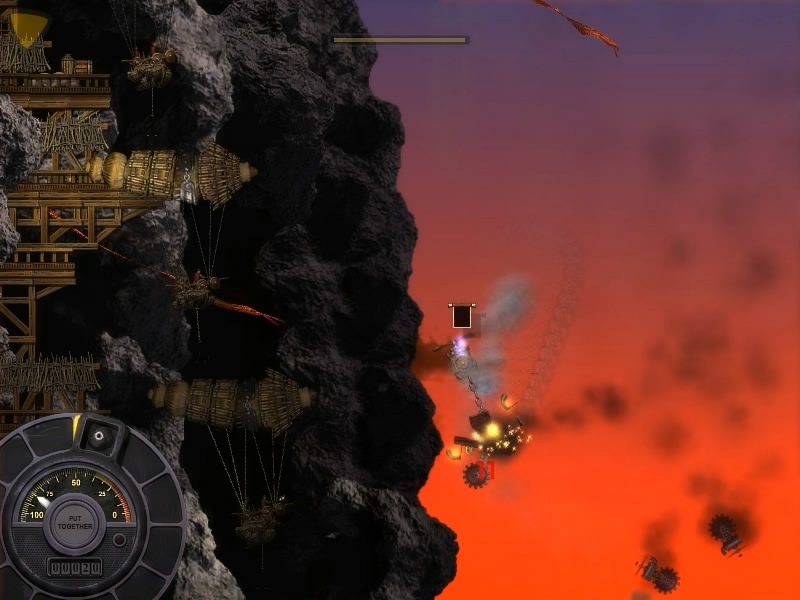
Destroying the Sawbots
These enemies can only be destroyed by smashing your Mace into the top of the saw bots as hitting the saw itself will only fling them about without causing damage.
For reasons you should be able to guess, avoid the saws themselves whether or not attached to the bots as they can cause some bad damage, especially if you get knocked out and they push into you. After about a minute of this defense the level is victorious.
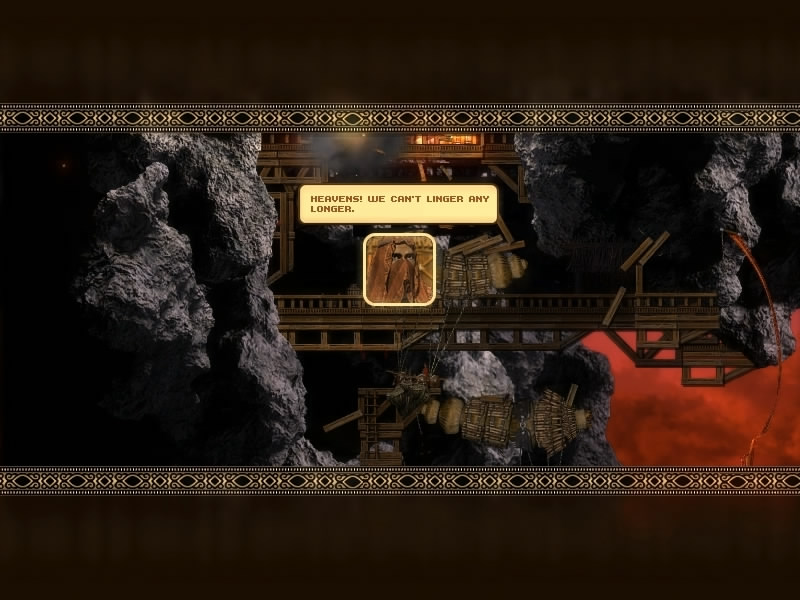
Caravan – Part 3B-2
Now the worm transports are all moving out and its time to actually defend them from enemy worm platforms and saw bots. You will notice six flags at the top of your screen representing the enemy worm platforms that you will need to take out as they slowly start to approach from the left side of the screen. You have a large group of worm transports that will be attacked only one at a time, serving as a kind of life counter with you having to take out all the enemy transports before all of your allied ones fall.
For the most part if you can, try to ignore the saw bots once the worms begin to show up, as the saw bots come in an endless stream although only ever one at a time. This means destroying one of them only gives you a few seconds of time without one on your tail although it may be necessary sometimes to make a quick strike on the worms uninterrupted.
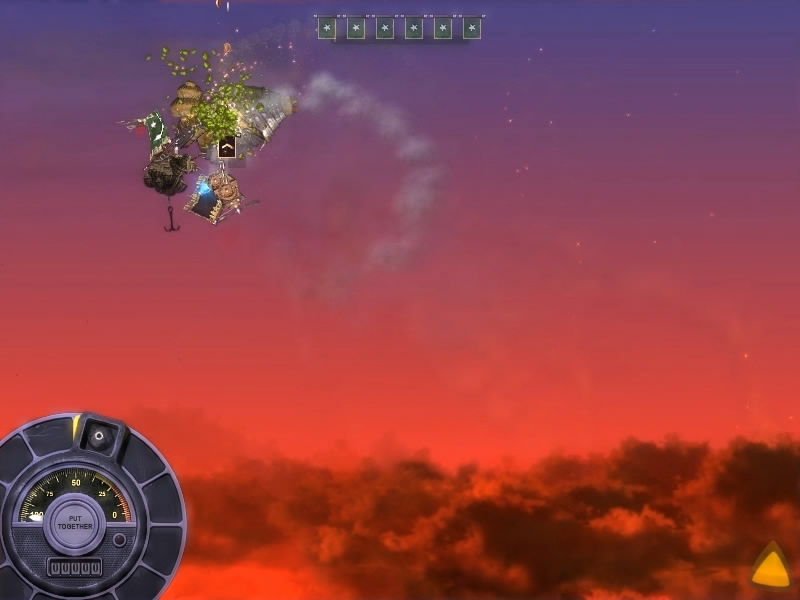
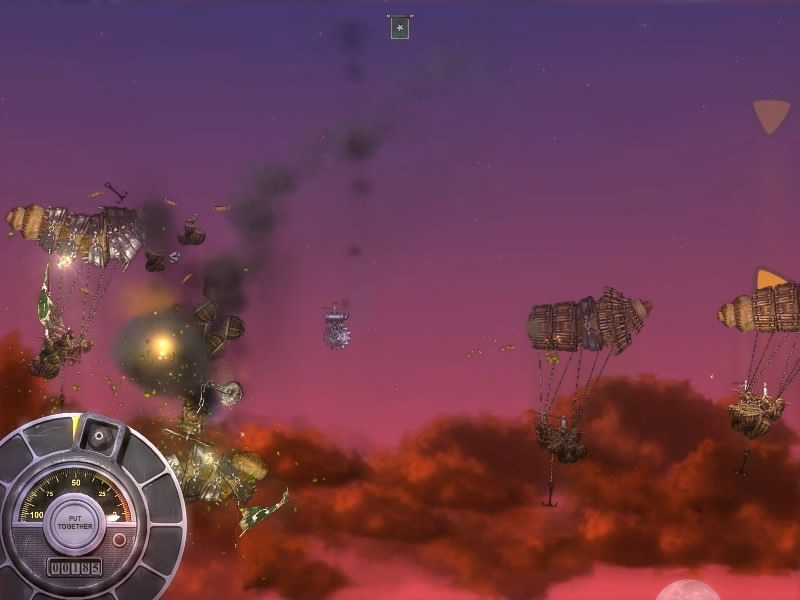
The best method to take out these vessels is to get your mace on their topside with your machine underneath and pulling down hard. This will not only rip apart the worm, but eject large amounts of coins at the same time. You may have to follow up with another hit if there is still some worm holding the platform up.
Optionally you can smack their mouths to quickly drop them from the sky, however this is far less profitable. Lastly you can strike the platforms directly to pull their chains off the worm and causing them to fall. This neuters the transports but you will still need to take the worm itself out.
The enemy transports all fire explosive shots that while can be deflected away with your weapon, are best avoided as their detonation can do serious damage and daze you. Once you’ve dropped the six enemy vessels the Caravan level is victorious.
Last Updated on October 5, 2020 by Standard of Entertainment