Steiner Mission 6C
Combat Rescue: Claymore

In this final level considered part of the 3 levels that make up your 6th mission set, you will be tasked with eliminating a Bandit airfield to reduce their air support options in the final, 7th mission which will have you assaulting their HQ. You will need to take a small force to meet up with a Steiner pilot operating an Atlas in the area, then assault these air fields. For this mission I decided to bring one Starslayer for its jump capabilities which are needed and two Men Shens for fire support and sensor coverage.
Weight Limit (Tonnage): 160
Starting RPs: 0
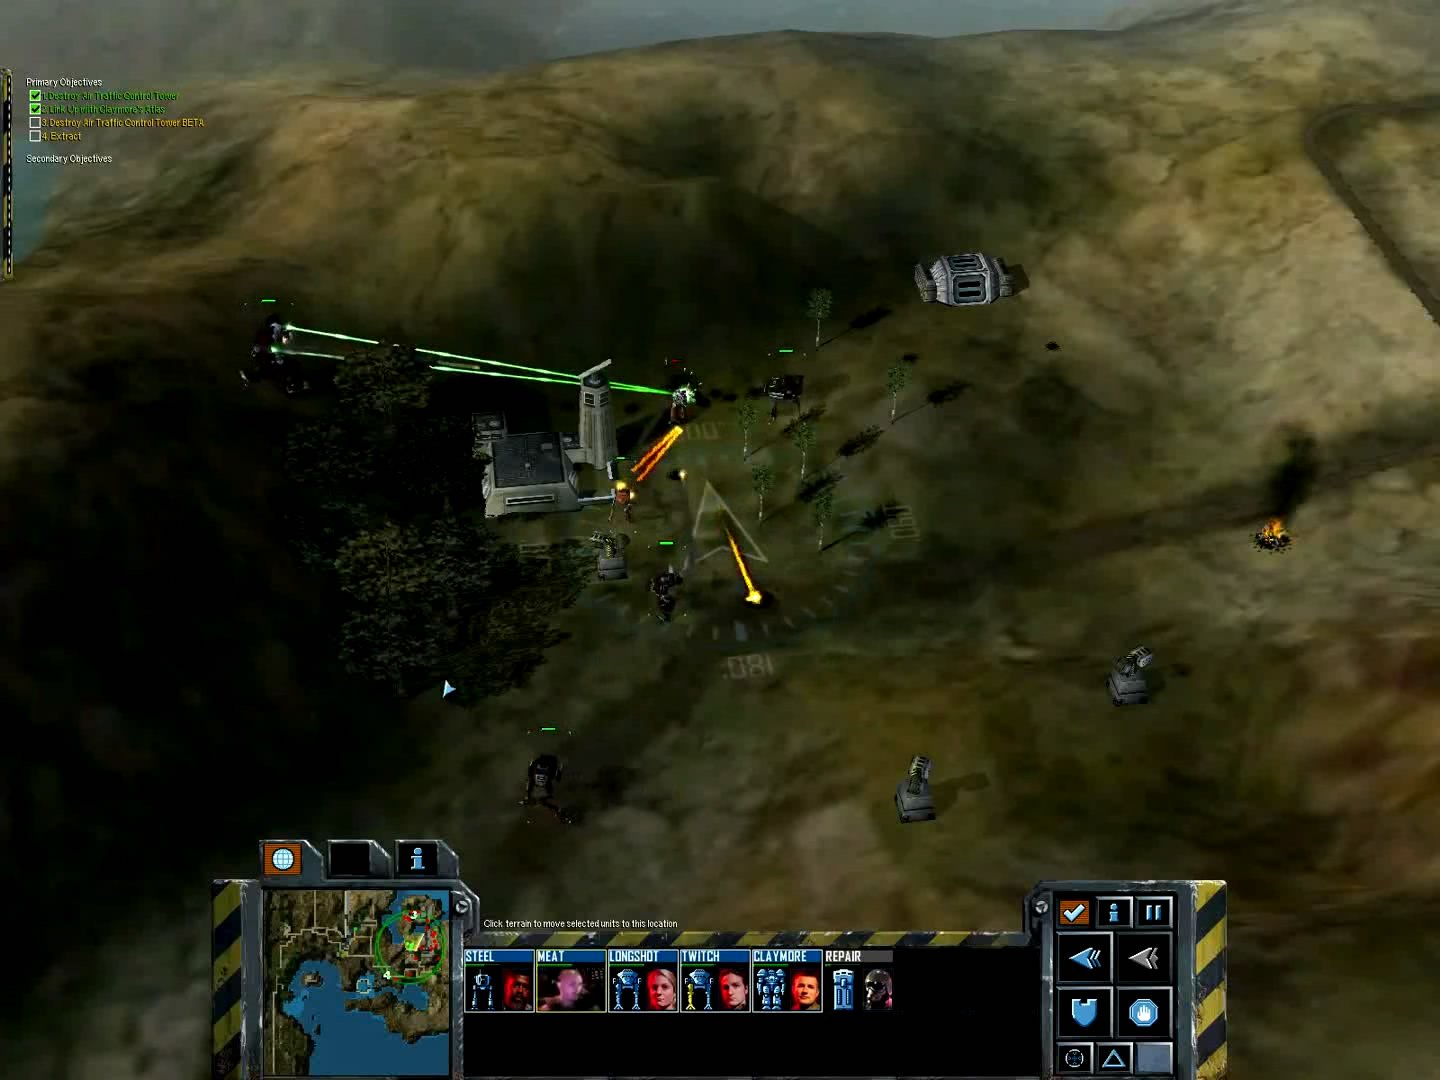
Primary Objectives:
- Destroy Air Traffic Control Tower
22000 C-Bills - Link Up with Claymore’s Atlas
14000 C-Bills - Destroy Air Traffic Control Tower Beta
22000 C-Bills - Extract
11000 C-Bills

Tips to Remember:
The first group of enemies are some patrolling bandits who are traveling south on the western strip of land you begin on. Look for the explosive tanks along the right side of the path you will have to take to reach the primary land mass and lead this patrolling group to these fuel tanks for a quick extermination. Afterwards, make sure you capture the resources on the small island to the east, where the jump jets come in handy, being necessary to reach this point, you will need these RPs for repairs.
Do not approach the first airfield (point 1) directly from its western side, as there is a wall with turrets and defenders that will make this a costly venture. Instead, hug the water, breaking through the southern point on your way to recover the Atlas you are tasked with meeting up with. After eliciting the Atlas’ assistance, you will have a powerful force with which to punch north towards the first airfield.
Hug the northern body of water, approaching the second airfield via the land bridge that makes its western connection to the main land, as opposed to the bridge to the far east. This will allow you to avoid a significant amount of Bandit forces that exist in the eastern portion of this map. Your Mechwarriors will thank you.
Mission 6C – Combat Rescue: Claymore
Video Walkthrough
Last Updated on October 4, 2020 by Standard of Entertainment