
The Courtesy Call Walkthrough Guide
Achievements or trophies covered in this section are: Wake Up Call and You Monster.
Note! This guide has spoilers as it covers the progression of the game.
How to Follow This Guide
All of the available achievements and trophies in the single-player mode will be covered in the sections where they can be found. Any platform-specific notes will be covered as well, such as Trophy color for the PlayStation 3 or gamer points and avatar items for the Xbox 360. Steam (PC) achievements have no special notes as there is no point, item, or trophy system in Steam.
Finally, since the video walkthrough at the end of this article covers the entirety of Chapter 1, you will find timestamps in each section to allow easy viewing of the video if you only want to watch it for a few specific portions.
Stasis Chamber
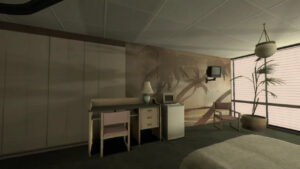
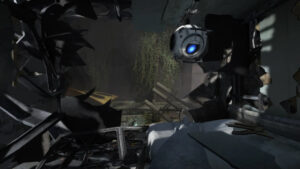
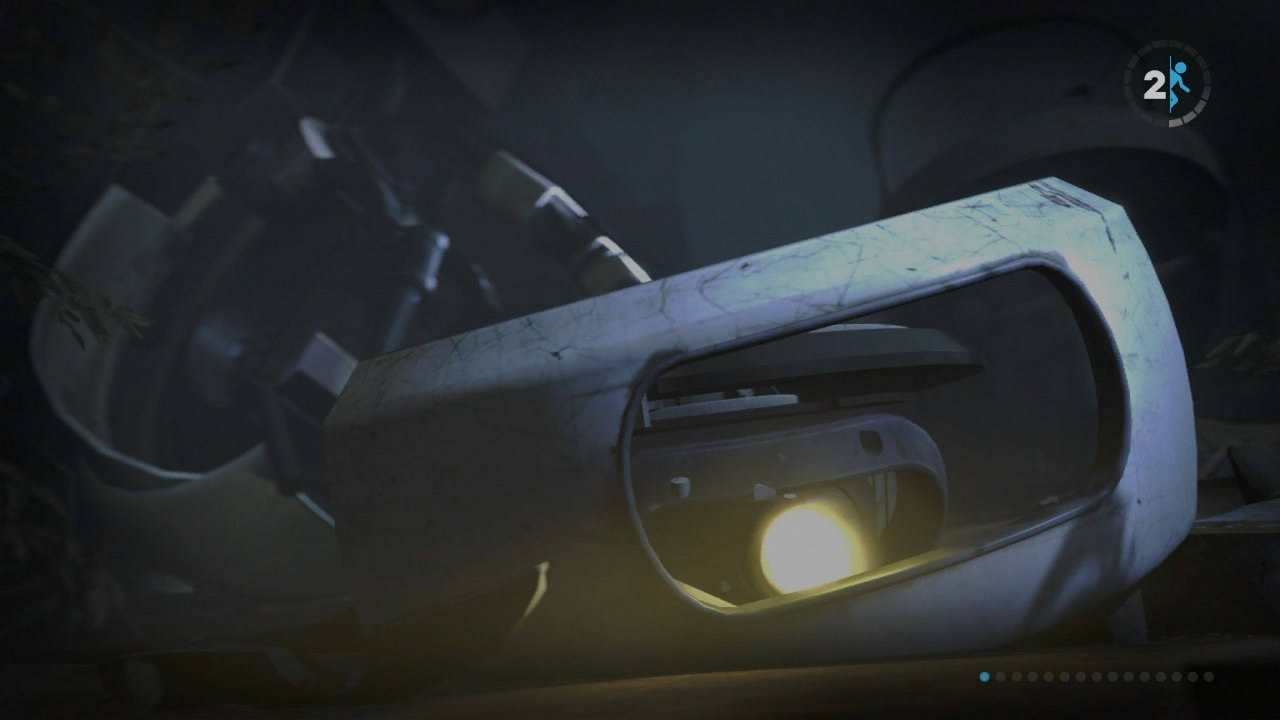
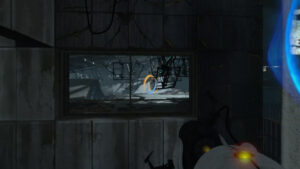
As the “The Courtesy Call” chapter opens up with the start of Portal 2, you are woken up within the Stasis Chamber, a module used to house test subjects in the Aperture Science facility. You will be given some basic instruction on the controls in the game while a computerized voice guides you through your “daily routine” once done it is time to go back to sleep.
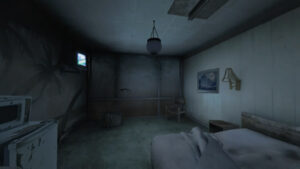
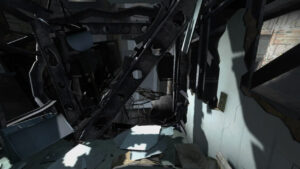
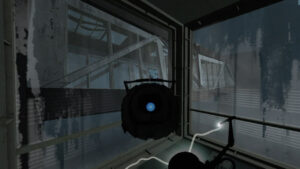
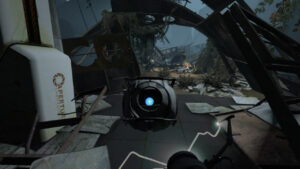
Upon waking, something has obviously gone awry with the deprecation of the Stasis Chamber since last awake. Wheatley soon introduces himself and brings you somewhat up to date on the current condition of the facility. After some brief interaction, he will begin to move the entire Stasis Chamber through the Aperture facility rather haphazardly as he continues his rant on the state of things and what the management will do to him.
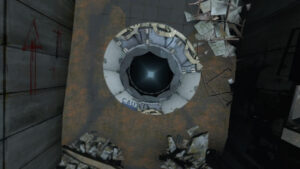
Towards the end of this introduction sequence, Wheatley will smash the chamber into a wall to collapse it as part of his “manual override” of what he believes to be a docking station, although it is, in fact, a sign notifying of the actual docking station’s location, 600 feet below us. Either way, this is where we will be making our entrance into the main facilities.
Time-stamp: 00:46

Wake Up Call Achievement
After the “docking” has been completed by Wheatley, allowing your progress into the first test chambers, the Wake Up Call achievement or Trophy will unlock.
Xbox 360: 5 Gamerpoints and the Portal 2 Hat avatar item.
PS3: Bronze Trophy.
Time-stamp: 05:40

Test Chamber 00/19
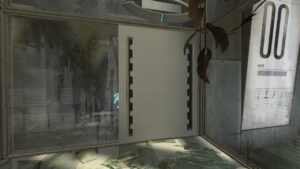
This initial room gives another simple introduction to the basic puzzle mechanics in Portal 2. Once you drop through the glass after the manual override, wait for the orange portal to open up in this room and allow you to leave.
After stepping through the portal, enter the next room which has a button and a cube dispenser. Step on the button, collect the cube that falls out of the dispenser, and place it on the red button to open the exit door for Test Chamber 00/19.
Time-stamp: 06:24
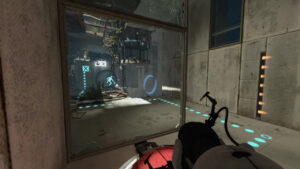
Test Chamber 01/19
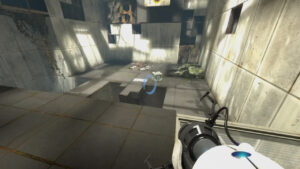
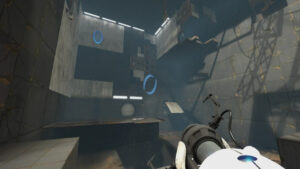
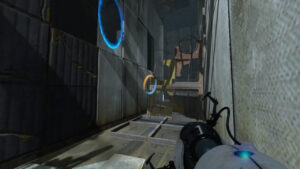
In Test Chamber 01, you will be presented with 3 rooms, one on the far side of where you enter, one on the right and one on the left, with the orange portal generator behind you on the wall.
Hit the button against the right room with the cube in it to open its blue portal generator and step through the orange generator and grab the cube before stepping back into the main room.
Next, hit the switch for the left room’s blue portal generator to gain access to the button room. Take the cube inside and drop it on the button before heading back out to the main room again.
Finally hit the far side room’s switch to open the blue portal there and gain access to the exit door, allowing you to leave this chamber.
Time-stamp: 07:46
Test Chamber 02/19
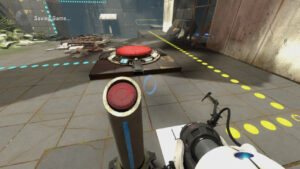
When you enter Test Chamber 02, Wheatley will show up again and ask you to approach the central platform to grab the Portal Gun, which isn’t actually there. Approach it anyway to fall through the floor into the next room.
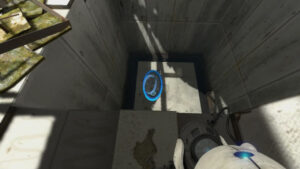
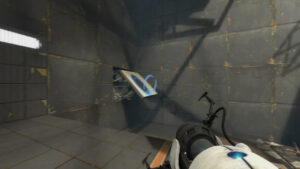
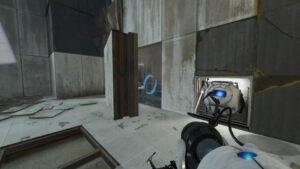
After falling through, walk through some hallways until you find the actual Portal Gun which sits atop a platform with some steps leading up to it. Walk up to it and pick it up, firing a portal at some of the white space or otherwise known as a “Portal-able Surface” to reach the orange portal generator’s platform and continue onward. For now, the Portal Gun is unfortunately damaged and can only create blue portals.
Continue to walk through some more hallways until you find another orange portal generator on a ledge in front of you that you cannot reach by walking. Open a blue portal on the walls to your side to walk through and out the orange generator. Turn to your left to find the exit door which you will need to fire a blue portal next to in order to step back through the generator and out your blue portal to reach the exit.
Time-stamp: 09:09
Test Chamber 03/19
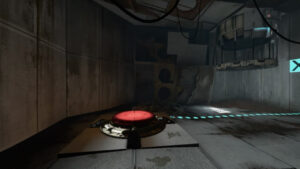
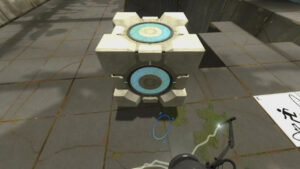
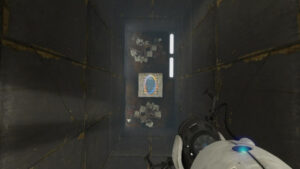
Test Chamber 03 is another simple challenge presented before you. As you enter the orange portal generator next to the button should activate, whereupon you can walk up to the cube dispenser ahead.
The dispenser should drop a cube into a lower part of the room when approached. Just fire a blue portal underneath where the cube lands to make it fall out of the orange portal generator right next to the button. Walk over, pick up the cube and place it directly on the button to open the exit door and head to the next chamber.
Time-stamp: 11:26
Test Chamber 04/19
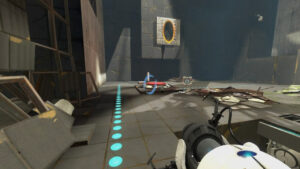
Around the bend from the previous test is Chamber 04. In this room, you will find 2 buttons in the center of the room that need to be pressed for the exit to open and a portal generator at the far platform. There are two cubes to put on these buttons, a cube on the platform next to the entrance and another cube in some low ground to the right of your entrance opposite the exit.
First, fire a portal on the wall or floor to get on the generator platform. From here you can fire a portal to the opposite platform and grab the cube there to place on the first button. Back at the generator platform, you should be able to see the second cube in the low ground, or just walk up to the edge at the mid-ground to see it. Fire a portal underneath it to send it up to the orange generator platform to grab it from there and place it on the second button.
Through the exit door, you will need to fire a portal on the wall beside you to fall out of the generator on the ceiling above you. The glass ceiling will fall, but stay attached to one side of the ledge above, serving as a ramp for you to continue through the next hallways before reaching the tube leaving this level.
Time-stamp: 12:16
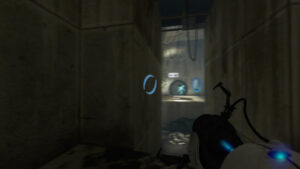
Test Chamber 05/19
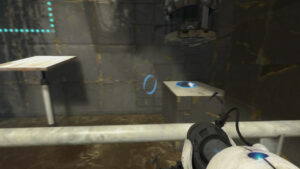
To enter Test Chamber 05, you will first have to fire a blue portal on the ground next to the wreckage blocking your path in order to drop through and out the orange portal generator in this room.
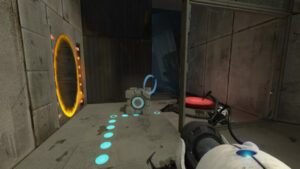
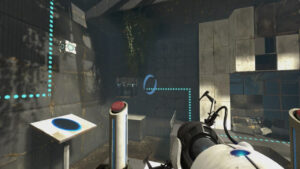
Next, find the switch next to the button that you will have landed next to and hit the switch. This will drop a cube onto some flat ground on the far end of the room (follow the dotted line). Fire a blue portal underneath the cube once it has come to rest to spit it out where you first came in through the orange portal generator.
Place this first cube on the button to make some stairs that allow you to reach a ledge to the left of the room (with your back to the orange portal). On this ledge are two switches, the left switch which controls the second cube dispenser and the right which raises part of the floor below.
Fire a blue portal where the cube drops from the dispenser, hit the dispenser switch and hit the right switch soon after so that the raised floor blocks the cube from flying into the water, since it will leave the orange portal with more speed than the first. Take the second cube up to the ledge you are on and place it on the button next to the exit door to leave this test chamber.
Time-stamp: 14:10
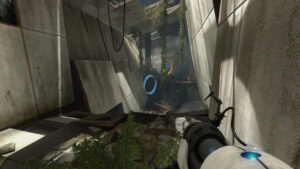
Test Chamber 06/19

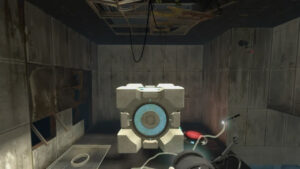
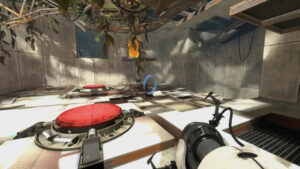
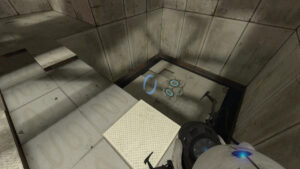
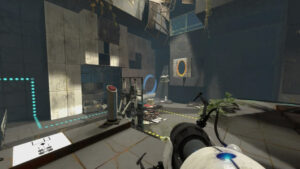
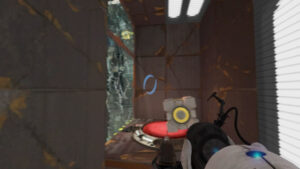
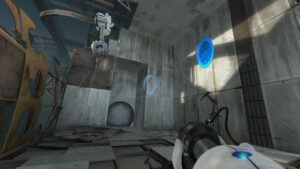
In Test Chamber 06 of “The Courtesy Call,” you will have to begin by firing a portal on the wall beside you to enter the central area of the chamber, falling out of the orange portal generator.
You will find a ledge in the center of the room with a ledge you can jump off to fall to some portable ground below. Fire a blue portal down here and jump off the ledge so you fly through it. The momentum will be such that you are propelled through the orange portal generator once more, but this time with enough force to cause you to fly across the room to the ledge the button and exit door are on. Get used to this concept of travel as it will be often used in Portal 2.
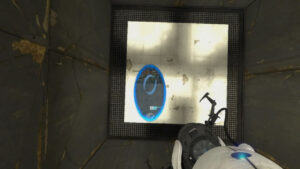
The cube is encased in glass walls, but from this ledge, you can fire a portal through the top of its chamber to drop it through and out the orange portal. Place a portal on the ground below the ledge you jumped off before to get on the button ledge and grab the cube before propelling the both of you back up to the button ledge again. From here just drop the cube on the button to leave this first room.
Time-stamp: 16:21
Test Chamber 06/19 – Part 2
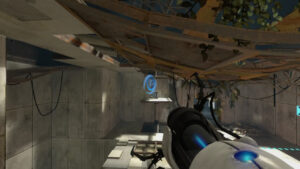
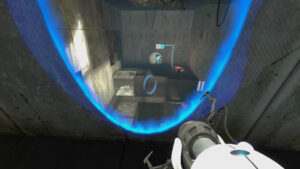
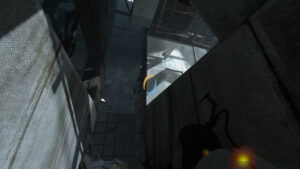
In the second room, you will an orange portal generator in the center of the room, at the bottom of a shaft. Look to your left upon entering the second room to find a slanted portal-able surface to fire a blue portal on so you can jump through this shaft, through the portals and over to the cube.
From this ledge with the cube, face the door you entered from. You will need to fire a new portal to the top left so you can drop through the orange portal generator once more, cube in hand, to propel yourself to the platform from where you can reach the button.
Once here, place your cube on the button, which will raise a platform above underneath the now open exit door. You will need to jump off the ledge a third time to propel yourself out of the same portal which should have you landing on the now raised platform, allowing you to leave.
Time-stamp: 17:30
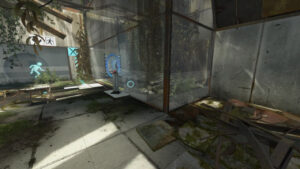
Test Chamber 07/19

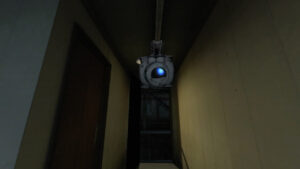
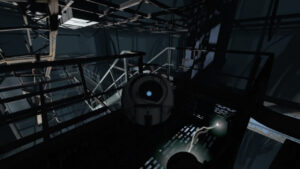
This test chamber is not so much of a puzzle but more a progression of the storyline. Once in the main chamber, you will find Wheatley again on his track rail. Portal to his side by firing your blue portal to the wall behind him and stepping through the orange portal generator.
From here Wheatley will have you pick him up as he detaches himself from his railing. Just follow his instruction and take in the sights as you progress through the opened secret passageway into the rest of the facility until you hit the next loading screen.
Time-stamp: 19:40
GLaDOS’ Chamber


This section of Portal 2 covers more of the story progression than actual puzzles as there are no real challenges to overcome here. Simply proceed through the facility as Wheatley gives you a brief history lesson and warns you about “her.”
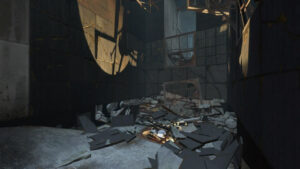
You will eventually make it to what used to be GLaDOS’ chamber and you will even find the pieces of her still wrecked from the final battle in Portal 1. Just make your way past and keep going through more walkways and chambers.
Eventually, you will end up in a breaker room where Wheatley will instruct you to plug him in as to trigger an escape pod to allow the both of you to leave the facility. This plan quickly begins to fail however, as instead of finding the breaker Wheatley is looking for, he ends up raising the platform you are both on back up to GLaDOS’s actual chamber whereupon the bungling fool actually manages to activate her power-up sequence.
Watch as GLaDOS slowly begins to reassemble herself and the panicking Wheatley provides no assistance whatsoever. Once fully awake, she is obviously still peeved about her prior destruction and smashes Wheatley before dropping you down the Incinerator tube.
Time-stamp: 23:17
You Monster Achievement
This achievement or trophy will unlock after your encounter with the reactivated GLaDOS once she drops you into the old Incinerator tube. This cannot be missed as it is part of the natural progression of the game.
Xbox 360: 5 Gamerpoints.
PS3: Bronze Trophy.
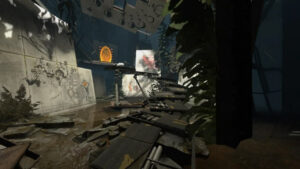
Incineration Level


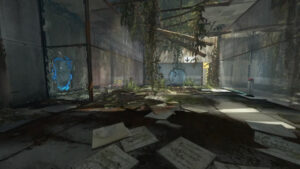
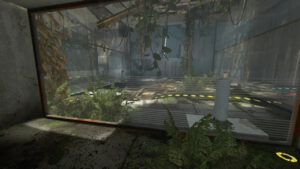
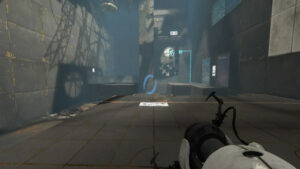
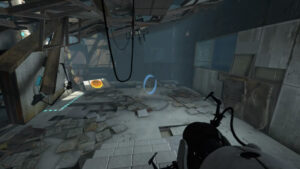
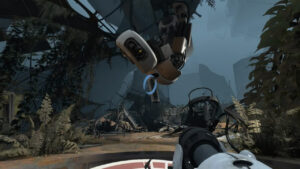
The Incineration Level in Portal 2 is another more story-oriented section of the game, wrapping up Chapter 1: “The Courtesy Call.” As you make your way across the Incinerator itself, using the wreckage to cross the fire chambers below, GLaDOS will explain to you how terrible you’ve been for killing her previously.
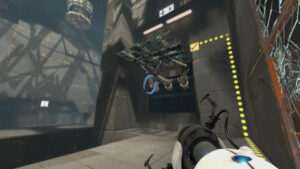
Eventually, you will make your way to a room with another Portal Gun, this time a fully functional version that can fire both orange and blue portals itself, actually being your old gun from the first game. Start using it to cross the wreckage and get up and past the next few ledges blocking your path.
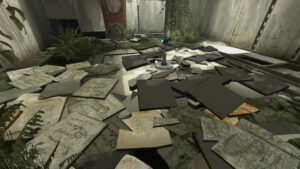
Eventually, you will reach a ledge from where you can fire a portal into the broken glass room which you’ve been traveling around the outer edges of. This is actually Test Chamber 19/19 which sits in a rather dilapidated state. Fire a portal into this room with the other next to you to cross over to this room. Look for the hallway which should be on your left after coming out of your portal to leave this level through the exit door and proceed to Chapter 2.
Time-stamp: 27:39
Chapter 1 “The Courtesy Call” Walkthrough Video
Last Updated on October 5, 2020 by Standard of Entertainment