Lion’s Arch Vistas
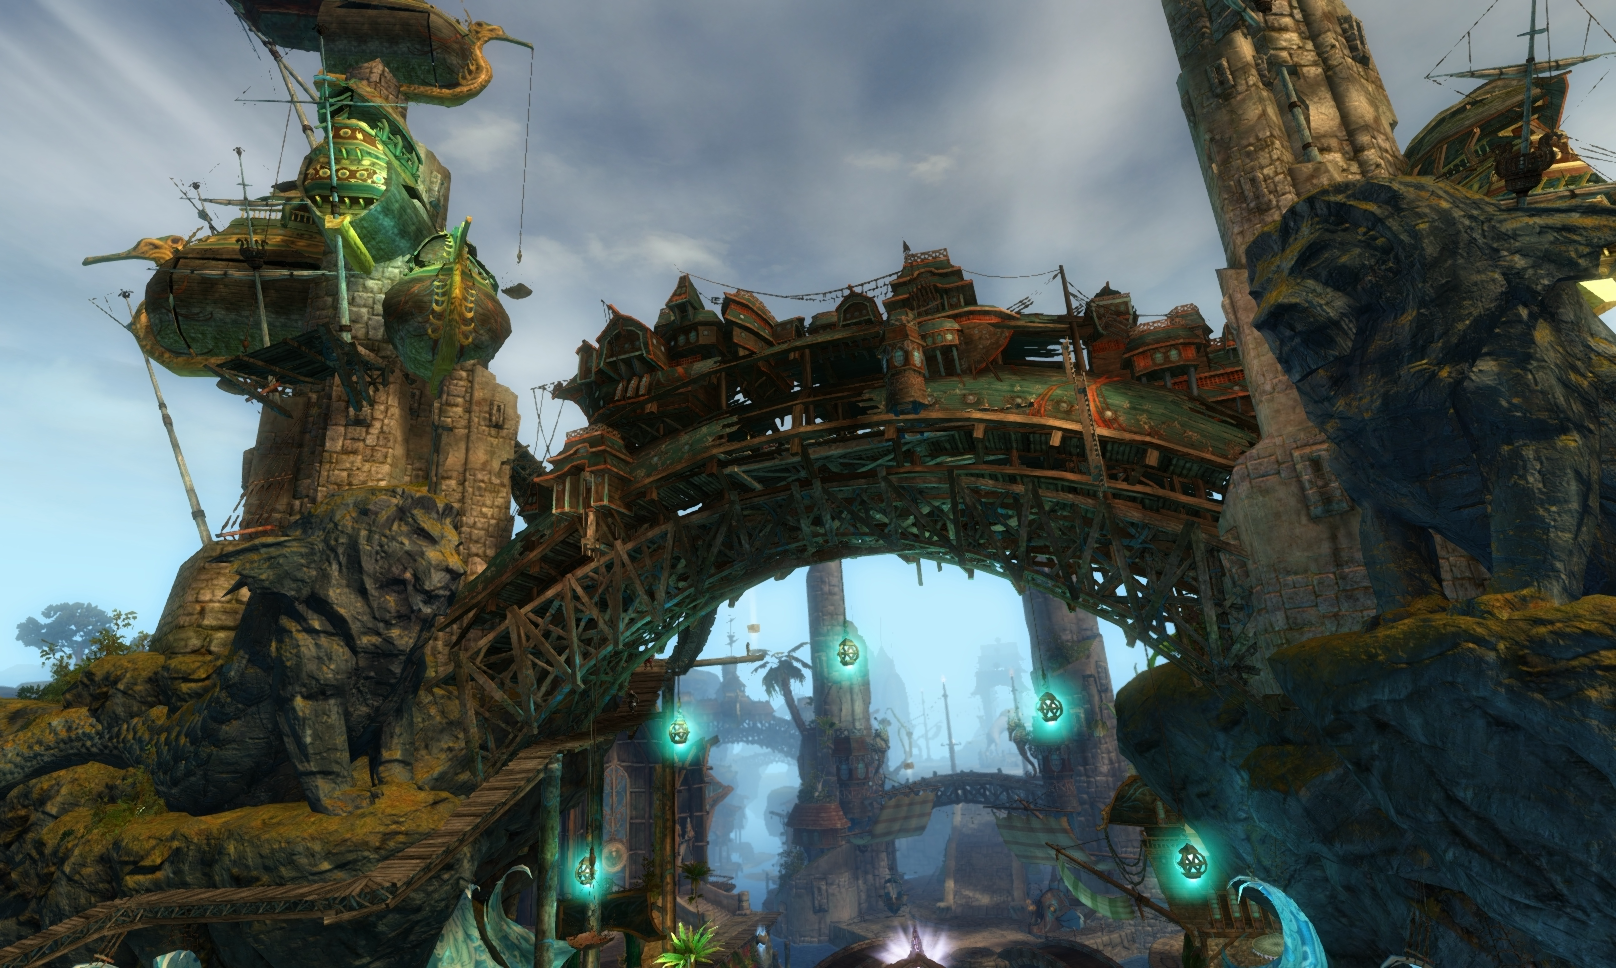
This guide will cover where to find all of the vista locations in the city of Lion’s Arch for the MMORPG Guild Wars 2. It includes a list of each location with pictures and directions on how to reach it, along with a video walkthrough.
- Bloodcoast Ward
- Diverse Ledges
- Eastern Ward
- Farshore Ward
- Hooligan’s Route
- Inner Harbor
- Postern Ward
- Sanctum Harbor
- Trader’s Forum (Lower)
- Trader’s Forum (Upper) / Mystic Plaza
- Western Ward
- Video Guide
Lion’s Arch is the former capital of the human race in GW2, but it was devastated after a flood caused by the raising of Orr. Now it exists as a pirate haven, friendly to the player and all 5 races. It serves as a sort of central hub for the main race cities, which can all be reached from the Asura Gates at the Grand Piazza. In total, there are 11 vistas to collect in the city, and they’re significantly more difficult overall than the practical cakewalks of the main cities.
For more vista guides for other cities and areas, you can check this link for a full index with links to more guides: Guild Wars 2: Vista Location Guide Index
1. Bloodcoast Ward
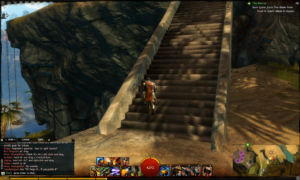
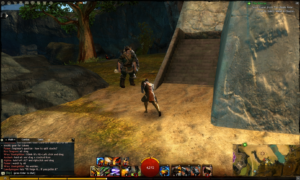
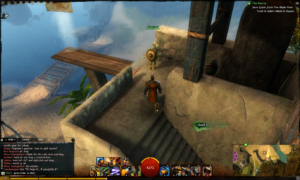
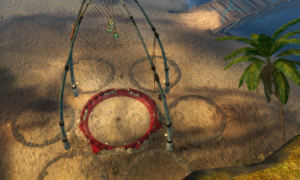
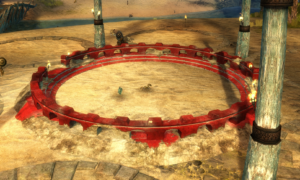
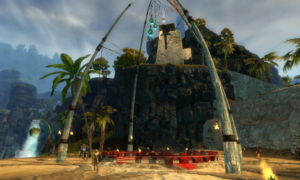
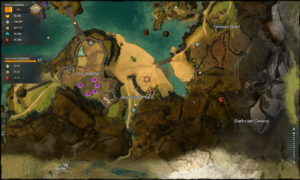
From the Bloodcoast Ward waypoint in the south of the city, you will need to run north a little ways and look to your right for the large stone staircase built into the side of the wall. Up the top of these stairs is a little area with a building on it, and if you run around the side of this, you’ll find another staircase leading up the building.
When you reach the top of the staircase, you’ll see a wood plank that sticks out from a ledge. The vista you need is located at the end of this plank, granting you a nice view of Tenanera’s Pit below you.
2. Diverse Ledges
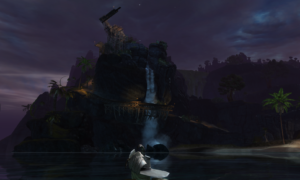
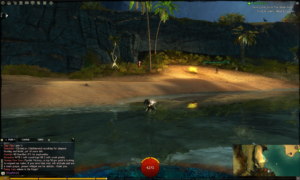
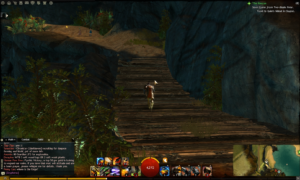
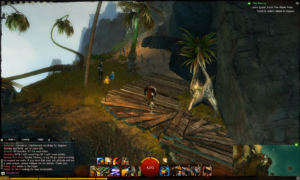
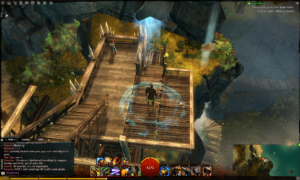
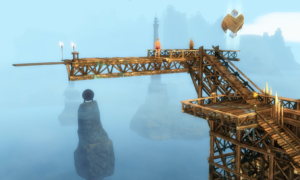
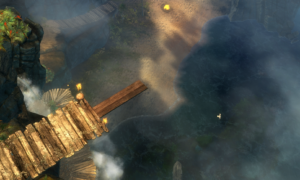
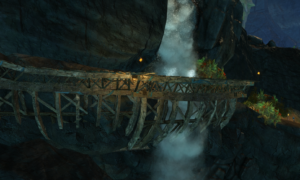

Although the shortest route to this vista is definitely the Diverse Ledges waypoint, this section will assume you do not already have that waypoint, since it is literally a short jump away from where you teleport in. Besides that, the difficult part of this one is just getting to the WP and vista.
From Sanctum Harbor, you can actually see the ledges facing southwest from where you teleport in. Swim across the water and onto the beach, just to the right of the cliff itself, and look for the ramp built into the wall on the far side of the small beach. From here, just follow the ramp all the way to the top; it will turn into dirt paths at times as it winds its way around the cliffs.
3. Eastern Ward
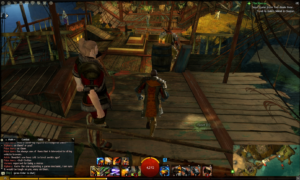
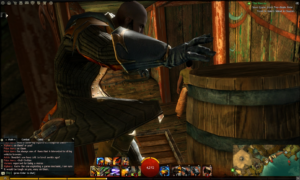
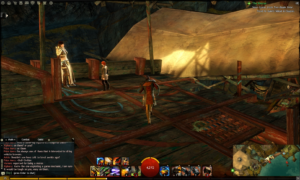

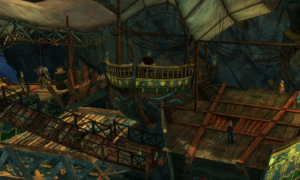
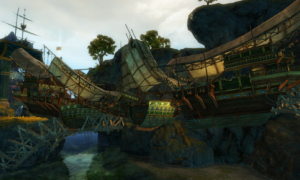
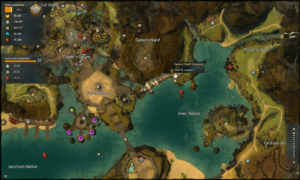
To collect this vista point, travel to the waypoint in the Eastern Ward and go west, making your way through the bridge formed by several ships stuck together, side by side. As you reach the west end of this bridge, there will be a pair of ramps leading to the upper level. Take the ramp on the right and jump over and past the crates that partially block your path at the top.
Next, double back and head back east a bit now that you’re on the upper level of the bridge. Look for where the ship sail that has been fashioned into a roof meets with the deck of the ship. You can run up this sail to its southern and highest end to collect the vista at the tip.
4. Farshore Ward / Sharkmaw Caverns
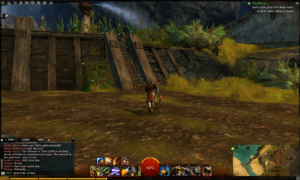
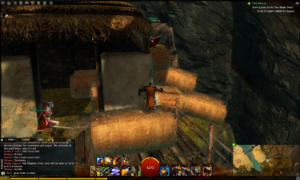
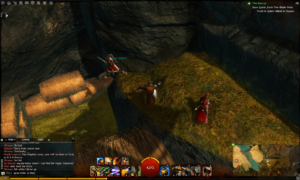
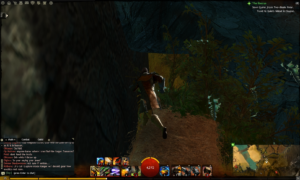
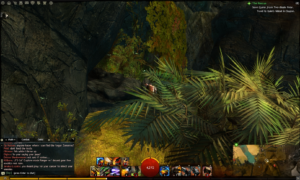
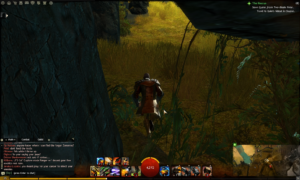
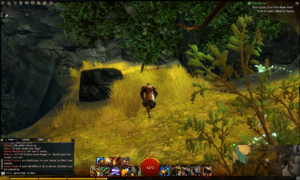
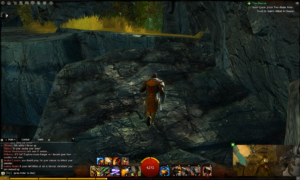
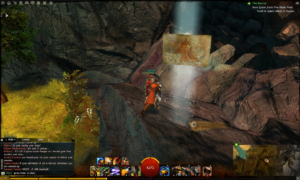
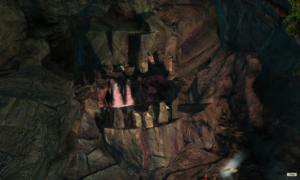
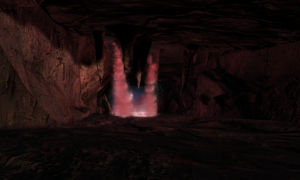
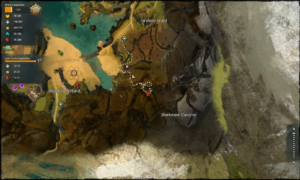
This is definitely one of the two most complicated vistas in the entire city, with the upper Trader’s Ward being the other. From the Farshore Waypoint, you can head south towards the farmhouse, looking for some steps on the left you’ll need to run up. Once you get to the farmhouse, circle around to its back, where you’ll find a series of hay bales stacked on top of each other that you can use to jump up and onto a nearby ledge.
Drop down this ledge into the pocket made by the walls of the house and the mountains, where you’ll see some more hay, then head to the corner of the rocks to find a secret passage leading you further southeast. There will be a little hill and another secret passage covered by foliage at the top of the hill, and past that a series of rocks and flat ground you will have to progressively jump up and circle around, heading higher until you reach the entrance to the Sharkmaw Caverns and the vista.
Make sure to check the pictures as this route is somewhat hidden and can be a bit confusing.
5. Hooligan’s Route
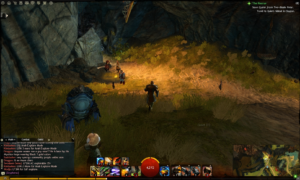

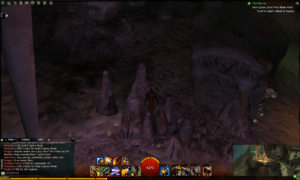

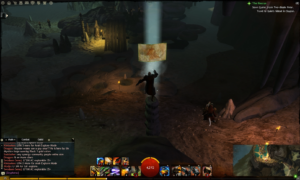
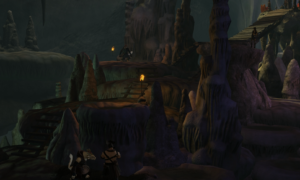


Taking the Western Ward waypoint to get yourself close to this vista, you will want to run northwest from where you teleport in into the caves that are the Hooligan’s Route. As you make your way into the caves, you should be able to clearly see the vista and some nearby stalagmites and a couple platforms which will serve as platforms for this jumping puzzle.
Start with the tiny cluster of stalagmites in front of the larger platforms, making your way from the smallest to the tallest, from which you’ll then jump onto the larger platform closest to you. From there, you’ll jump across to another large platform and then have to land a rather difficult jump onto a thin stalagmite holding the vista.
6. Inner Harbor
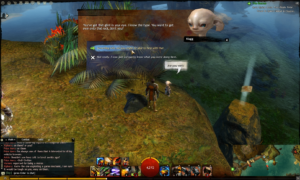
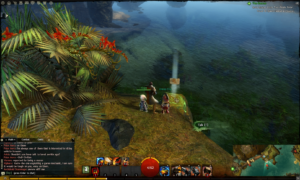
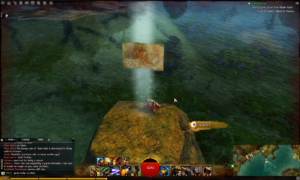
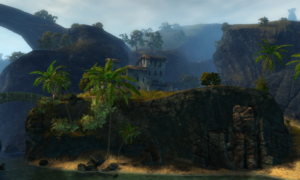
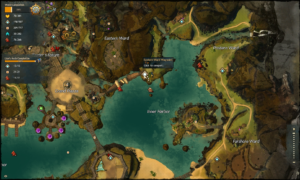
A very simple one to grab, however very out of the ordinary and particularly entertaining when it comes to searching down these view points thus far. In this case you will need the help of an NPC and a special device to reach the Inner Harbor vista.
Warp in to the Eastern Ward waypoint and talk to the nearby Asura who goes by the name of Klagg. He will mention your interest in making your way to the tiny rock with the view point on it, then request your assistance i testing out an invention of his. Agree to help and you will be automatically equipped with the kit, which you can use its single sole ability to launch yourself onto the rock by targeting the ground of the vista’s rock from the ledge you’re standing on.
7. Postern Ward
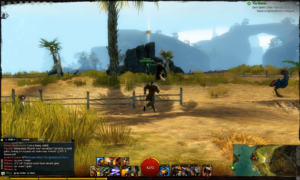
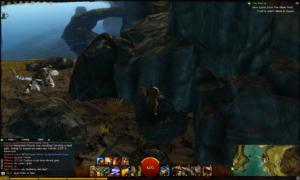
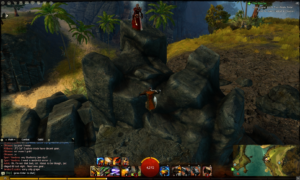
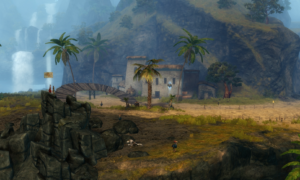
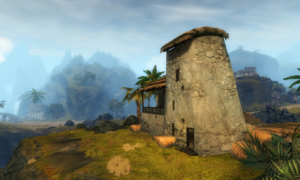
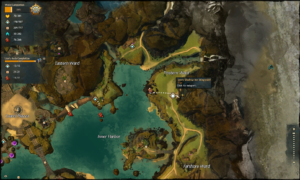
From the Lion’s Shadow Inn waypoint in the Postern Ward and directly to the west from where your port in is the vista just chilling on the top of a small rock formation. Reaching this one is a relative cake walk, if you couldn’t tell already.
Run towards the rock formation and approach it to the left, where you’ll find some small rocks on the side that faces you which you can jump up, progressive platform style. There’s quite a nice view to take in from here of the water, surrounding cliff sides and rock formations, even without the slow pan of the cinema shot.
8. Sanctum Harbor
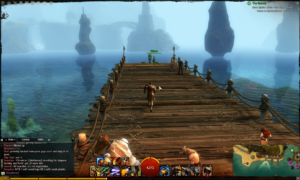
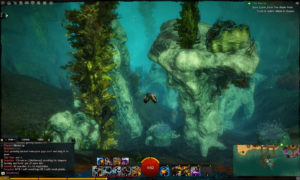
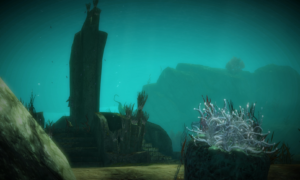
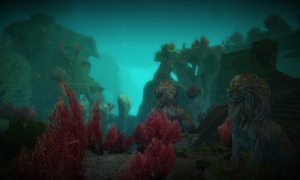

To reach the Sanctum Harbor vista which is located underwater in the large lake of Lion’s Arch, take the waypoint on the docks, turn south and start running after you teleport in. Running off the docks and jumping into the water, you’ll be able to head in a relatively direct line towards the vista itself, checking your map or mini map to direct you.
It will be at the bottom of the lake’s floor near some vegetation at the base of a large rock formation.
9. Trader’s Forum (Lower)
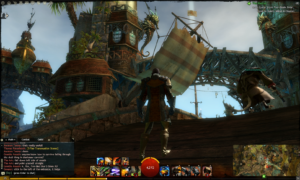
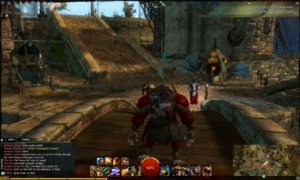
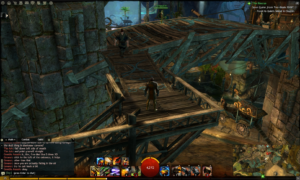
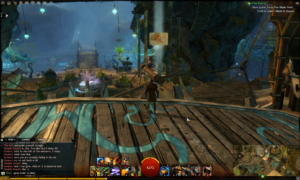
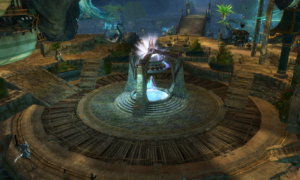
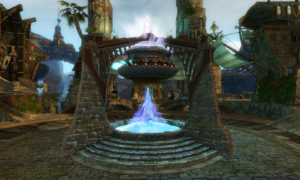

There are two vista locations that technically exist within the confines of the Trader’s Forum in Lion’s Arch. This particular one, while still high above the ground, is technically the lower of the two, since the other is even higher above in the upper levels of the city. The icon on the map can be found just over the Trader’s Forum text on the map, next to a merchant and equipment repair vendor.
From the Trader’s Forum waypoint, you can look south and up into the air to see the vista you are heading towards on top of a sail sticking out of a building, adjacent to another to which it is connected by a bridge that runs between two structures. Facing these buildings, run directly towards the right structure and to it’s side, where you’ll find some wood scaffolding you can leap onto and follow all the way up around the building and onto the bridge. From the bridge all that is left is to carefully make your way out onto the sail via the wooden plank connecting you to it.
10. Trader’s Forum (Upper) / Mystic Plaza
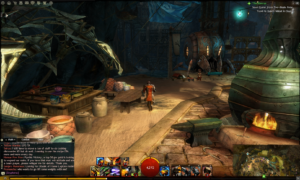
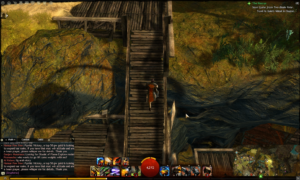
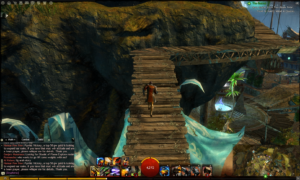
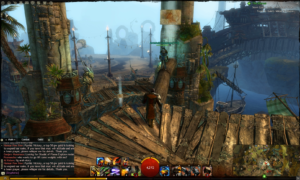

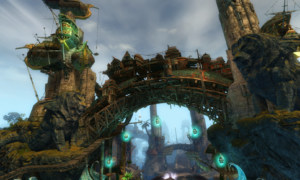
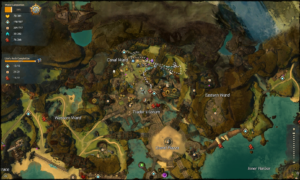
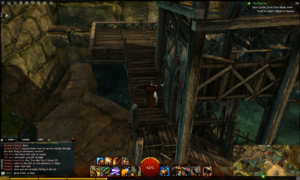
The other highly complicated vista to locate and while close in terms of positioning on the map to the previous point, will need to be approached in a completely different direction. Just north of the Banker and Guild Banker icons on the map, on the lower level of the city by the walls edge, west of the tailoring station, there is a wooden scaffolding structure tucked away in the darkness.
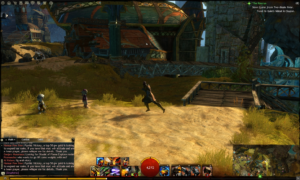
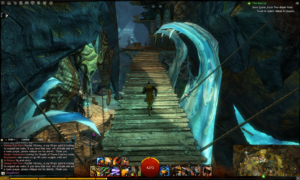
In the picture to the right, you will see the building in question, which once found, you should use to reach the upper levels of the city by following it’s series of ramps all the way up to the bright and sunny top side. Facing to the west, or turning to your right, just as you reach the top level and hit the dirt there, you will see somewhat slipshod looking wooden bridge that stretches off into the middle off the city. This bridge connects the series of buildings which form the upper levels of the city.
Follow this bridge as it weaves its way through the air for quite a while and eventually you will come to a sharp bend that also takes you higher into the air. Right at this bend will be a wood log that juts out from beneath the bridge and over the forum, with the vista at it’s tip. Be careful, inch your way forward and make sure not to double tap and roll off since you will die and it is a long way back.
It will probably be worth trying to make your way back onto the bridge afterwards if you have not been up here already since there are some points of interest attainable via this route as well.
11. Western Ward
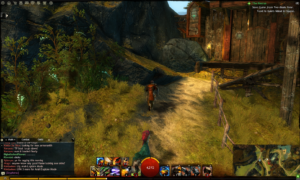
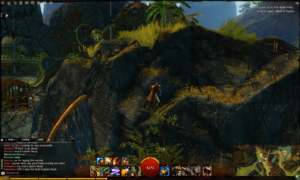
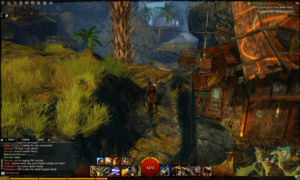
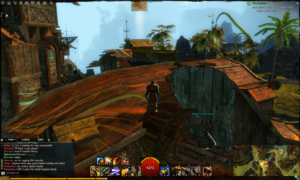
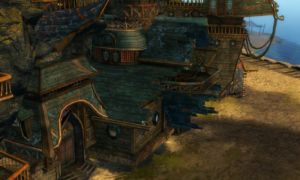
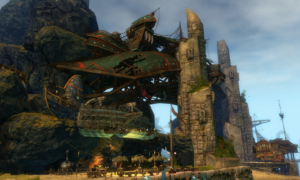

From the Western Ward waypoint, facing east, you’ll be able to see the vista chilling on top of some complex yet slightly damaged looking structures. To reach the point, you can approach from two slightly different angles, both to the left of the buildings themselves by where it meets with the ground.
At this point, seen in the pictures to the right, there are two bits of rock you can leap up. One is to the left more, and requires a bit of a tricky angled jump to nail, but thankfully is easy to repeat until gotten right. The second is right where the building meets the ground, where a rock sits against a few ledges made out of damaged bits of building sticking out, which can be used to leap up as well.
Once on the higher portion, it’s just a few easy jumps and a bit of a walk over the roof of the structure to pick up this last view point.
Video Guide to the Lion’s Arch Vistas
Last Updated on October 4, 2020 by Standard of Entertainment

