Joan of Arc – French Campaign
Mission 3: The Cleansing of the Loire
This walkthrough guide covers the mission “The Cleansing of the Loire” which is the third out of six that make up the Joan of Arc campaign in the video game Age of Empires II: Age of Kings. This guide was created for the Hard difficulty, using the Age of Empires II: HD edition of the game.
Overview
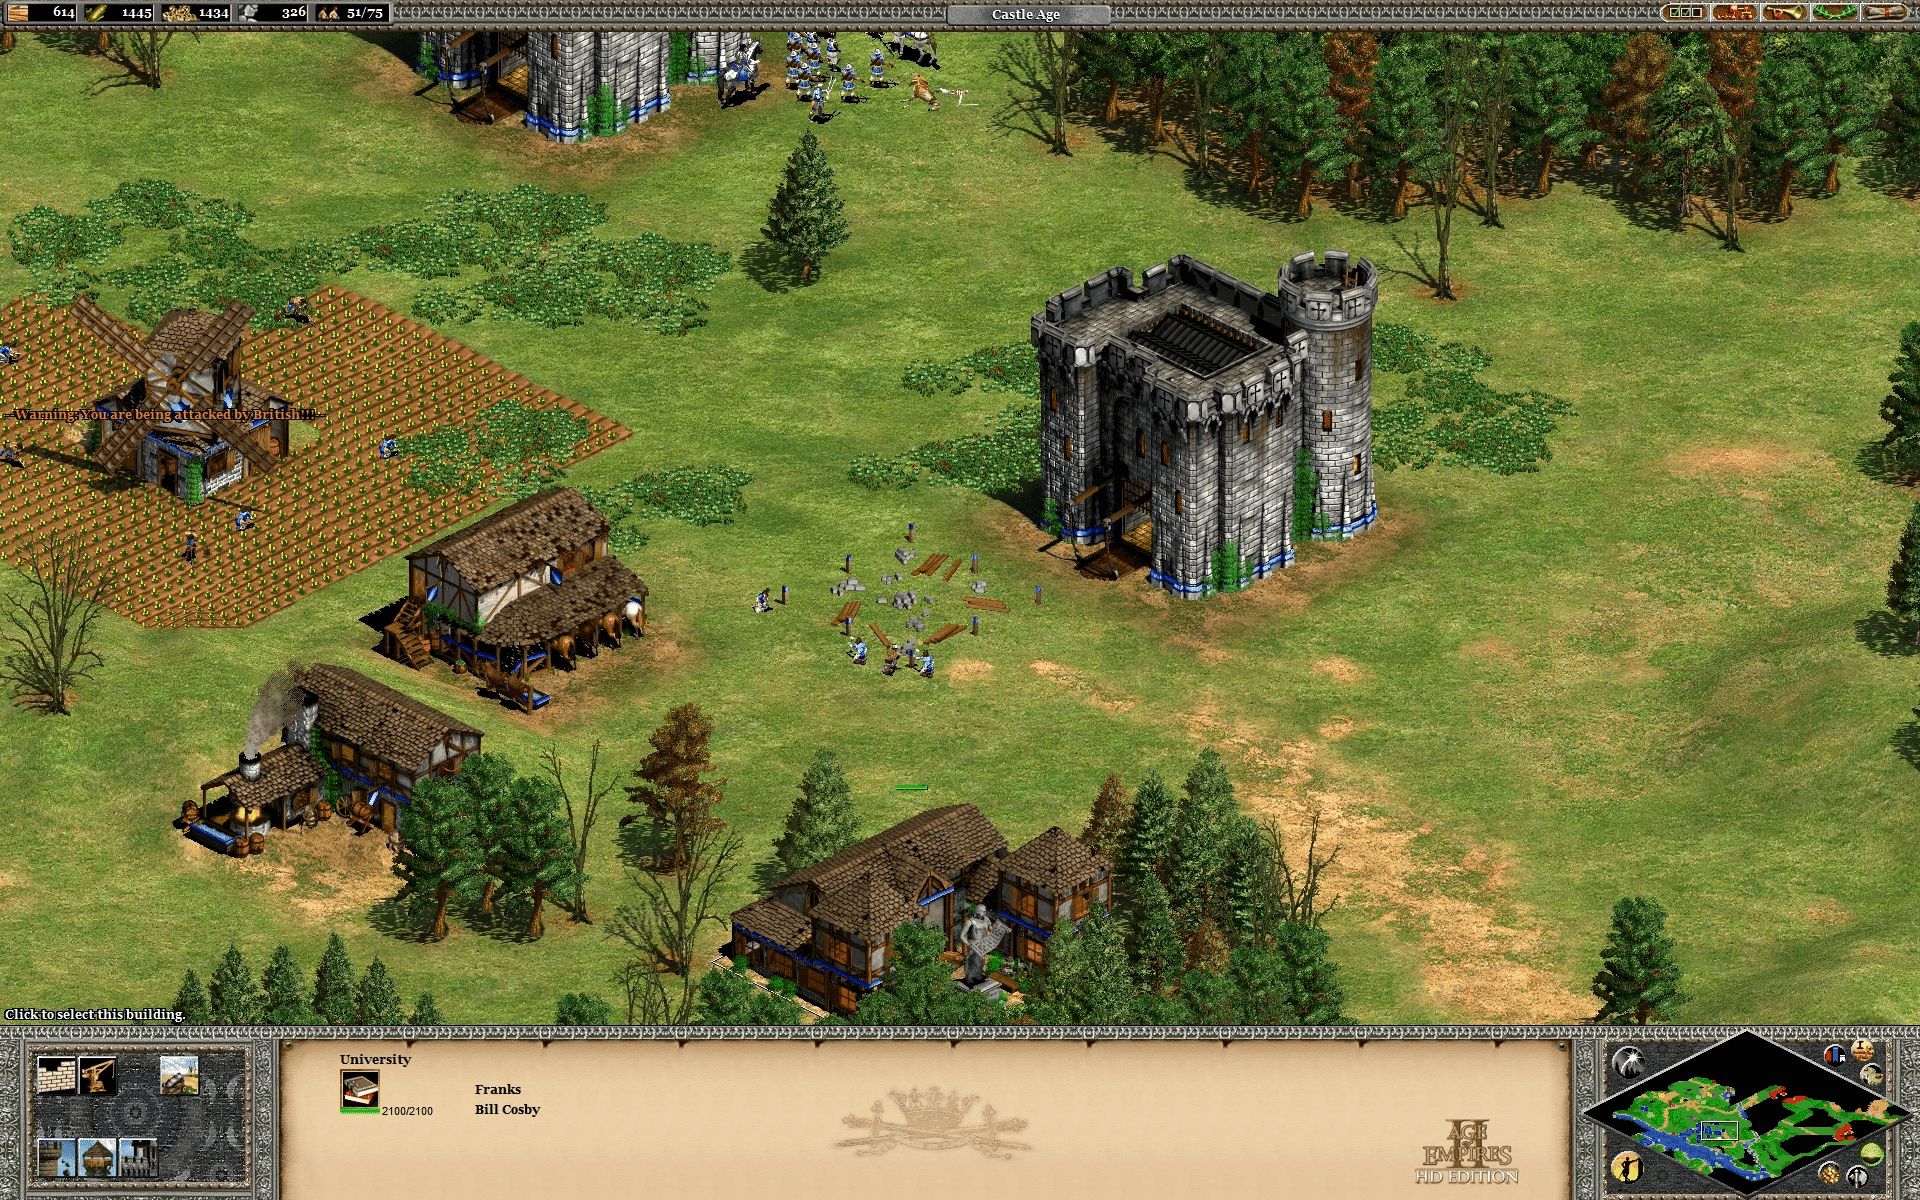
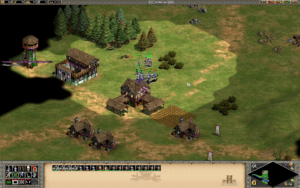
Like the previous two missions, you start The Cleansing of the Loire with a handful of units as opposed to a fully set up base. This time around however, you are tasked with finding a spot to establish a town from the ground up, using the resources and villagers you start with. From there you’ll have to establish a strong defense while working towards smashing the enemy forces even harder than you have before.
Layout
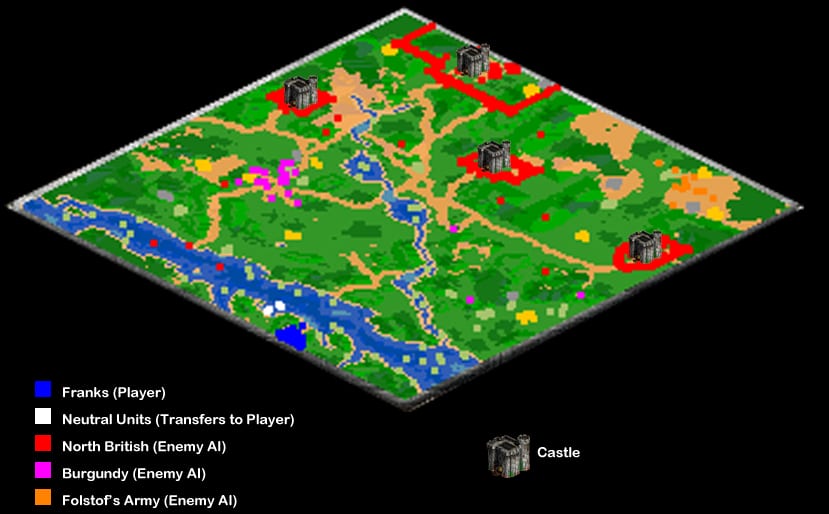
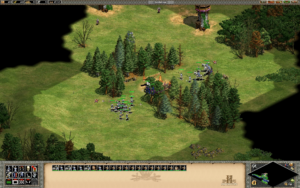
The map is set up with a small strip of land along the southwest edge of the map where your forces start off, with the main land across a river to the northeast with three separate enemy AI’s working against you.
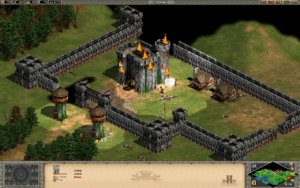
The red British occupy most of the land, with 4 different bases each with their own castle. The three smaller bases are mostly just forts with a military production facility or two, with the largest northern base being their main area of operation.
Orange or Falstof’s Army, occupy the right corner of the map with a town that starts off rudimentary but builds into a strong producer. Purple or Burgundy, starts in a similar manner with a small town much closer to where you make landfall, just left of the center of the map.
Objective: Destroy 3 British Castles. Joan must survive.


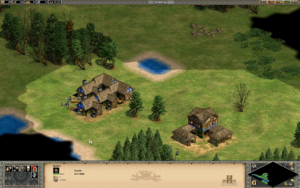
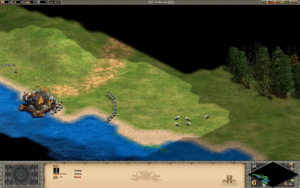
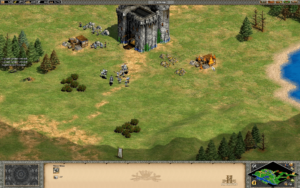
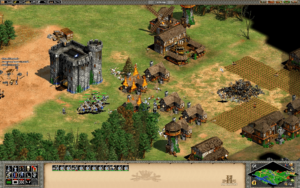
Your first task here is to quickly get your forces to the main land and establishing a town for you to operate out of. You’re given a couple of transport ship, which you can use to move your forces across the river from the tiny strip of land you start out on to the north side. You want to look for a clearing with a gold deposit, directly north from where you start. This is a perfect spot to start your town. As you get things up and running, immediately prepare you’re starting forces for action.
Dealing With Burgundy Early
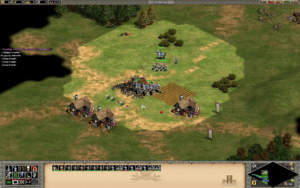
Just a bit further north of where you start off is going to be Burgundy’s base, one of the two supporting enemies on the map, Orange being the other. Both grow wildly if left unchecked, making their best solution a swift one. Unfortunately Orange is quite farther away and protected by Red’s forces, however Purple is out in the open and easily preyed upon.
Start by using your Light Cavalry to scout the northern and western areas around your base, looking for Red’s dock built along the river, directly west, and uncovering parts of Purple’s base, particularly their watch towers, resourcing spots and town center. This type of scouting is always something you should do in every mission and as long as you keep your scout moving, it can survive being in hostile territory for a while.
Go after Red’s dock to the west first, since it can become a nuisance later on. Once that is dealt with, you should have a good eye on where purple is harvesting (usually they build a lumber camp just north of the clearing you’ll have your base in). Try to stay out of the range of watch towers while you kill off as many villagers as you can, drawing any defending military units to your fighters. Once you kill the defenders, go back to killing villagers as it will drain their food reserves as they’re forced to rebuild the defenseless units and send them back to harvesting.
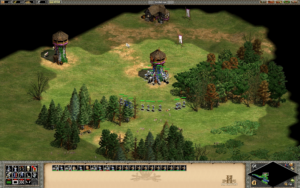
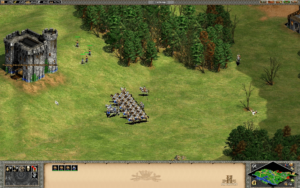
Next up is taking out the two closest watch towers that have probably been firing at your troops and stand in the way of you attacking the town center. Focus on one at a time to get them down quick with as little damage done to your troops as possible. It can be helpful to use your heroes to take their attention by sending them in first here.
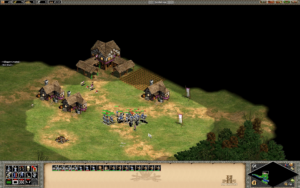
Once the towers are down, next is the town center itself. The best way to deal with this is attacking and killing any villagers you can see first, especially those working next to it. When the villagers garrison to fire back from within the center, move your forces away until the villagers come out again. Rinse and repeat as much as you can. There may be one or two villagers you can’t get to because they’re so close they can garrison quick enough that you can’t hit them. Micromanaging your archers here is the best bet. Depleted of villagers to defend the town center, it’s attacks will be weak enough for you to deal with while you work on smashing it to the ground.
Pro Tip
If you manage to drain their resources enough by continually finding their Villagers and killing ALL them off quickly, you can make Burgundy surrender without actually attacking the town center. (see video below around the 8:00 mark)
Once the center is down, you will have to continue looking, generally to the north, for additional villagers and undefended buildings you can take out and any attempts to rebuild their center, which is likely to happen. If you can kill every villager before they fully rebuild a town center, Burgundy will surrender. Failing killing all their villagers, if there is one you just can’t find, smashing their undefended houses and other structures will eventually force them to resign as well. Once Burgundy is out of the picture, the rest of the mission becomes far simpler.
Building Up
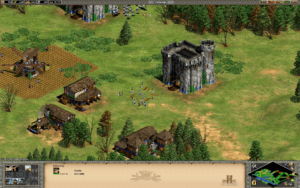
Now comes the simpler yet longer stretch of the mission. Work on teching up, getting to the Castle age and accruing resources. Avoid going after nay of Red’s castles for now, as destroying one of them escalates enemy activity and its worth removing Orange from the game before doing so. Keep scouting out the map while you save up, so you can get a good visual of things, especially the enemy bases.Remember, all the resources that were once Burgundy’s are yours for the taking, but make sure to build some minor defense to protect harvesting villagers.
One more important target you can take care of for now is the second of Red’s docks, which is at the tip of the river, in-land, just to the right of where Purple’s base was. Getting rid of this and building a few war galleys to clear the water opens up the water for fishing and removes the occasional pesky nuisance of enemy ships firing on your villagers from the water.
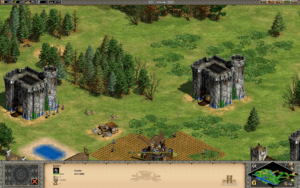
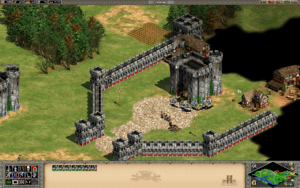
Stone is very important in this mission, so try to collect as much as possible for castle building. 3 of these built in a fan around your town should be sufficient to secure your base with the help of a small army. You’ll need a lot more stone later to help get rid of Orange.
Getting Rid of Falstof’s Army

Otherwise referred to by their in-game color, orange, Falstof’s army as mentioned before, occupy the right corner of the map and serve as a powerful offensive force, however with relatively weak defenses. By the time you have researched most of your upgrades for a powerful army (make sure to get castle/building upgrades to) and have the resources to take the offensive, Orange will have a heavy economy to rebuild. Because of their persistence in staying on the fight through rebuilding, getting rid of them will be a bit tough, but doable with plenty of castles.
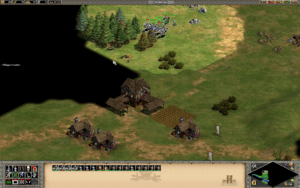
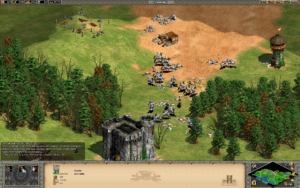
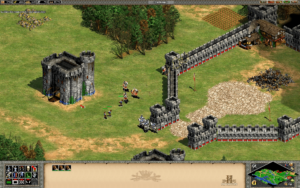
Take a large army, preferably filled out with heavy cavalry archers which will be great for hunting down villagers, along with a handful of your own villagers and start establishing castles in a perimeter around Folstof’s army. You will want to start with one between the two right red castles, from there using your army to pull Folstof’s defenders into your castle’s weapon range. Removing their defenders will allow you to close in on them from all sides with more castles until they have nowhere to go while you run around their base which archers, downing all their villagers to bring their econ to a grinding halt.
You’ll probably need to get a little more hands on with your destruction of Folstof’s army since they’ve had more time to establish themselves than Burgundy did. With all the castles nearby, you can swarm their buildings with petards. The villagers you brought can also build new barracks, archery ranges and so forth, allowing you to reinforce your army constantly, close to the combat. Once you manage to force Orange to resign its time to wrap things up by taking out the British castles.
Taking Out 3 British Castles
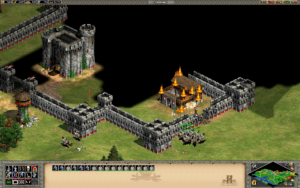
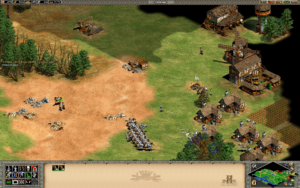
With their allies out of the way, the red British stand little chance of having an effect on you, not even considering the numerous castles you have established by now. Use the castles you have to produce large groups of petards to send at each of the outlying minor forts, ignoring the main heavily defended base and its castle. It will be helpful to send a few military units to head the charge of petards each time, just to serve as shields and make sure your explosives reach their destination more reliably.
When you take out the first castle, a large group of Orange’s spawns by Folstof’s ex-base to attack you, even after resigning. These should be mostly a non issue, since your castle group can handle the main force without much trouble, however may need some help with the couple of battering rams that trail behind. If you hadn’t removed the other two AI’s by now, you would have a major problem on your hands as all three AI scale up their war efforts on you. In this case however, you won’t notice much until you take out your 3rd castle and win the mission.
Mission 3: The Cleansing of the Loire
Video Walkthrough
Last Updated on October 7, 2020 by Standard of Entertainment