Joan of Arc – French Campaign
Mission 2: The Maid of Orleans
This walkthrough guide covers the mission “The Maid of Orleans,” which is the second out of six that make up the Joan of Arc campaign in the video game Age of Empires II: Age of Kings. This guide was created for the Hard difficulty, using the Age of Empires II: HD edition of the game.
The Maid of Orleans starts off similar to the previous mission, with you controlling a limited force you need to take to an objective on the map. Halfway through upon reaching Orleans, the city will switch over to your control, turning the mission more into the typical base and army building style.
Objective: Joan must survive & the cathedral in Orleans must remain standing.
These are your more ever-present goals for this mission, keeping your hero unit representing Joan of Arc alive and well. Besides some minor optional combat in the beginning, you’ll mostly want to keep her behind the walls of your city to avoid any risk of losing the mission.
As for the cathedral, it is a large building located in the east of Orleans and is technically at risk even before you reach the city. If you spend too much time in the first portion of the mission, you stand the risk of failing before you reach the city thanks to the enemy’s attacks. Once you have control of the city, it becomes relatively easy to keep alive.
Objective: Escort Joan to Blois so she may command the French Army.
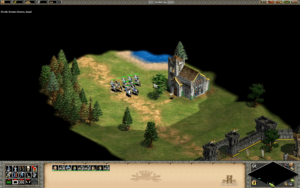
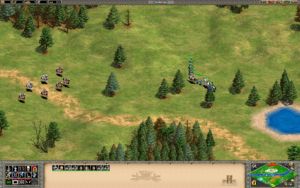
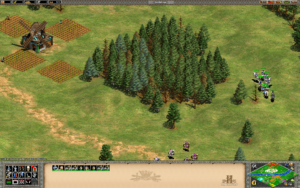
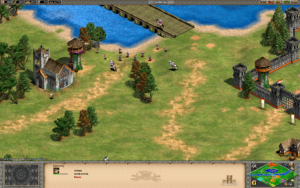
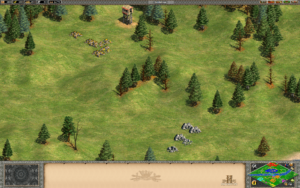
Your first goal based objective here. You simply want to collect your forces and start heading out on the road leading northwest out of Chinon. There is a single group of enemy cavalry on the way to Blois, which you can either engage or circle around to the north to avoid completely.
If you choose to fight them, you can return to the allied monk for some healing, the one who sends you off by the monastery just outside of Chinon.
If you choose evasion, make sure you also stay away from the southern edge of the nearby South British town, which has some Watch Towers to shoot your forces with if they pass by too closely.
Pro Tip:
You can make the allied monk follow your forces around if you move them into his field of view while damaged and move them away to where you want him to follow, before they are fully healed. He will continue to follow until killed, impeded somehow or his healing is finished.
Objective: Get Joan and the six trade carts to the Orleans town center.
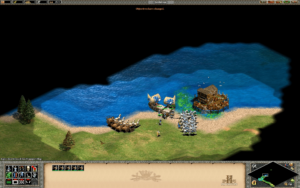
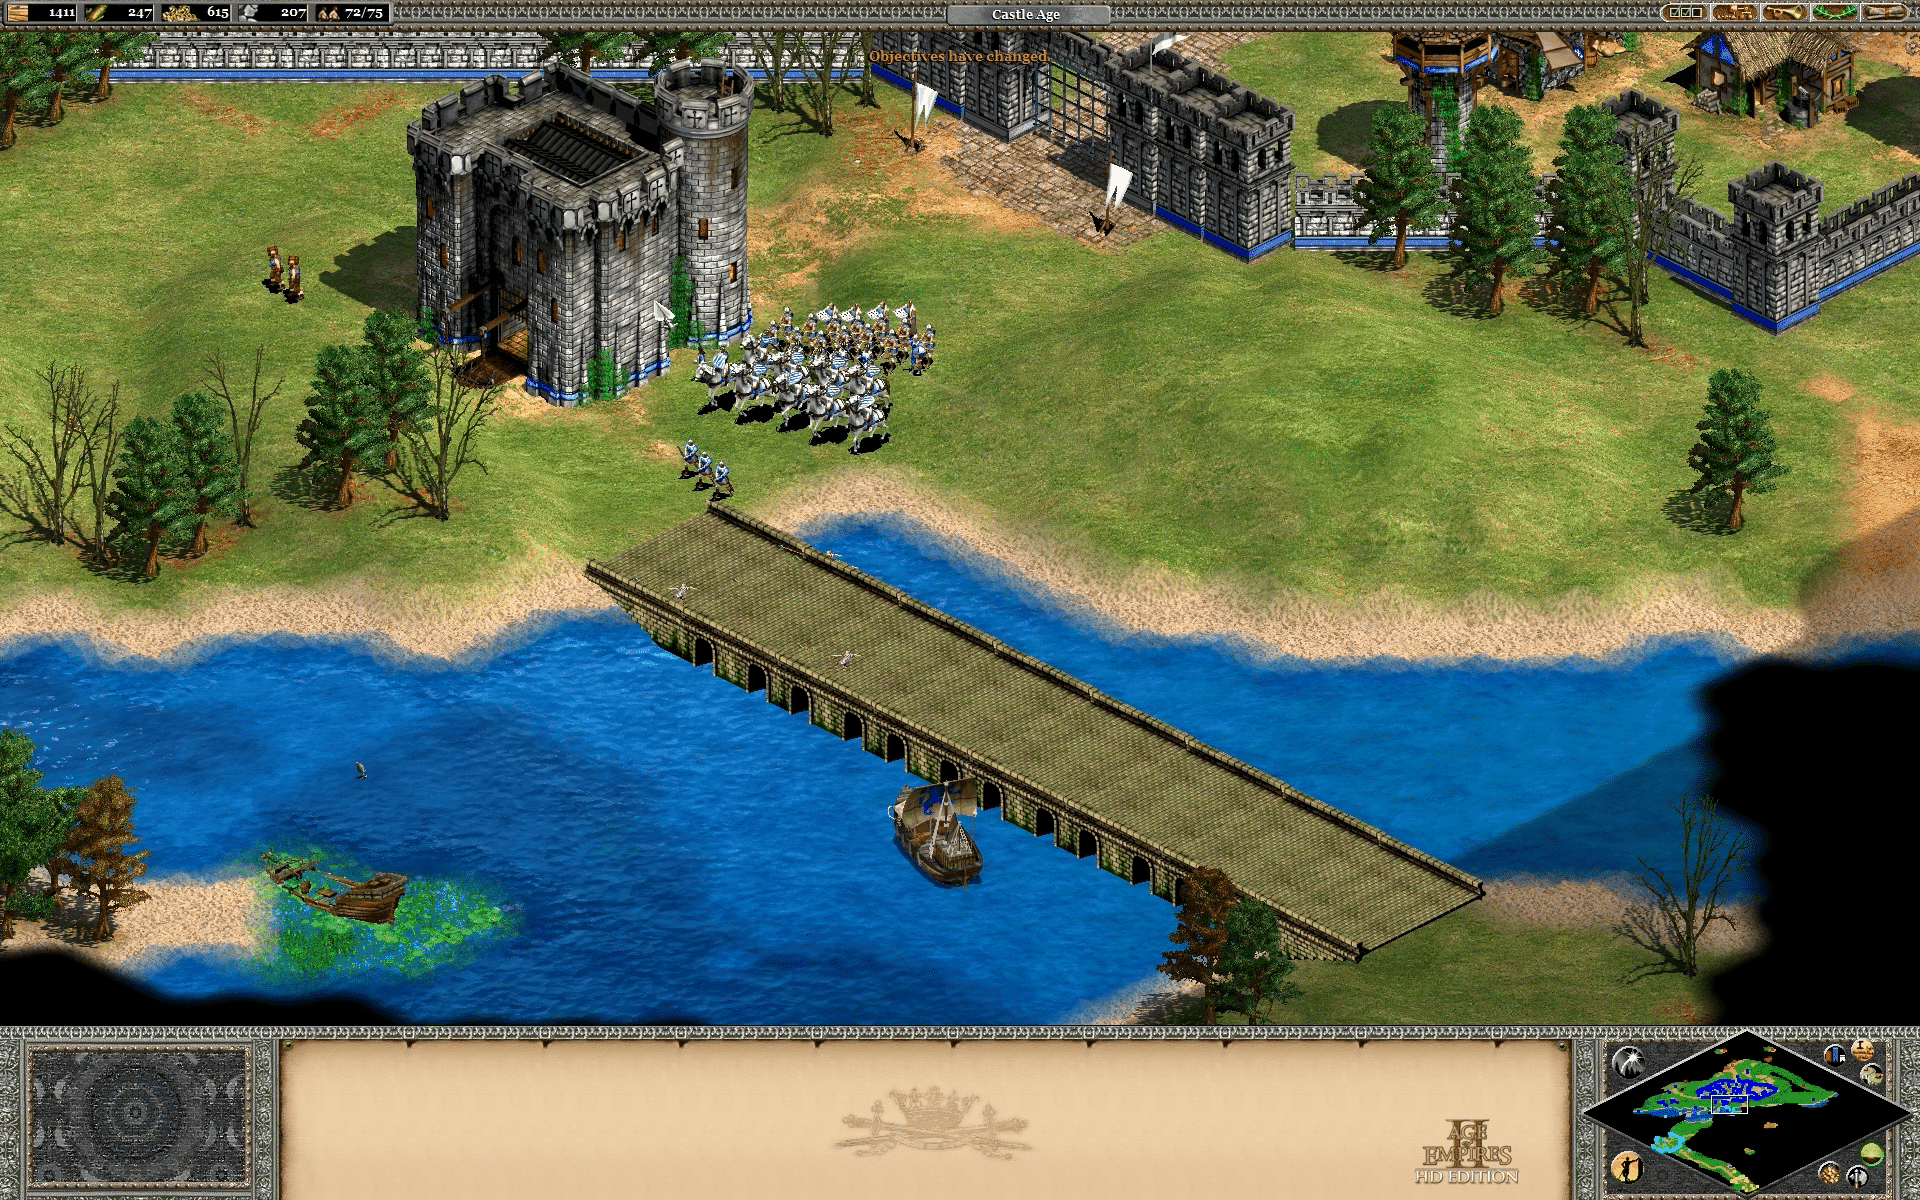
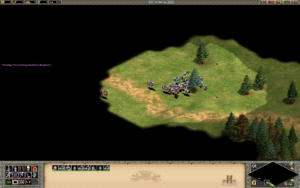
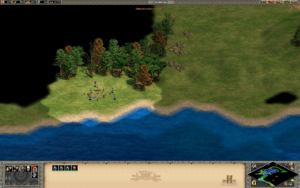
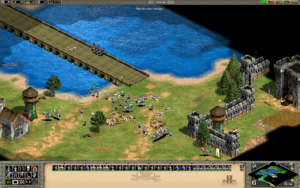
These are actually two separate objectives in-game but are essentially done at the same time. Again you have two options here. You can take your now much large army directly west, attempting to reach the other side of the river where Orleans awaits via the central bridge which is the only crossing, or secure the neutral dock and transport ships for a more combat free approach.
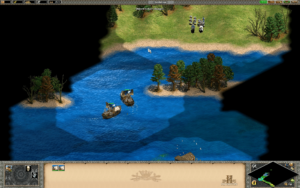
It is HIGHLY suggested you use the transport ships, which await by the waters edge, just northeast of Blois, about halfway to the bridge. You’ll only receive two ships which can hold 5 units each, so it will take several round trips to get all of your units on the north side of the river, but they will do so far more intact and probably far quicker than the combat ridden bridge approach.
If you do decide to take the bridge, just follow the dirt path leading east and it will lead you directly to the bridge, where you’ll have to face an enemy Monk, a couple of watch towers and a large group of Burgundians that guard the south side. Make sure to keep the trade carts back as their death won’t fail the mission, but will result in the loss of much needed resources later on.
Objective: Convince the British to Withdraw by Destroying One of Their Castles.
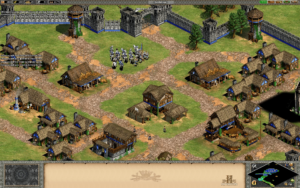
Now starts the real core of the mission, building up your defense of Orleans, establishing resourcing and building up an army to help with defense, and later, punching through an enemy fortification to take out it’s castle.
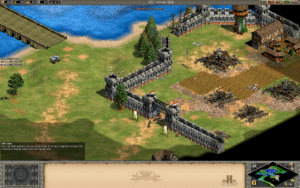
Economy
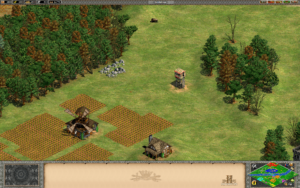
There are few resources within the walls of Orleans, so you’ll have to look outside the city for most of what you need. Since you can build farms anywhere, you should at least work on getting your food from within the walls of the city.
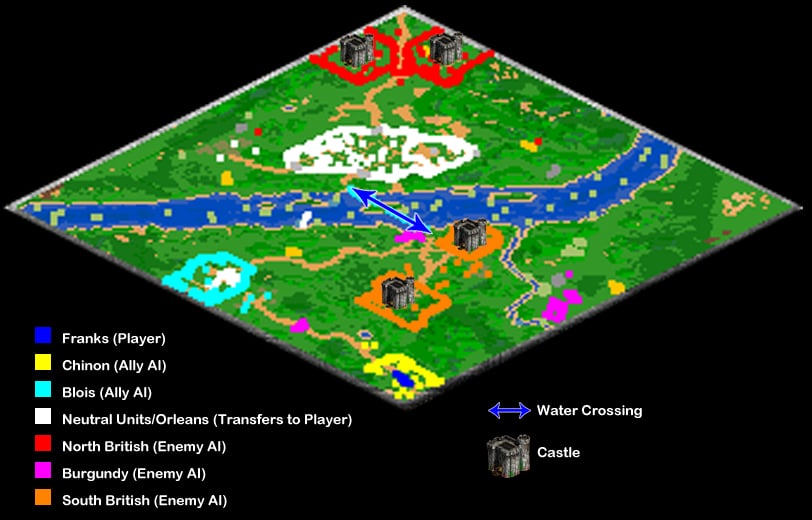
There are pairs of stone and gold deposits to both the east and west of Orleans on the north side of the map you can uncover. However both are partially dangerous to harvest from right away thanks to enemy outposts. To the west you have a gold deposit by the river’s edge, where you can set up a mining outpost and a lumberyard, which should exist mostly free of harassment. The stone deposit to the west is higher up on the map, by some neutral mills and farms, but more importantly, under the vision of the enemy outpost there. Harvesting from the stone deposit under the watchful eye of the red British will lead to strong attacks against the operation.
For now your stone will have to come from the pair of deposits to the east, where the gold spot is under the eye of a red outpost, but the stone deposit there is further south where they can’t see. When you get the chance, you can remove these outposts to make the harvesting of said resources safer and less prone to attacks. Building a single watch tower next to each operation can be helpful in warding off potential attackers to, but removing the outpost that gives them vision is still necessary, lest red bring a larger force capable of taking out the tower and your villagers.
Important Notes on Enemy Attacks
Before getting into defense, it is important to note one particular strategy to the enemy attacks, as it has a lot to do with defense here. The AI regularly sends siege units (in addition to mixed soldier groups) at you from their bases, however each one that does, builds only a single type, allowing you to deal with them separately using very effective methods. The two north British bases (red) both send only onagers against your town, meaning the pair of castles built to stop them (discussed below) is more than enough to hold out against such an onslaught on their own. On the other hand, trying to use soldiers of your own against red for defense will devastate your forces.
From the southern bases, you will only ever see battering rams come at you, which means while a castle can still help with defense from that side, it still needs melee units to back it up, lest the battering rams overwhelm the castle with their range-resistant armor.
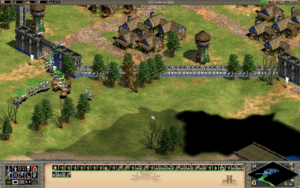
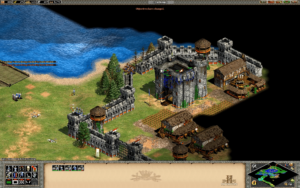
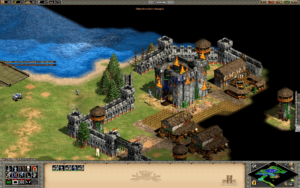
Building an Impenetrable Defense
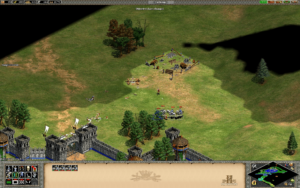

For defense purposes, your best option, as briefly mentioned above, is to go with castles. One of them should be placed north of Orleans first, one to the right of the dirt road that takes a north route out of the city, to stop the red British forces and their onagers as soon as possible. The second should be built to the south, just by the end of the bridge to stop both Purple and Orange after you’ve dealt with Red, since your army is more capable of handling their attacks.
This will require saving up 800 food and 200 gold to advance to the castle age first, which should be done as soon as possible, possibly using the market to trade for resources you need. Try to hold off on most other production until then, managing the forces you’ve collected so far to defend the walls of the city for now. Your crossbowmen will be the best option for now, so make sure to fire on enemy archers that can fire over your own walls first, then target the melee units attacking the wall itself for best effect.
Upgrades to archer range and damage, done at your blacksmith, will be very helpful for not only improving your crossbowmen, but the attacks of your watch towers and castles later.
Keep your own melee units within the walls for when siege units begin to show up, rushing your Knights out to quickly take them out, or if you lose too many archers to deal with melee units(replacing a few of them may be worthwhile). A new gate built on the east end of Orleans can also be helpful in allowing better access to the outside in an emergency.
When you start building the first castle to the north outside your walls you will need some defenders to protect the villagers. You may lose some villagers in the construction of the first castle in particular, but it’s important to get it up regardless as the benefit will ultimately be well worth it in the end, whereas waiting too long can lead to defeat. It is critically important that once you have your first castle down, your already saving up for the second while you research the castle upgrades from the university, Murder Holes especially.
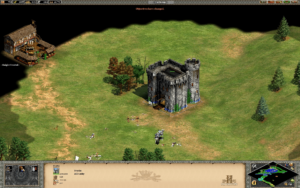
Finishing the Mission by Destroying a Castle
The final stage of the The Maid of Orleans, and arguably the easiest part now that your defense is secured by the pair of formidable castles. You should have quite a bit of room to breathe now, so just work on slowly amassing an army of mixed soldiers, supported by a couple battering rams, collecting them by your southern castle where they are also defending from the enemy battering rams coming across the bridge, as mentioned before.
Make sure to use this time to grab all the upgrades you can from your university, blacksmith military facilities for the final push. Once you’ve hit pop cap and feel you have a strong enough army, send them against one of Orange’s fortifications to the south, since their lack of onagers make for a much easier target than Red’s forts up north. If for any reason your attack fails it shouldn’t be too hard to build up additional reinforcements to try again.
Protip: A groups of petards can make short work of both wall sections and strong buildings like castles, so send in a large group (10-15) of them with your army acting as meat shields for the petards and you can take out a castle reliably and quickly.
Once you’ve taken out just one of the four castles on this map, all the enemy forces surrender and this mission ends in victory.
Mission 2: The Maid of Orleans
Video Walkthrough
Last Updated on October 7, 2020 by Standard of Entertainment