
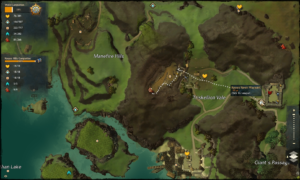
Kessex Hills Vistas
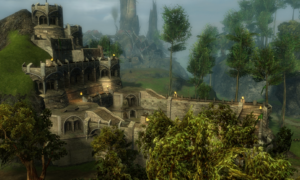
Kessex Hills is a level 15–25 area past the southern border of Queensdale serving as the second area for new Human characters with 9 vista points to collect. This land, settled by the Humans, has suffered significantly from the Centaur raids, with many towns laying wrecked and broken in the wake of the fighting.
- Cerebeth Canyon
- Delanian Foothills
- Earthworks Bluff
- Fort Salma
- Giant’s Passage
- Lychcroft Mere
- Triskellion Vale
- Viathan Lake
- Wizard’s Fief
If you have any suggestions or requests for Guild Wars 2 guides, feel free to leave them in the comments below. Any corrections or contributions that get included will be credited accordingly.
For more vista guides for other cities and areas, you can check this link for a full index with links to more guides: Guild Wars 2: Vista Location Guide Index
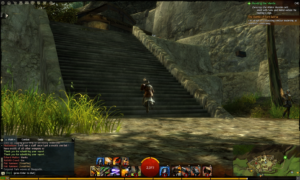
1. Cerebeth Canyon Vista
Directly north from the Cerbeth waypoint in Kessex Hills, there is a waterfall that flows north. Run towards the left side of the waterfall and look for a rocky ledge from which you can peer over the drop to the terrain below.
It may be difficult to get a clear view, but there will be a small grassy ledge that you can drop down to near where the water pours downwards. Carefully nudge yourself off the rocky ledge to drop down and land on this second ledge where the vista awaits collection.
Meow Gallery: The layout none is not available in this version.
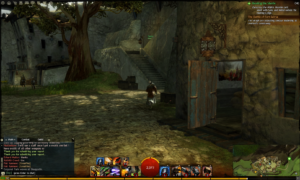
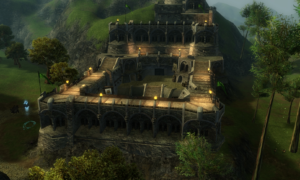
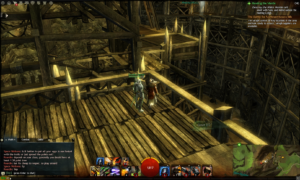
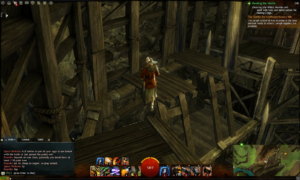
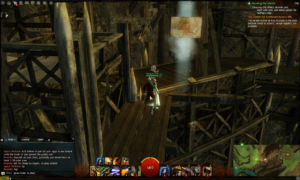
2. Delanian Foothills Vista
From the Delanian waypoint, run south into the fort Black Haven directly south of where you port in. Running through the main entrance, you’ll see some steps that lead up to the upper walkways of the defensive wall. Go up those steps and follow along into the tower that sits on the southern end of the fort.
Inside this tower will be a spiral staircase that leads up to a roof area, where there is a second extension of the tower that can take you up further towards the vista. Approach the right side, where you’ll see wood platforms that lead you in a spiral around the outside of the tower towards its peak—that’s where you’ll find your goal.
Meow Gallery: The layout none is not available in this version.
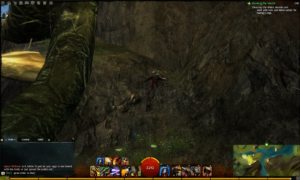
3. Earthworks Bluff Vista
West of the actual Earthworks Bluff itself, reachable by either its waypoint or by traveling south from Sojurner’s, there is a large lumber camp that sits against the side of a nearby hill/mountain.
Approach the lumber camp and look to its right (when facing it), where you will see several stacks of logs bundled together to make a series of ramps that your character can jump up. Use the largest pile against the wood scaffolding and leap up its side to reach the upper level of platforms, which you can walk across. If you have problems climbing up the large pile from ground level, there is a smaller one beside it that is easier to climb, and you can then use it to leap across onto the upper areas of the pile.
On the other side of the scaffolding from the pile, on the second level of platforms, awaits the vista.
Meow Gallery: The layout none is not available in this version.
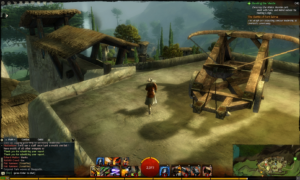
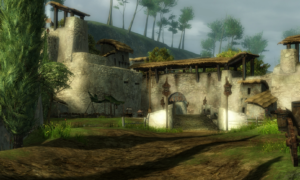
4. Fort Salma Vista
To reach this vista point, first travel to the Fort Salma waypoint. Just north of the point is the first set of particularly wide stairs you need to run up. Past this set of stairs, head to the right towards a second, thinner set that doubles back on itself to lead you up to the upper defensive walls of the city.
Once you’re on the upper walls, go west and around the corner to find the catapult that defends the city, which is where you’ll find the vista. You can reach the vista by jumping off the side of the wall’s ledge onto a concrete platform.
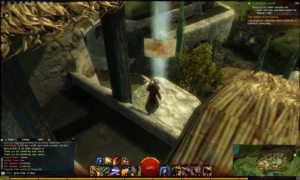
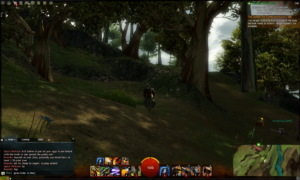
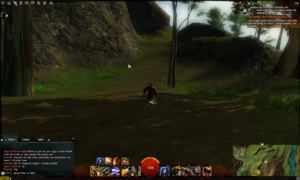
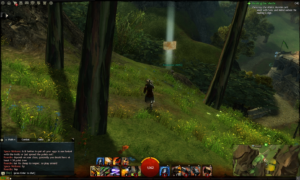
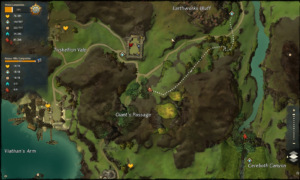
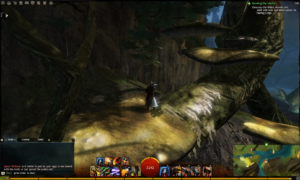
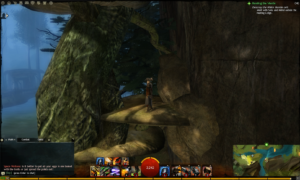
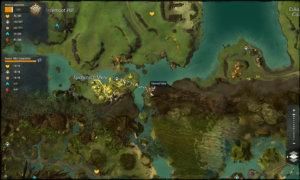
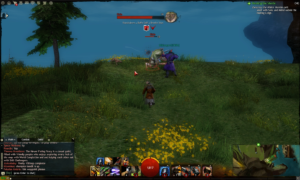
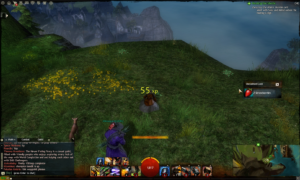
5. Giant’s Passage Vista
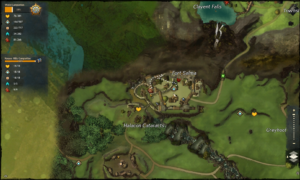
This vista takes quite a bit of walking to reach, but it’s best accessed from the Earthworks Bluff WP. From the waypoint, head south and look for the path pictured in the first image, which leads up to the high ground that runs along the south side of the dirt road leading to the SW.
Follow this high path quite a ways, passing several different enemies (mostly Bandits, but nothing too unmanageable). Eventually, you will get to a point where you can go to the left or the right, with the left being a cave and the right being a bit of sloped land that runs along the outside of the cave. Run to the right, and turn to face north to find the vista on a low part by the cliff that faces Kessex Haven.
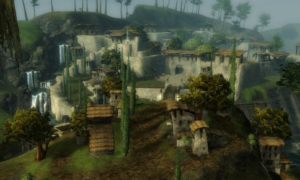
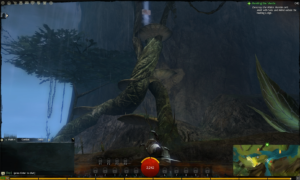
6. Lychcroft Mere Vista
To reach the Lychcroft Mere waypoint, your first step is to travel to the Shadowheart Site waypoint and head directly east to the vista marker on your map. On the other side of a stream that forms south of the nearby lake, you’ll find some large roots with platform sized mushrooms growing up the side, serving as your climbing challenge for this point.
Approach the roots from the right side, where there will be a small ramp built into the rock which gets you to the second mushroom up the root structures. From there, walk along the root itself until you reach the next mushroom pads arranged in a group, one large, with a very small grey shroom serving as a step between the first and the third shroom which is back to the large tan colored ones.
At the top of this pad, look for a smaller rock ramp which leads up to a smaller root that branches out from the main “trunk” and can be used as your last bit of ramp to reach the pad with the vista on it. This final stretch is difficult due to poor camera angles available, as you have to make a small jump to proceed, but can be helped by trying to arrange the view angle so you’re looking from the top down.
7. Triskellion Vale Vista
From the Kessex Haven waypoint, travel a fair bit west towards Quarryside. The vista itself will be sitting on some of the scaffolding structure which is built into the inner walls of this area.
Upon entering the quarry, look to the south and you should be able to see the point sitting on the scaffolding. Jump of the side of the initial overlook area where you enter, down to the ground below, and run southwest along the wall until you find a ramp which leads to the scaffolding mentioned. Up this ramp, is another overlook area, however if you go to the southern corner where the Seraph Commander stands, you’ll find some wood planks you can jump onto from the side of the ledge.
Run across these planks in the same direction as before and you’ll face the last obstacle in your path, which is a series of small gaps in the platform which you’ll have to jump, although easy jumps at that. A little bit further past is the vista.
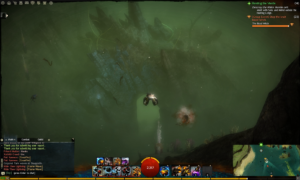
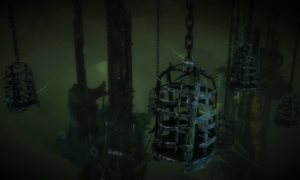
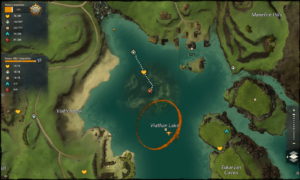
8. Viathan Lake Vista
A really simple point to collect considering it is out in the open and underwater to boot. Just swim across the lake to the map marker from any of the waypoints nearby, whichever is easiest for you.
Once you see yourself over the point on the map, or nearing it, look underwater and swim towards the lake floor, looking for some various sea plants, namely a pink leafy vine like plant, and the vista will be chilling right next to it. If you can’t see anything, just swim closer to the marker on the map, since the water reduces the range of your vision.
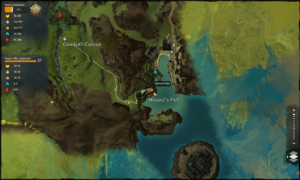
9. Wizard’s Fief Vista
Reaching Wizard’s Fief is made more complicated by the enemies that are in your path versus any significant acrobatics based obstacles. From the Cerebeth waypoint, head southeast towards the vista marker, following the path that goes through the nearby mountains.
Along your way, there will be a fair number of Etin’s patrolling the area, along with a couple at your destination which is the ledge at the end of this path. Because of their heavy hits and lack of room to maneuver, it will be unavoidable to fight some of them without risking a quick demise.
Once you do reach the ledge that overlooks Wizard’s Fief and cleared out the enemies there, make sure to check around for the several patches of Strawberries that can be found here. This uncommon cooking item is worth picking up, if only to sell on the auction house. There is also a pair of diving goggles that can be interacted with. Once you’ve gathered the berries, look over the ledge to the north to find a ledge below you that you can drop down onto, with the vista and another group of strawberries to harvest.
Last Updated on October 4, 2020 by Standard of Entertainment