Slave Pits
Slave Pits – Part 6-1
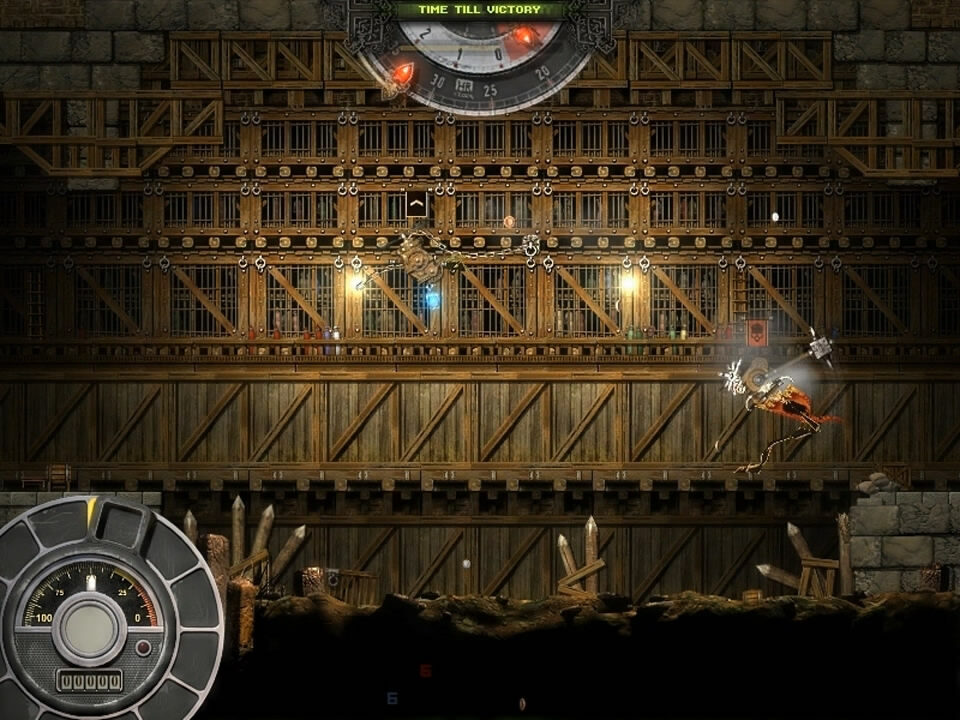
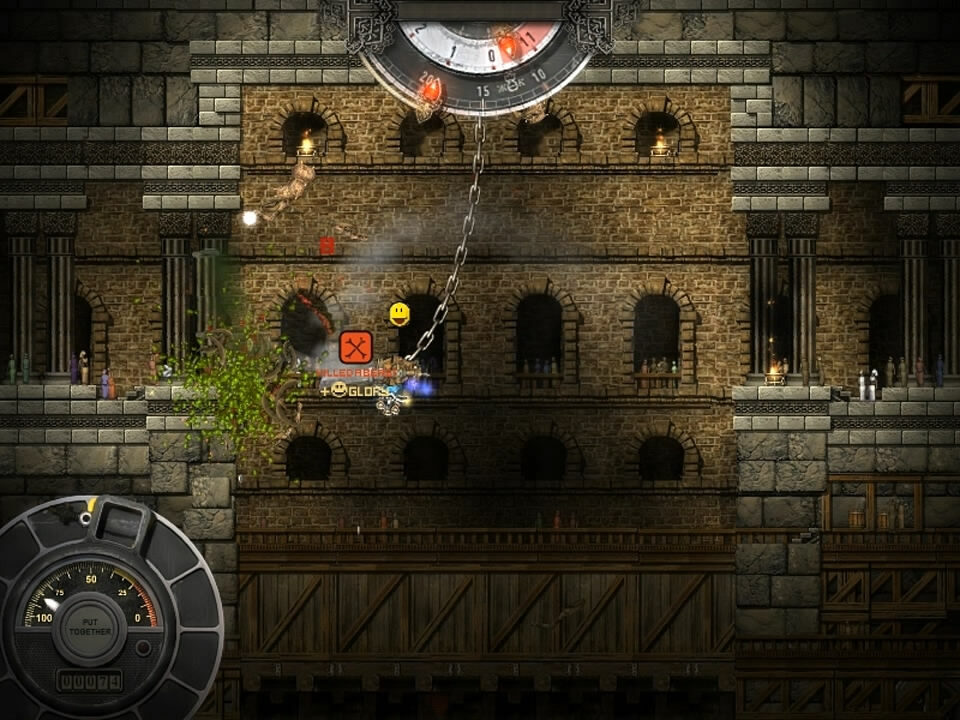
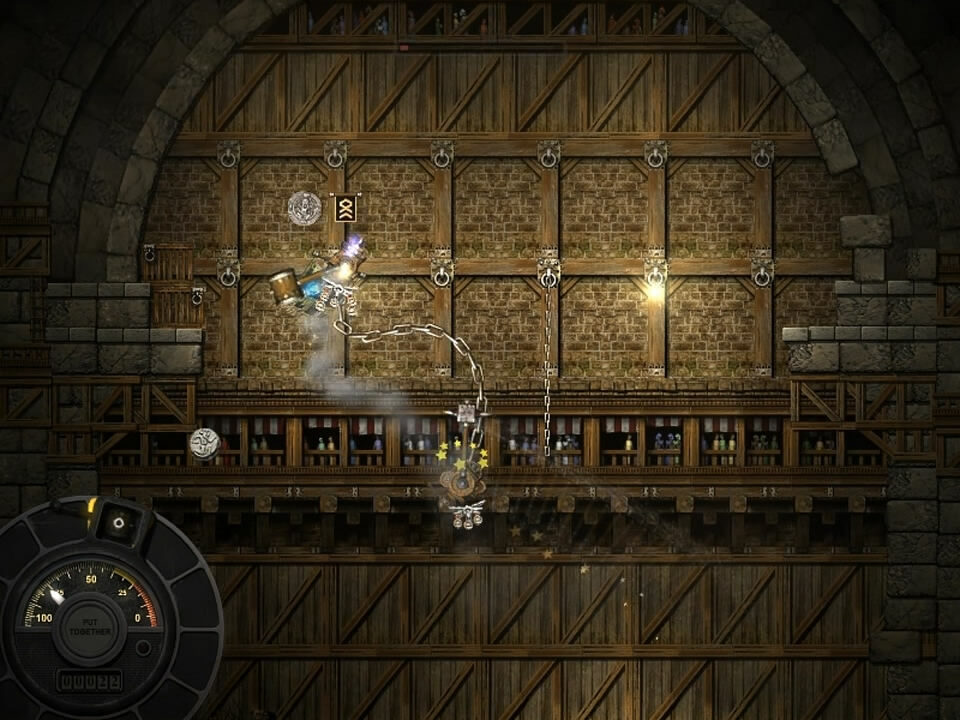
In the first challenge in your fight for your life as a paid attraction, you will be completely unarmed in your flying machine, forced to face off against an opponent armed with a heavy, spiked metal hammer, the Cleave Hammer. To make matters worse you are chained to the center of the level, unable to travel far from that point. You will have to survive for 60 seconds or otherwise incapacitate your enemy without dying.
The best and most rewarding way to complete this level is to time your movements as to smash your machine into your enemy, dodging the swing of his weapon. It is best to hit the top of the enemy’s craft with the bottom of yours, as this seems to do more damage to your aggressor while more often dazing him. In a sense, the chain can actually be a benefit when approached in this manner, as even if you are dazed, you will be kept suspended in the air, however your enemy will go crashing down into the ground or objects below, dealing even more damage to him.
Once the timer has run out or your enemy incapacitated or destroyed, you will be victorious with a helpful serving of glory and fame the more you manage to smash him about during the fight.
Video time-stamp: 1:18

Slave Pits – Part 6-2
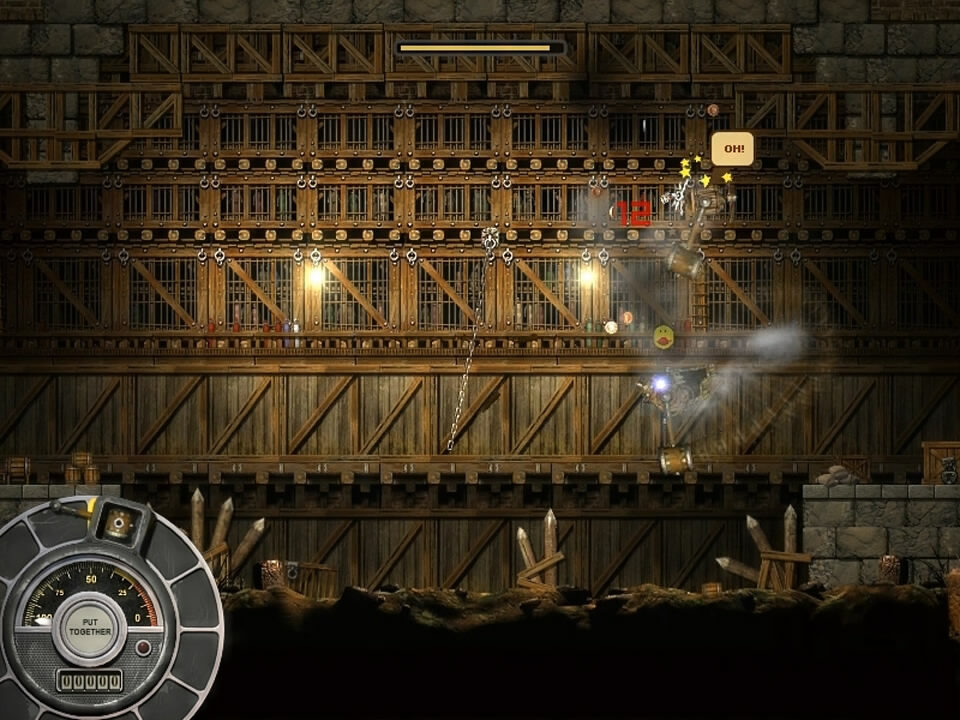
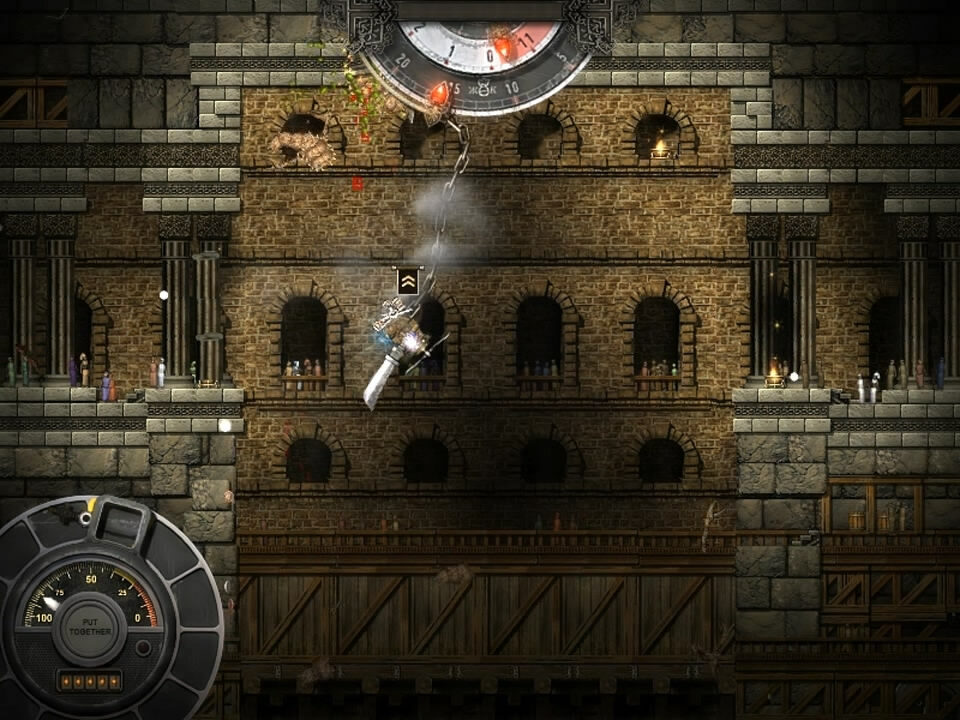
In this next match you will now be armed along with your enemy. The both of you will be outfitted with Wooden Hammers and will fight each other one on one. No longer restricted by your chains you are also now free to navigate the level freely.
This level is a lot about timing, since you both have the same weapon, you will need to time your swings to be more or less opposite of your enemy’s so you can dodge his strike while following up with a quick strike to the noggin. Make sure to aim your hits if possible to knock the enemy into the various wooden spikes at the bottom of the level to do even more damage.
With the Hammer you are capable of pulling off two different strikes that can cause some serious damage to your foe. First when he is down on the ground, the weight behind a well placed hammer blow will with the striking sides crush your foe instantly (think of the term, between a rock and a hard place).
Next since the Hammer has a solid handle and will often hang below you when not moving, you can crush your enemy when they are dazed on the ground by carefully moving over them and down on top of them with your stationary hammer. This does little damage, but will keep them from moving while the damage piles up leading to its destruction while completely immobilized.
Rewarded Items: Wooden Hammer (Cheaply Forged, Balanced)
Video time-stamp: 3:31
The Slave Pits – Part 6-3
In this next fight you will be brought to a new level with walls to your side and a ceiling above but nothing but open space below you which will soon serve as the point from which the enemies you face here will attack you from. You will be given a 2 minute timer and will have to fend off a constant stream of small Sophit creatures while once again chained to the center of the level, however armed with a sword.
The tiny Sophits are not nearly as dangerous as the larger variety you faced during Chapter 1 of Hammerfight. This time around however, you will face a number of them instead of a single one, so it kind of balances out.
You can defeat these creatures in a number of ways, coming down on them with the sharp end of your sword as they lunge up at you from the bottom of the screen for the quickest kills. Make sure to dodge their grasps for you, although their tiny arms are about the same length as your sword, reducing the threat they pose. Simply dodging the creatures will almost always cause them to slam into the ceiling or walls which is pretty effective on its own. To really get things rolling you can follow up their self destructive impacts with the walls by slicing them with your sword, against the hard surfaces, dealing maximum damage.
Try to build up as much coin as possible and kill these creatures as quickly as possible, for this level really allows you to build up a nice coin supply which you will soon have the ability to spend on weapons and useful items. Enemies will keep streaming out as you kill the ones before them with the spawning cutting out once the timer reaches 0. Once the timer is up, you will have to finish off any remaining Sophits before achieving victory here.
Video time-stamp: 5:26
The Slave Pits – Part 6-4
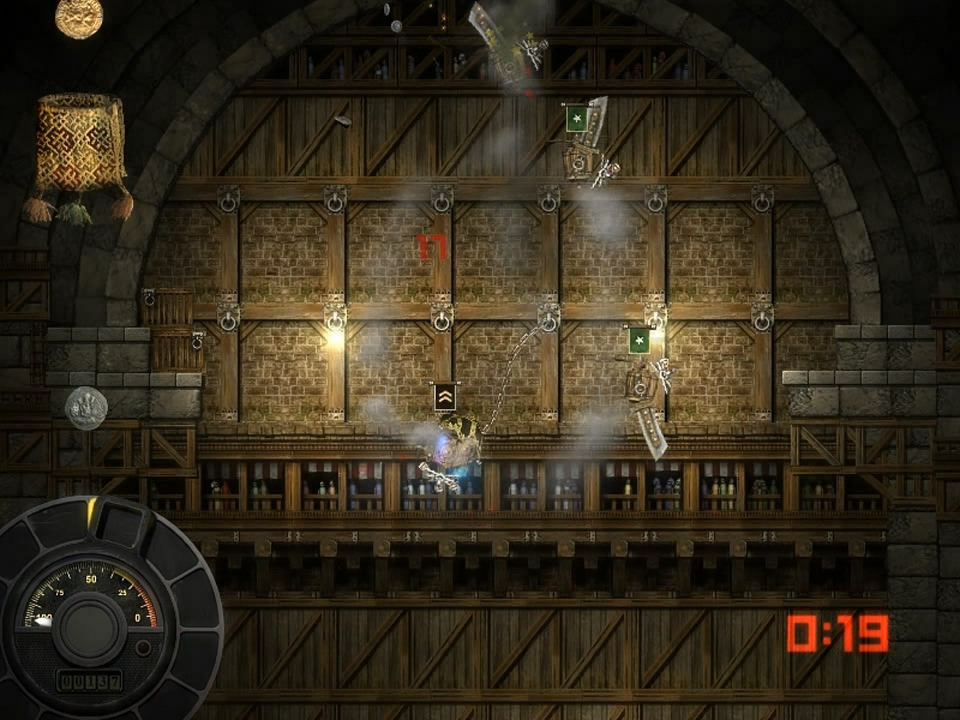
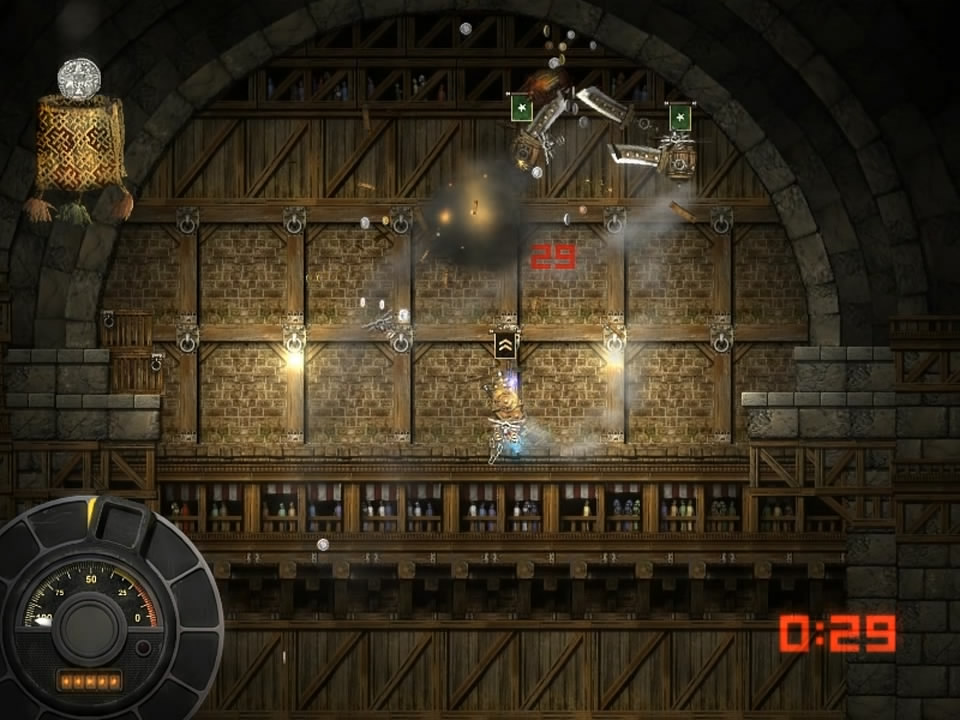
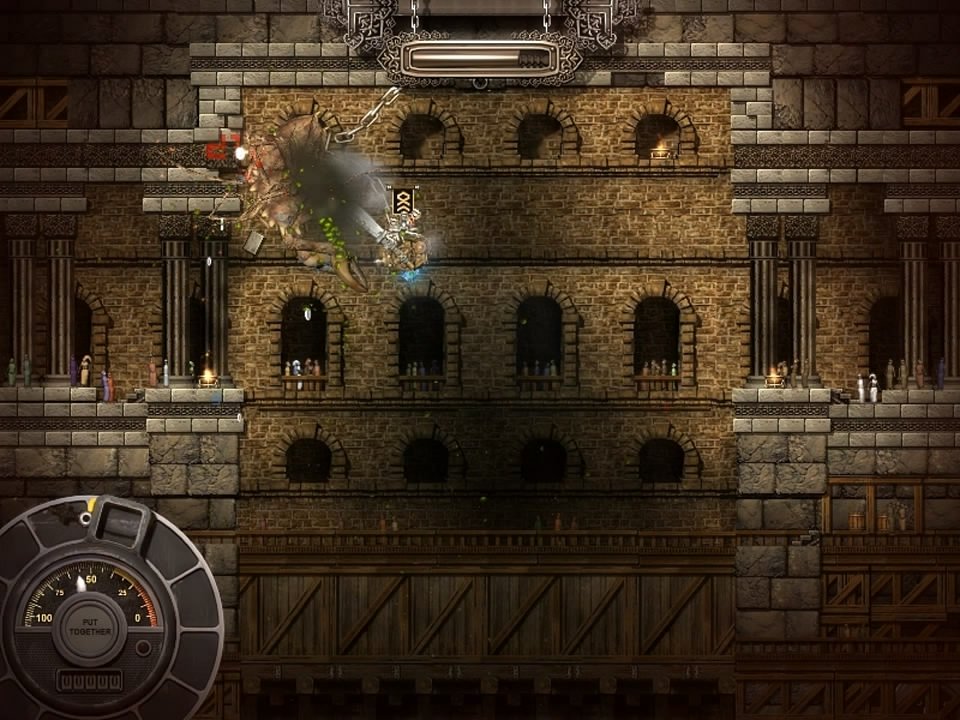
In this next challenge you will be once again both stripped of weapons and chained to the center of the level in Part 6-4 of the chapter Melka in Hammerfight. In this fight you will have to face off against 3 enemies with Katar swords while you are forced to survive for at least 30 seconds, enough of the enemies are incapacitated or about 1:30. You will receive a constant stream of coins as a special secondary source of income in this level, growing larger the longer you stay alive.
In your disadvantaged state this fight will play out much like the original battle in Slave Pits, however with now 3 targets looking to gut you versus just the one, while also being armed with double sided swords this time around. Avoid trying to strike your enemies on the head like before, opting to instead dodge their attacks and allow them to hit each other. Usually its best to hover around the center of where you are chained to accomplish this and looking for an opening to dart through when they all charge towards you, which they often do from opposite directions, leaving them to smash into each other.
Using this method, it can be relatively easy to incapacitate or even completely take out an enemy machine as can be seen in the pictures and the video below. In the event that one of the enemy machines is utterly destroyed, try to grab it’s weapon in the air to arm yourself and really turn the tide of this battle. Once 30 seconds have passed, the timer that counts up will turn blue, signifying that your incapacitation at this point will still award you with victory. Still try to survive as long as possible to build up your coins.
Video time-stamp: 7:56
The Slave Pits – Part 6-5
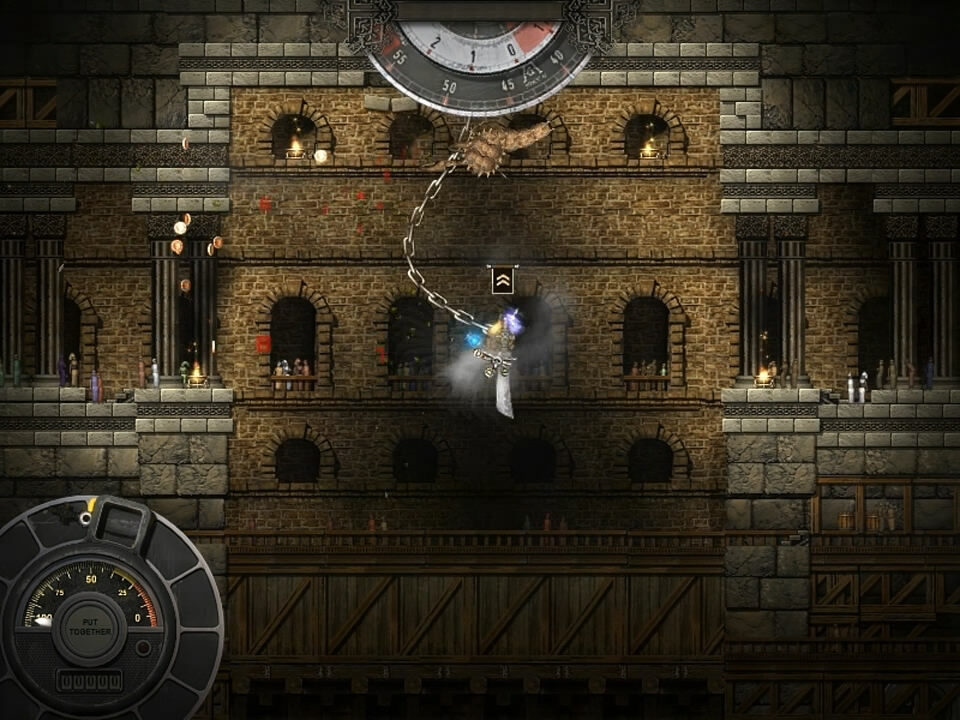
Part 6-5 is another 1 on 1 fight, but once again, with some twist thrown into the mix. For starters you are once again held by a chain, this time however not to the center of the level, but instead your enemy, really making things interesting. You will both be armed with hammers, you with the Wooden Hammer and your enemy with the Cleave Hammer which is more dangerous.
First, some things to remember now being chained to your enemy. Always keep some slack in the chain and avoid pulling away from your enemy to the point where the chain becomes taught, because at this point you are assisting the enemy’s lunge at you, likely ending up with a serious hit to your cranium. You cannot pull your enemy into the walls or obstacles unless he is dazed, so do not try it otherwise, even so it can be difficult. You can however use the chain to pull your enemy into a well timed hammer strike of yours even if he isn’t already dazed, so this is a viable and clever option.
Other than these specific notes, this fight is more or less straightforward, just maintain a relative distance unless pulling him for a specific purpose mentioned above and try to get him dazed on the ground so you can just pummel your enemy while down. Once your chained oponent is defeated you are victorious.
Video time-stamp: 11:53

Slave Pits – Part 6-6
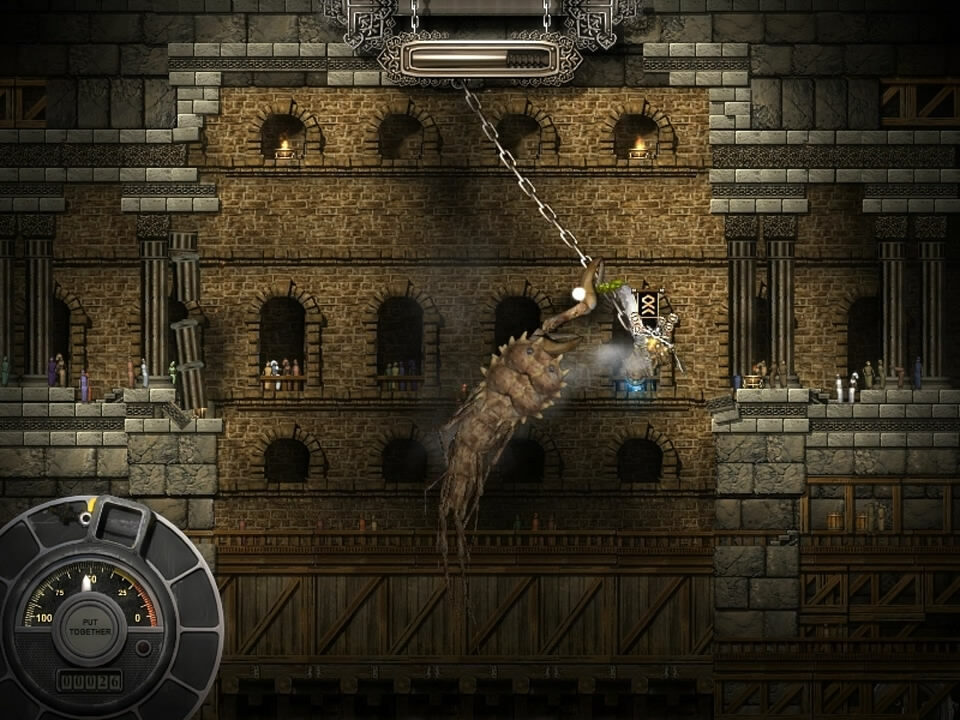
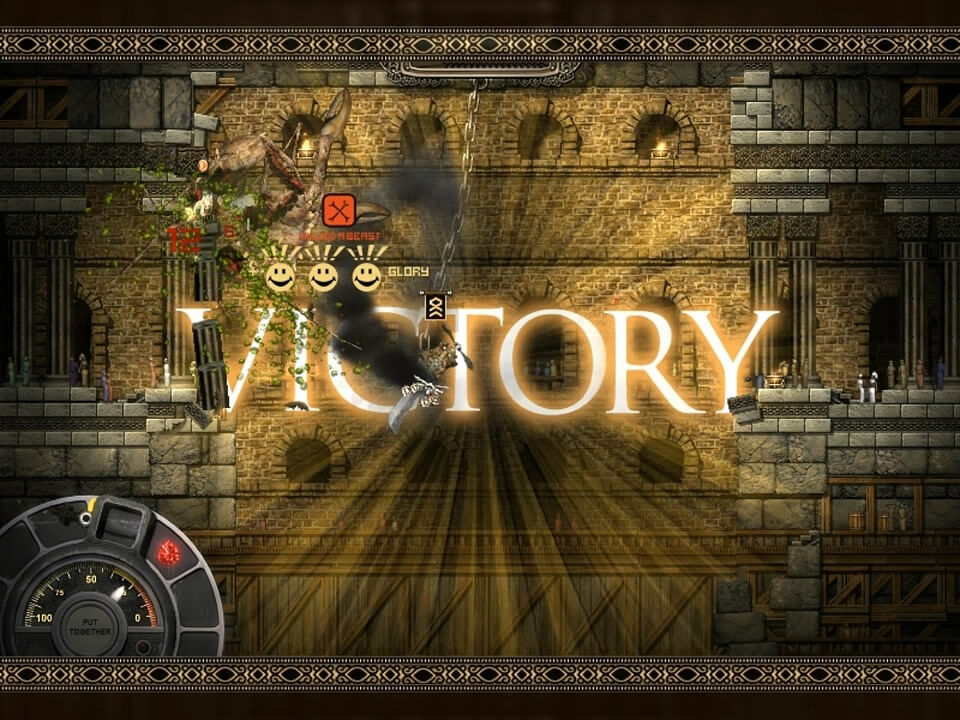
This final mission in the Slave Pit series of levels in Chapter 2, “Melka” is actually an optional one. After the last fight you will be presented with the option of choosing yes or no when asked to fight the large Sophit in a final gladiatorial type challenge.
You should most certainly choose yes, as there is no alternative mission for choosing no. Choosing no simply skips this one, along with the incredibly valuable reward you receive for beating it. Besides you’ve taken one of these out already at this point in the story mode.
Upon the start of the level you will be chained again to the center of the level in the same area you fought the mini Sophits before. Armed with a Kathib sword, there will be a life bar at the top of the screen representing the remaining health of the Sophit. Be ready to dodge quick because this fight starts off fast and hard with a strong lunge from the Sophit.
This fight is similar to the Mini-Sophit battle, however relying far more on the larger creature’s constant tendency to collide into ceilings and walls of the level. This is far more effective than slicing it during the lunge since the large Sophit has the longer reach with its claws that can cause some serious damage.
After the beast hits one of the walls, follow up with as many quick and deep slashes with the Kathib as possible to do serious damage and spit out tons of coins. Hitting the creature while against these hard surfaces causes more damage then when it is flying through the air and is the best consistent way of defeating it.
Once the health bar is down, the Sophit is dead and you are victorious.
Rewarded Items: Bloody Ruby
Video time-stamp: 14:24
Last Updated on October 5, 2020 by Standard of Entertainment