Aver-Aseed Rock
Basically this option has to do more with saving a city from the monsters that come with the fog, while Melkah Fortress has to do with continued revenge seeking. Honestly this isn’t even really elaborated on that deeply in-game.
Aver-Aseed Rock: The City Key – Part 8-1 B
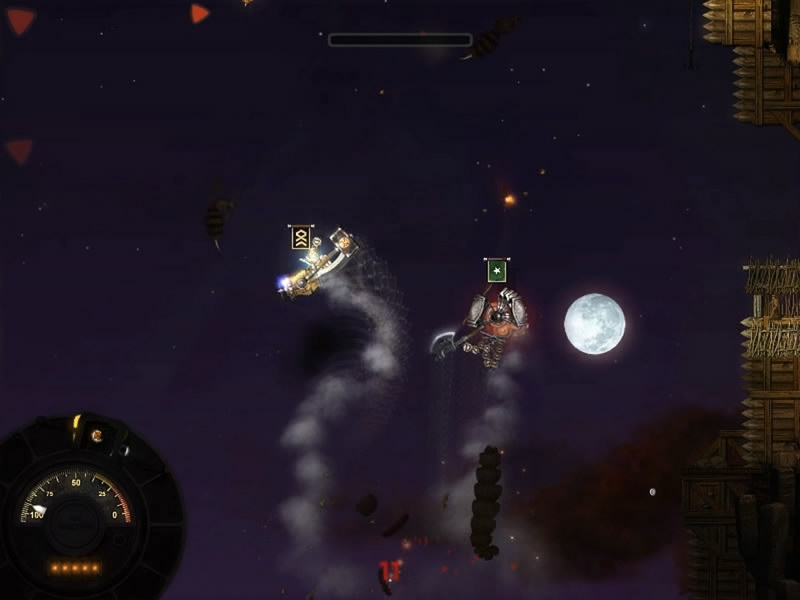
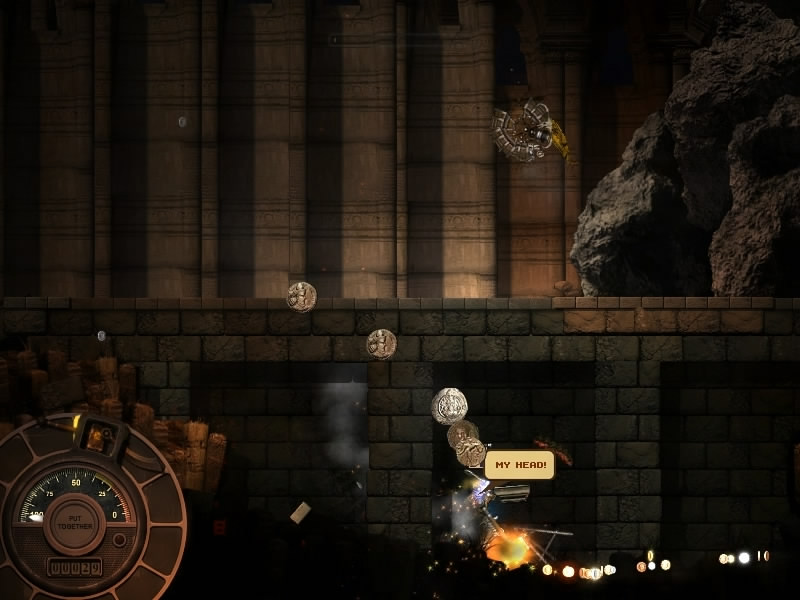
The first level of the Aver-Aseed path in chapter 2 of Hammerfight takes you to the city gates where you will have to defend against a wave of monsters that come in from the left side of the screen. Blades will be helpful here and the Fire-gemmed mace from the Arena boss especially.
In The City Key you will have to face series of small, large, fire and explosive bees along with both the big and small worms. After about a minute and a half of combat, when the background turns to night, a soldier will warn that monsters have broken through the gates and the level will be victorious.
Video Time-stamp: 0:00
Aver-Aseed Rock: Time – Part 8-2 B
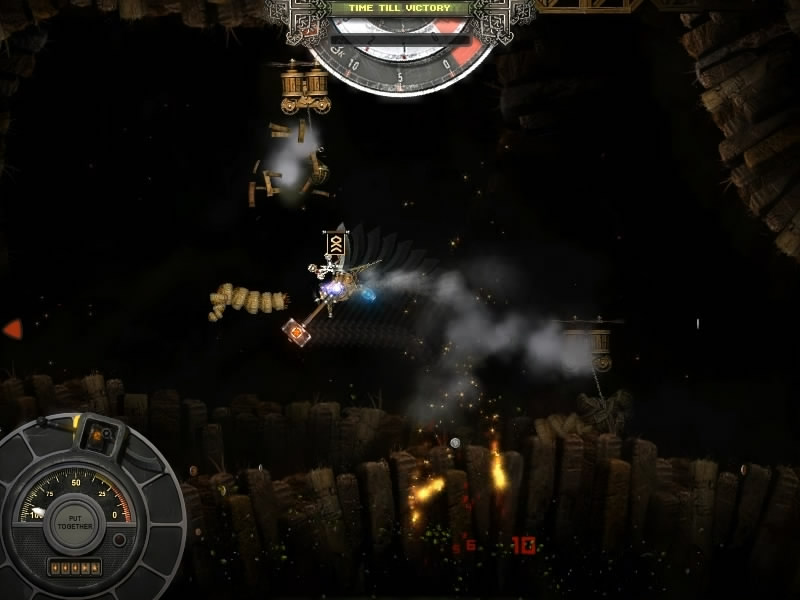
The Time level in the Aver-Aseed path has you defending against more waves of the same monster types before in a new location within a cave. Monsters will attack from the left side of the map while a series of cargo vessels make their escape out the open top part of this level, originating from the right.
Although your mission here in Time is to technically protect these vessels, the monsters seem to ignore them for the most part, opting to just attack you. In addition, there seems to be no set tie-in to the vessels themselves needing to survive, although it is possible that if you somehow manage to survive while the cargo ship[s get slaughtered, that the mission will fail. These vessels will provide some limited assistance in the form of mounted guns.
Stick to the left side of the map to pound the monsters as they stream into the map and to keep them in a more confined area, allowing you to pull back if you need some room. Keep this up for about 2 minutes and you will be victorious here.
Video Time-stamp: 3:28
Aver-Aseed Rock: In The Dark – Part 8-3 B
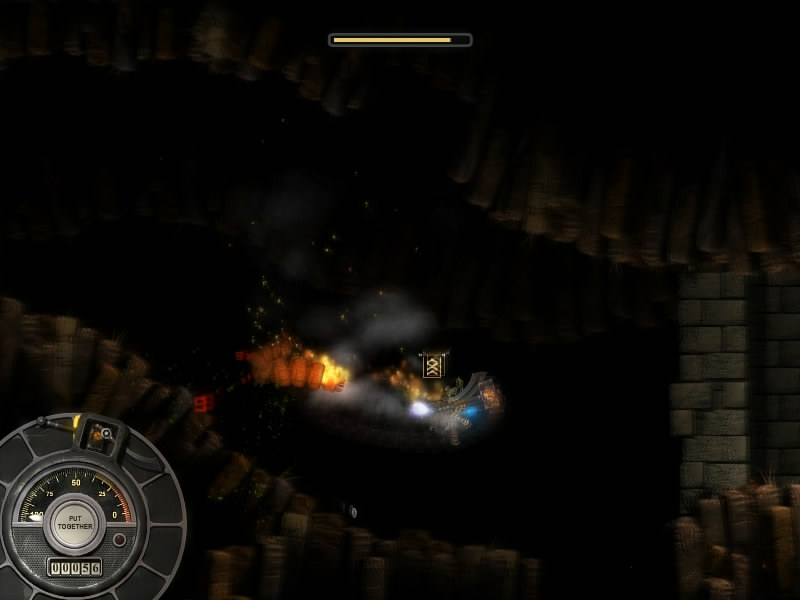
This next mission will have you facing monsters once more, however this time you are on your own, being chased through caverns as you fight for your life in the darkness. You will only be facing worms in this level. Try to bring a hammer or other heavy-hitting weapon.
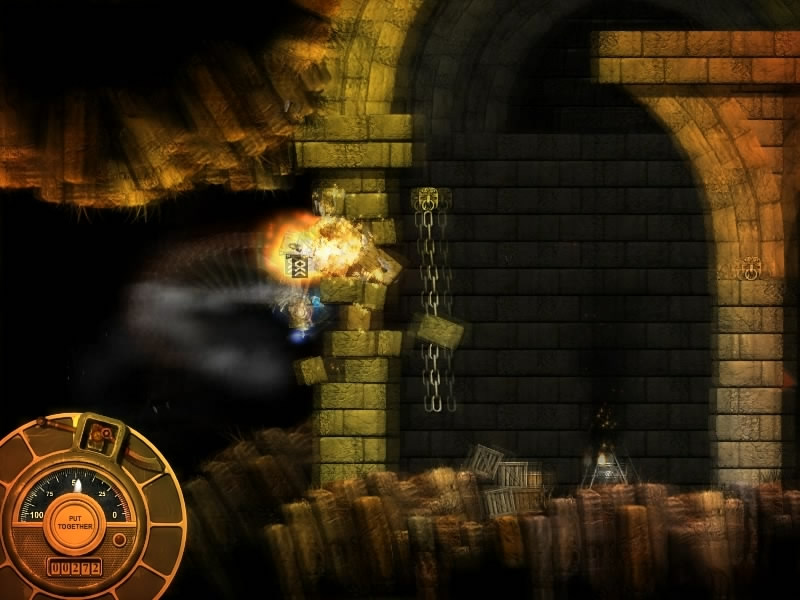
In The Dark plays out a little differently then before with you facing monsters, but a set number of them in three different sections of the level instead of a timed swarm. In the first section you start out in you will have to fight 4 worms that come at you one by one. Kill these then take the cue of the objective arrow by breaking through the wall to the right.
In the second room you will face 6 worms total, approaching from the right and top portions and coming at you a little faster than before. After these are down you will need to smash through another wall where you will face another 6 worms before you can escape the level for victory.
Video Time-stamp: 7:00
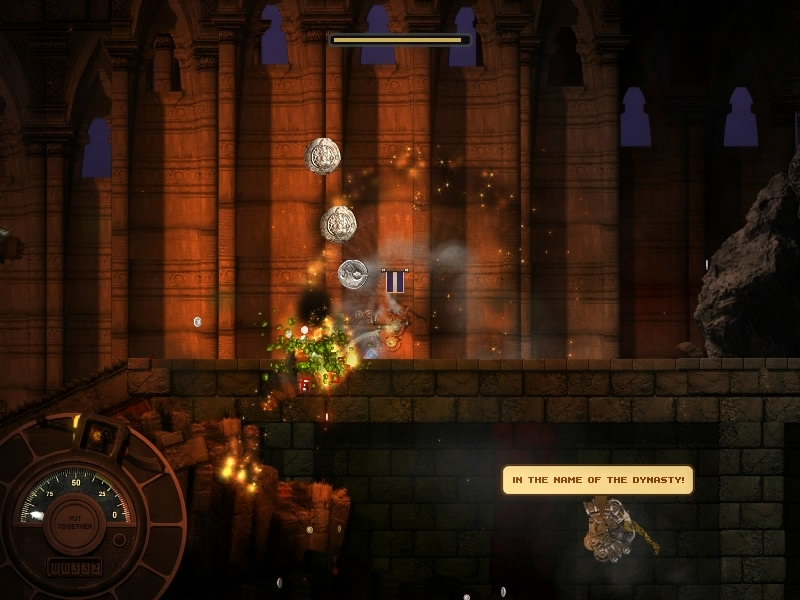
Aver-Aseed Rock: How To Die – Part 8-4 B
In this final level of the Aver-Aseed path, you will join forces with an allied pilot to hold out against a stream of worm monsters while the both of you wait for the sun to rise and ward off the creatures. This time you will face both large and small worms in addition to the giant armored worms for some extra challenge. The armored worms are basically just even tougher variants, however still extremely vulnerable on the mouth.
The first thing you are going to want to do in this level is to start breaking through the ground below you with a heavy weapon, knocking the bricks away to give you far more space to maneuver in. This is extremely beneficial to do for two reasons.
First your ally likes to fire his cannons without giving a crap whether you are in the way or not, thus you should always try to be above or below him, but never between him and the oncoming worms. Even though the damage done by your ally is negligible, it will likely stun you leaving the worms to finish you off without a chance.
Second the reason you want to clear the floor away is that the vast majority of the coins that spit forth from the deceased worms will fall past the breakable brick layer and collect at the bottom of the ground below that. This basically gives you an easy way to really stockpile a ton of coins in this level.
Other than breaking the floor to collect coins and avoid your backstabbing douche-bag of an ally this fight is a straightforward “survive for X time” type of mission, with the exception being your timer is technically the color of the sky with daylight bringing victory.
Rewarded Items: Mortar (light, ranged)
Video Time-stamp: 10:41
Last Updated on October 5, 2020 by Standard of Entertainment