This guide covers the locations of all of the collectible Servo Skulls which are located in Chapter 12 “Dying of the Light”, in the video game Space Marine Warhammer 40,000.
There are a total of eight skulls to find in this chapter, spread throughout all of its parts.
Servo Skulls In Chapter 12 “Dying of the Light”
- Personal Message: Worker Nathaniel [4/5]
- Journal: Inquisitor Drogan [3/10]
- Battlefield Log: 2nd Lt. Mira [4/5]
- Journal: Guardsman Alexander [4/5]
- Journal: Inquisitor Drogan [4/10]
- Duty Log: Transmechanic Petronius [5/5]
- Journal: Guardsman Alexander [5/5]
- Battlefield Log: 2nd Lt. Mira [5/5]
1. Personal Message: Worker Nathaniel [4/5]
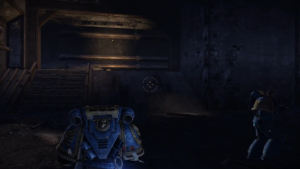
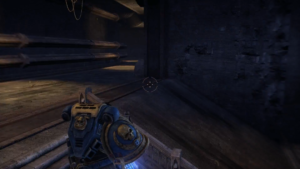
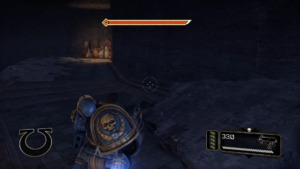
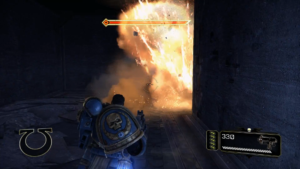
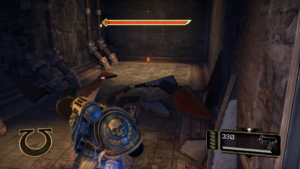
At the very beginning of the chapter you’ll be running across a ruined section of the bridge, from which you’ll drop down, then have to run through a large pipe-like structure before reaching the intersection with some stairs seen in the first picture to the right. At this intersection, you can go right to continue through the chapter, but heading left first will take you to an Ork barricade you can detonate. Behind this barricade, you will find a dead end with the first servo skull sitting in plain view.
“Benjamin, something terrible has happened. Your mother—my Julia—we got caught in an Ork ambush. They cornered your sister—she was screaming—and your mother threw herself at them. They laughed, Benjamin—the worst sound I have ever heard— and I grabbed Hannah. But your mother—they took her and they broke her and I couldn’t—We made it to Epsilon Center. Find us, Benjamin. Please, find us.”
2. Journal: Inquisitor Drogan [3/10]
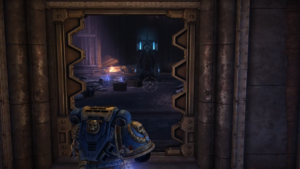
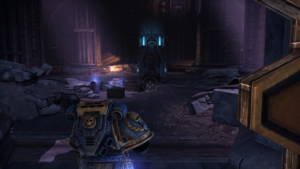
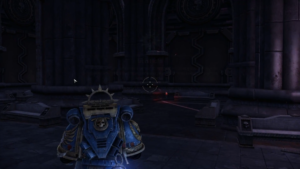
The next servo skull in Chapter 12 is found upon entering the room where you receive the Iron Halo. Look to the left of the shrine you receive the halo from as you enter the room and you’ll see the skull sitting beside a large column against the far wall.
“On that fateful journey through the Warp, in my exhausted musings, I let my guard down…something a psyker should never do. My desire—my psychic will—reached out into the Warp…and the Warp reached back. A spark of Warp energy appeared before me. Tentative, flickering, and powerful—I felt it batter my psychic shields. My shock was absolute. I lost focus, and the spark disappeared. I knew I had to get it back.”
3. Battlefield Log: 2nd Lt. Mira [4/5]
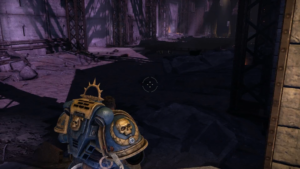
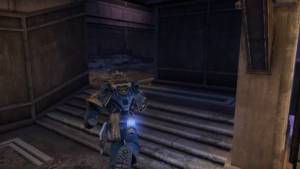
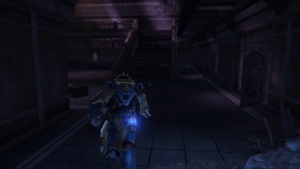


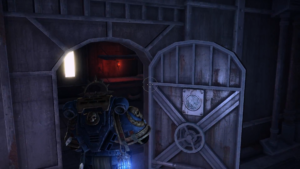
Right after picking up the Iron Halo you’ll find yourself fighting your way through a hab block out in the open, cutting your way through a pitched Ork vs Chaos battle. Once you’ve made your way through this battle zone, you’ll find yourself heading into a building and walking up a flight of stairs when a conversation with Leandros starts up. It will begin with the lines “Captain, duty requires that I put a voice to my concerns.” and continues with Leandros mentioning how Titus has had contact with the Warp power source without any adverse effects. This serves as a sort of landmark for this skull.
When you reach the top of the flight of stairs take a right and follow the upper floor’s walkway around to a room off to the side where you’ll find this next servo skull.
Lt. Mira: “Send a runner to the depot at Position Alpha. Let’s go.”
Guardsman: “You’re not leading this raid?”
Lt. Mira: “Of course I am.”
Guardsman: “Lieutenant, we need you in one piece. Let’s face it—you’re holding us together out here, and if you get—”
4. Journal: Guardsman Alexander [4/5]
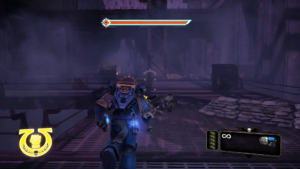
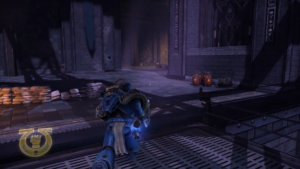
Once you’ve joined forces with Lt. Mira in this chapter, you’ll head into a large room with several walkways, filled with Orks you’ll have to fight. The walkways are set up with one running to the far end of the room, leading you further into the chapter, with a few other walkways running across the room and intersecting with the main one, from which Orks will be firing at you. Upon clearing this room, run down the main walkway and you should be able to easily see the servo skull against the wall at the far end of the walkway.
“I want to be strong—to say everything’s all right, but it’s not. The dead are everywhere. Stinking, rotting…we burn the bodies when we can, but the fire attracts more Orks. If you stop to think about the billions dead here, you’ll go mad. But no matter where you go, you find the people of this world..all dead, all waiting for help that never came.”
5. Journal: Inquisitor Drogan [4/10]
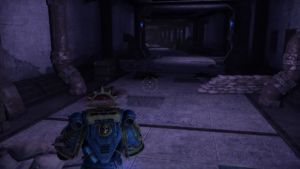
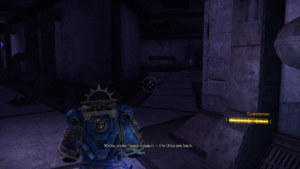
After the last skull, you’ll fight your way through a fair bit more enemies before taking a short elevator ride with your group. The ride is pretty quick, taking you up a level to a catwalk above the area you were just making your way through and there will be a conversation between the marines and Lt. Mira during. Once upon the catwalk, you’ll be making your way across it over to a hallway leading inside the structure, full of corpses leftover from whatever battles happened there before. Once you’ve made it past the first bend in the hallway, where it goes left, look to your right for a small side room where you’ll see the next servo skull.
“With my psychic abilities, I had drawn energy from the Warp. If I could summon it again—contain it, control it—then perhaps I could use it to defend the Imperium. So, I made another interstellar journey through the Warp. Barely daring to hope, I lowered my psychic defenses and willed the energy to return. And it did. I captured the spark in a containment device and marveled at its potential. My work could now begin.”
6. Duty Log: Transmechanic Petronius [5/5]
![Space Marine Servo Skulls Guide - Chapter 12: Dying of the Light 06 - Duty Log: Transmechanic Petronius [5/5]](https://standardof.net/wp-content/uploads/2020/09/Space-Marine-Servo-Skulls-Guide-Chapter-12-Dying-of-the-Light-06-Duty-Log-Transmechanic-Petronius-5-5-1024x576.png)
This skull is ridiculously easy to find, literally right next to the impossible to miss shrine from which you receive the Plasma Gun, later in the chapter.
“It’s been three days since Aleric died, the Orks have finally left the temple. I accessed a com station. The liberation fleet is on the route, with Ultramarines leading an advance force. But they are only now entering the Immaterium. I hope I am wrong like I’ve been so many times before. But I fear by the time the Ultramarines come to our rescue, everyone on this planet will be dead.”
7. Journal: Guardsman Alexander [5/5]
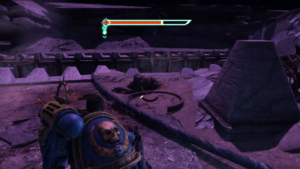

Right after the last skull and receiving the Plasma Gun, you’ll meet up with the main force of Imperial Guardsmen here at the outpost, which you’ll then have to defend against a large Ork attack force. After this, you are tasked with powering up the sentry guns. On your way to do this, you’ll travel down a small bit of trench, then back up, before dropping down into another longer set of trenches. When you drop down, you’ll be right next to a weapons cache with the servo skull right beside it.
“I moved too slow…got shot in the gut. Stupid of me. Doesn’t hurt now, though—the medics gave me something. But they’re not stitching me up. I wish they would. Is it winter back home? Did I ask that? There’s something wrong with me.”
8. Battlefield Log: 2nd Lt. Mira [5/5]
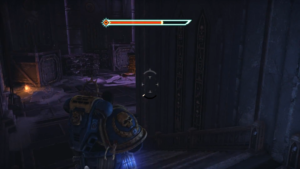
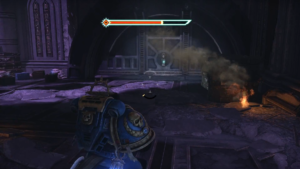
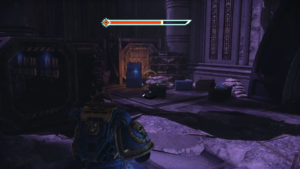
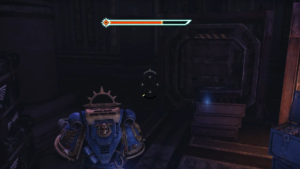
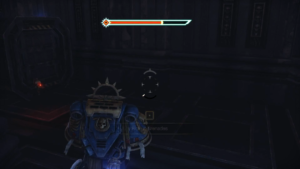
After you’re done fighting the Orks outside, you’ll have to head inside a large building on your way to the end of this chapter and a boss fight. At the end of your path through this building will be a large stash of ammo, grenades, and weapons with a large door at the end that you’ll have to open to move on. Before opening this door, approach it and look to the left to find a gap in the row of weapon crates and such that you can walkthrough. Walk into the gap and look to your left to find the servo skull behind the crates.
Guardsman: “—still don’t think this is a good idea.”
Lt. Mira: “It’s not your call, is it? I say this is our best chance of taking the gun.”
Guardsman: “But a nighttime assault?”
Lt. Mira: “Have some faith, Sampson. In the dark, we might catch those Orks off their guard. Unless they’ve—”
“Dying of the Light” Servo Skulls Video Guide
Last Updated on October 4, 2020 by Standard of Entertainment

![Space Marine Servo Skulls Guide - Chapter 12: Dying of the Light 02 - Journal: Inquisitor Drogan [3/10]](https://standardof.net/wp-content/uploads/2020/09/Space-Marine-Servo-Skulls-Guide-Chapter-12-Dying-of-the-Light-02-Journal-Inquisitor-Drogan-3-10-2.png)