

Queensdale Vistas
This guide will cover the locations of all 9 vistas in the Queensdale region in the MMORPG Guild Wars 2. Within you will find a list of each vista with pictures and directions on how to reach each one, along with a video walkthrough below.
- Altar’s Winding’s
- Bandit Haunt Caverns
- Claylent Falls
- Dalin’s Pumping Station
- Godlost Swamp
- Krytan Freeholds
- Shaemore Garrison
- Shire of Beetletun
- Western Divinity Dam
- Video Guide
If you have any suggestions or requests for the Guild Wars 2 guides I work on, feel free to leave them in the comments below. Any corrections or contributions that get included will be credited accordingly.
For more vista guides for other cities and areas, you can check this link for a full index with links to more guides: Guild Wars 2: Vista Location Guide Index
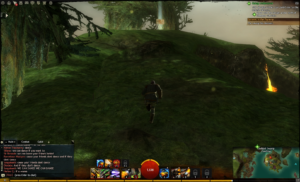
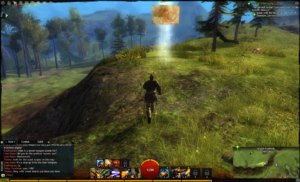
1. Altar’s Winding’s Vista
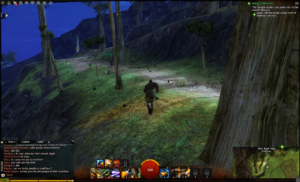
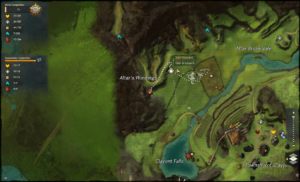
This is a very straightforward and easy vista to get. From the vale waypoint, it will be up the side of a hill to your west. You have to do a bit of zig zagging to get up the hill, but it is only a short distance away.
You will find the point sitting on a rock outcropping on the southern edge of the first major bend of the hill itself.
The only thing worth noting here is the colony of Harpies that spawn on and around this hill, meaning you will probably face a bit of combat on your way up unless other people are around helping clean up the creatures.
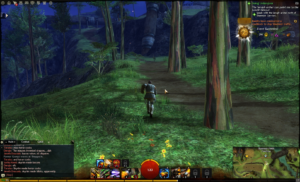
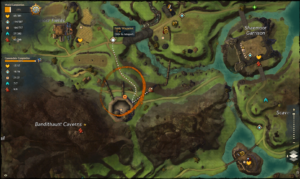
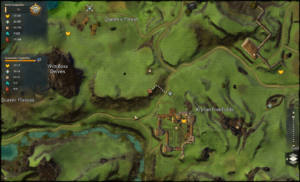
2. Bandit Haunt Caverns Vista

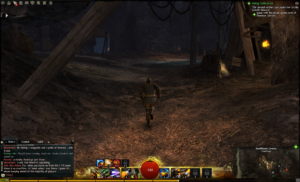
This vista point requires the most travel time to reach by far, while also having the most enemies between you and it from any of its nearest waypoints. Besides these two facts, however, there is not a lot of challenge (acrobatically, anyway) in reaching the vista itself.
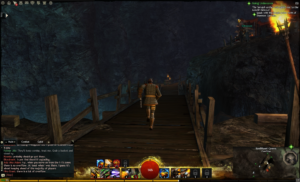
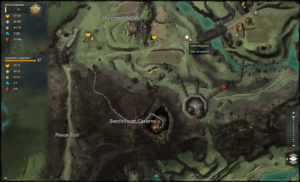
From the fields waypoint, you can head west along the road until it ends near the moa fields. There you will find the cavern entrance somewhat concealed in the southern rock wall to your left as you travel past the road’s end. Once you’ve entered the caverns, you will have to travel for quite a ways, generally heading southeast from this point with some mild deviation. There will be lots of nooks and crannies with tons of bandits to boot; however, you can charge past the hostiles, and there is still a rather easy way to tell which direction is the cavern’s main means of travel.
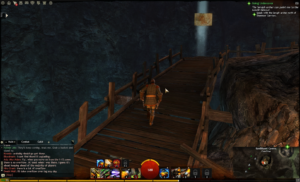
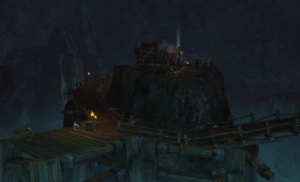
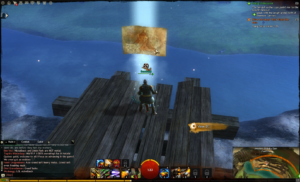
Eventually you will reach a large room, much bigger than those you’ve been through before, with a semi-island in the center. This island is surrounded by water, which is surrounded by cave. There will be a wooden bridge that connects the path you’re on to the island itself, and you just need to run up it a ways to reach the vista here. Be careful as there is usually a veteran mob that spawns nearby at the very center of the island. As long as you’re careful not to approach it too closely, you should be able to avoid its aggro long enough to grab the point.
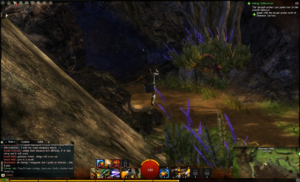
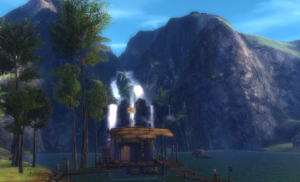
3. Claylent Falls Vista

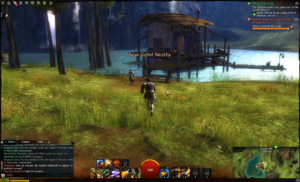

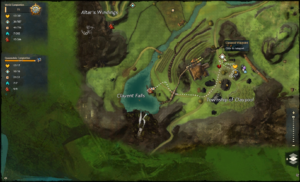
First travel to the Claypool waypoint, which resides in the Township of Claypool located towards the central west of the region. From here, you will want to travel south along the dirt road, looking at the map, and take the western road that splits off at one of the forks and travels through a wall that protects the town.
Once on the other side of the wall, look to the left of the path near the water for a small fishing shack attached to a tiny pier. Your vista will be sitting atop the shack.
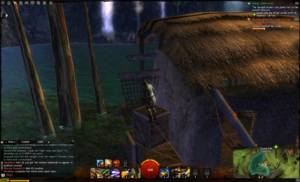
In order to reach the vista, you will need to look for the crates that are stacked up against the west-facing wall of the shack—the side you first see when running towards the building with the directions given thus far. Use the crates as stepping stools and then move to the wooden beams that stick out of the building, just above the crates. Once on the highest one, you will have to face the roof but jump forward and to the left a bit, as you cannot quite reach the roof if just jumping straight forward. You have to catch the roof just where it arcs down a bit to the edge.
This final jump can be a bit perplexing at first, but at least there is no steep penalty for falling off here. Also, you have a fair bit of space to stand on, with your feet hovering in the air, even though the wood beam makes it look like there is very little space to stand on.
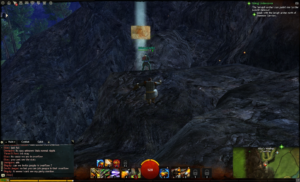
4. Dalin’s Pumping Station Vista
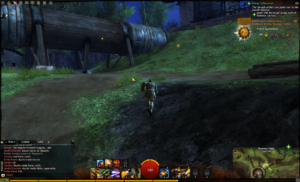
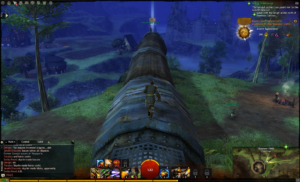
Relatively straightforward, in order to get the Dalin’s Pumping Station Vista you can take the fields waypoint in Queensdale and head south, along the path which leads up the large hill which the station sits atop of.
As you make your way towards the station itself, you will likely encounter hostile bandits as there are several events which spawn them, which occur rather frequently around here. Once you reach the top of the hill, look for where the eastern pipe meets the ground, which is the longest of the three pipes leaving the station. Just walk up onto the pipe itself and head along the top of it away from the station to reach this vista point.
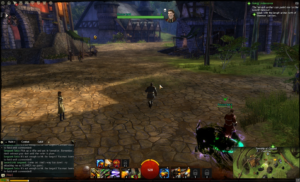
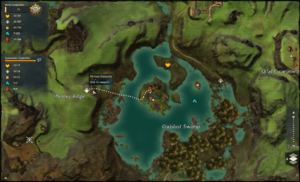
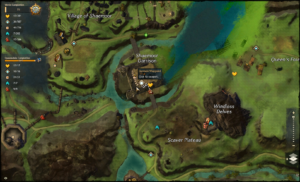
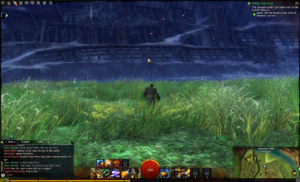
5. Godlost Swamp Vista

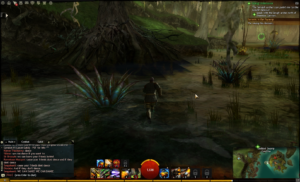
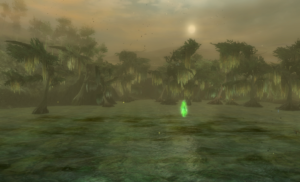
This vista point can be a bit tricky if you don’t know what to look for in making it up the little hill/island which sits in the center of the swamp, which you’ll have to climb for this. However is made relatively easy here.
From the phinney waypoint in Queensdale, head directly west, sliding down the short cliff side and through the Godlost Swamp towards the land mass in the center as mentioned previously. As you reach the hill, you will find a tree which is growing into the side of it, with its roots forming a nice ramp for you to easily run and jump up to get on top of the hill itself. This is the only access point to the top and sits at the 9 o’clock position of the hill if looked at on the map.
Once you’ve gotten onto the hill itself, it’s an easy trot up the side to reach the vista point.
6. Krytan Freeholds Vista

Ridiculously easy to grab from the Krytan waypoint just north of the freeholds.
From the waypoint just face west to see the vista sitting atop a small rocky hill. You can easily approach it with a slight curve to the north in order to make it around the steeper edges, but by no means a challenge.
By contrast, considering the ease of this vista, the view you are presented with is definitely one of the most beautiful, but then again, they are all pretty gorgeous.
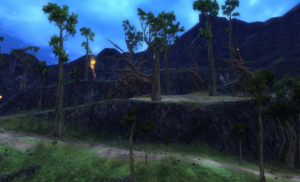
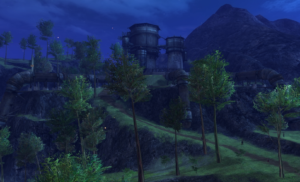
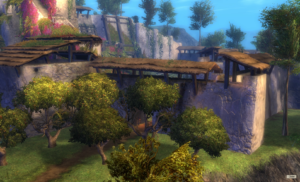
7. Shaemore Garrison Vista
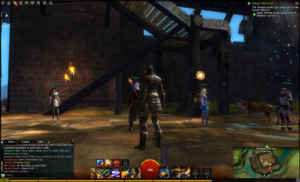
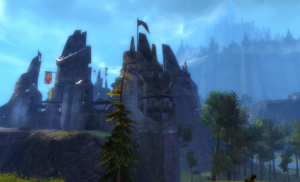
Another relatively easy get, this vista is quickly reached from the Garrison waypoint within the Shaemore Garrison itself.
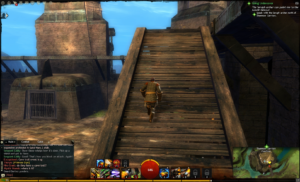
From where you teleport in, face south and you will see a pair of ramps that lead tot he upper battlements of the fort, on each side of the large doorway which leads players out into the Scaver Plateau.
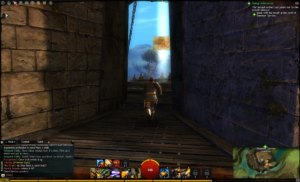
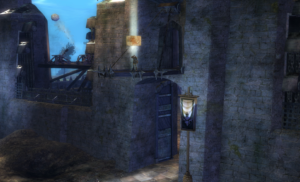
When you reach the top of the ramp, look for the large arched doorway which is basically right above the lower one, and you’ll find the vista sitting on the ledge on the other side of it.
8. Shire of Beetletun Vista
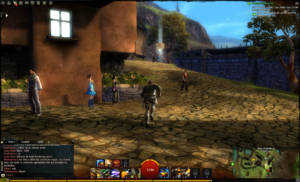

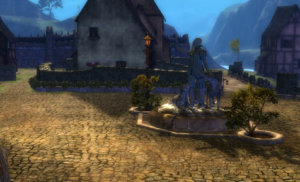
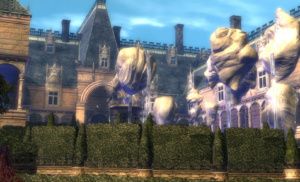
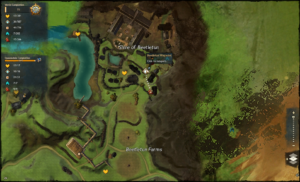
This is definitely one of the easiest vistas to reach anywhere.
From the Beetletun waypoint you simply need to head south a bit around the right of one of the town buildings to find the vista just sitting on the path by the wall.
Of interest, and on a side note, there is a sizable field of lettuce plants that grown in the farm just to the south, so make sure to stop by those and gather them while you are in the area.
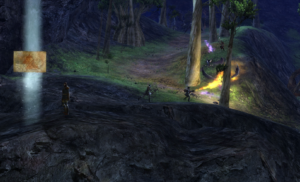
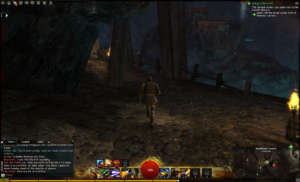
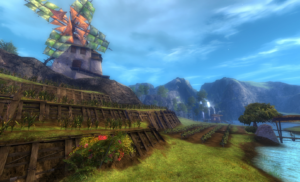
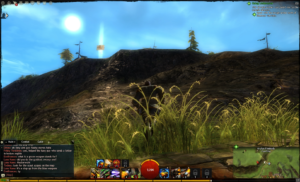
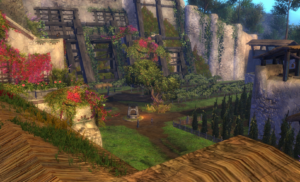
9. Western Divinity Dam Vista
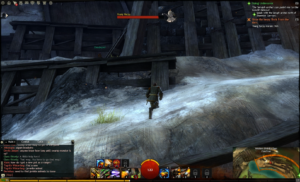

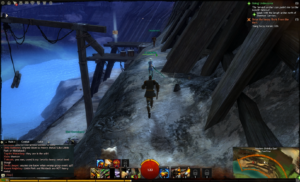
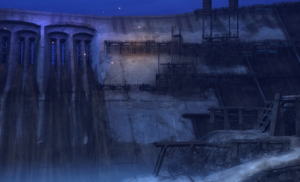
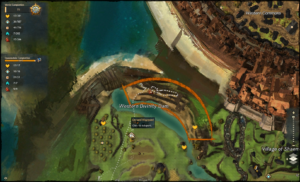
This vista is one of the more complicated gets in the Queensdale region. From the Orchard waypoint, you will want to head north towards the vista which is actually on top of some construction scaffolding on the east side of the dam itself.
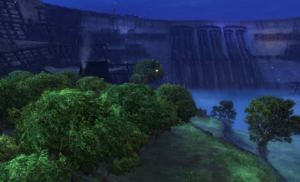
Once you make it across the grassy plains and then across the river which separates the bit of land you need to get to. After making it across the river, you will have to fight your way past the Harpies that spawn in the area as you make your way up a series of dirt ramps which lead you to higher portions of the construction site, further up the side of the dam.
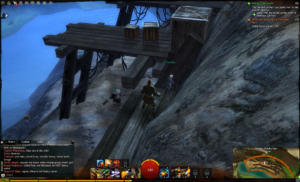
After zig-zagging your way up the terrain you will find yourself hugging the wall, as the ground begins to slope off shortly before you reach a series of wooden platforms which jut out of the side. Slide down onto the first bit of wood platform and jump across the gap towards the wooden beam which sticks out of the next platform.
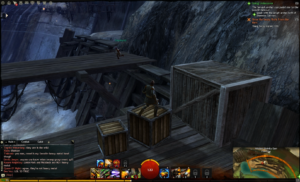
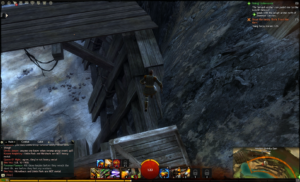
From here, climb the series of progressively larger crates, to stand atop the largest of the group, from where you can launch yourself further towards the vista, landing on another strip of wood paneling jutting from the side of the rock wall. Once you make this jump, you are free to collect the vista point which will be to your left on the platform you are now on.
Video Guide to the Queensdale Vistas
Last Updated on October 4, 2020 by Standard of Entertainment